Introduction
The plan for 2012 was to bring in more NAS products from a wider range of manufacturers. That was the plan at least, but somewhere along the line a flood of consumer SSDs took over our lives.
Still, in 2012 we brought in Synology, the last piece in what makes up "The Big Three". Synology makes a wide range of products and is the most innovative NAS manufacturer on the market today.
Just like Thecus and QNAP, Synology uses a common software layer for its products. For a number of users who just use their NAS to store data, the software is something that you set and forget. NAS products used in both home and business environments have outgrown their typical storage usage model. It's really difficult even call these devices Network Attached Storage devices anymore because that is only a small sample of their capabilities. It's a bit like calling your sport utility vehicle only good for taking the kids to school.
Last week Synology released its latest software that resides on the NAS, version 4.1. Today we're taking a deep dive into the new 4.1 software layer and in the coming days looking at a new NAS appliance from Synology that is both affordable and powerful.
Synology DSM 4.1 Overview
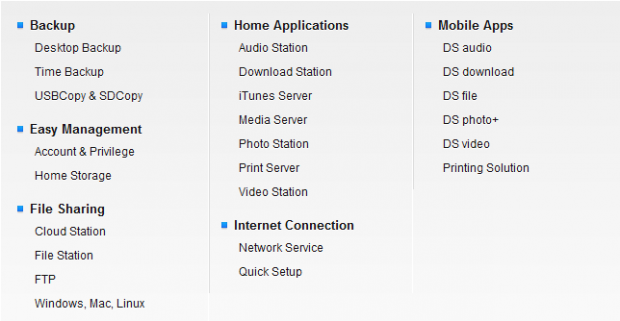
Synology divides some of the DMS features into two categories - Home and Business. In the image above we see the Homes features.
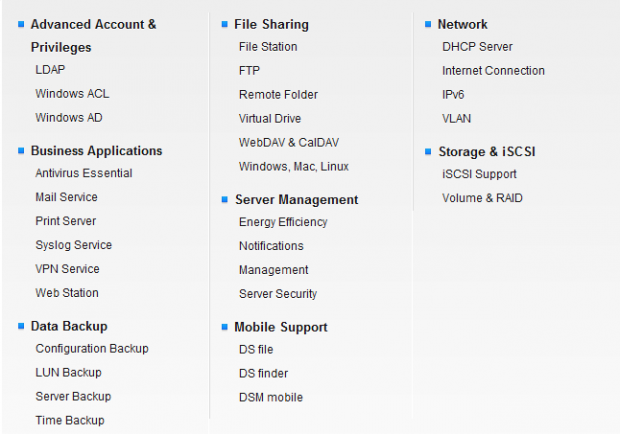
Then we have the Business class features. Nothing stops home users from using the business features and vice versa. These are the standard software components that make up the DSM software and they are standard on most if not all of the NAS appliances and servers.
Additional Features - More Just a Click Away
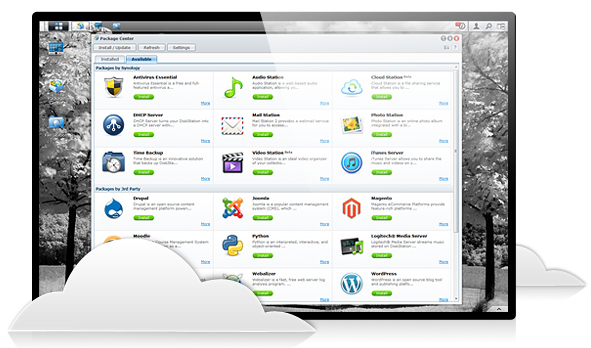
We've already seen a number of features, more than enough to show that a NAS is no longer just a box full of hard drives for storage purposes. To really drive the point home though we've put together a list of additional software components that can be installed easily from within the NAS software. These additional features are so far over the top that no one could ever use them all, but if you wanted to you could.

You can read about all of the additional software features in detail on Synology's website.
Logging In and Initial Setup
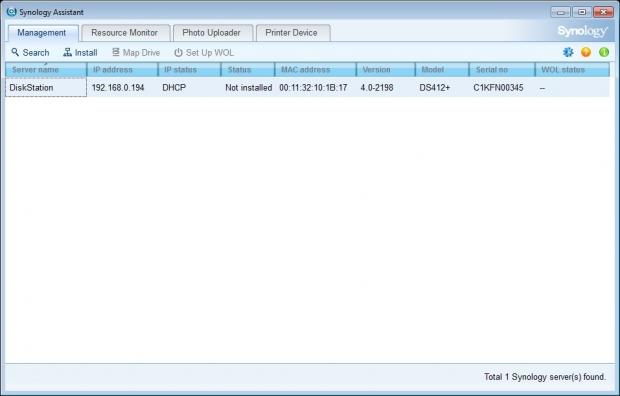
Synology offers a piece of software that you run on your main computer to manage your NAS. The software is called Synology Assistant and with it you get to see the Synology products on your network.
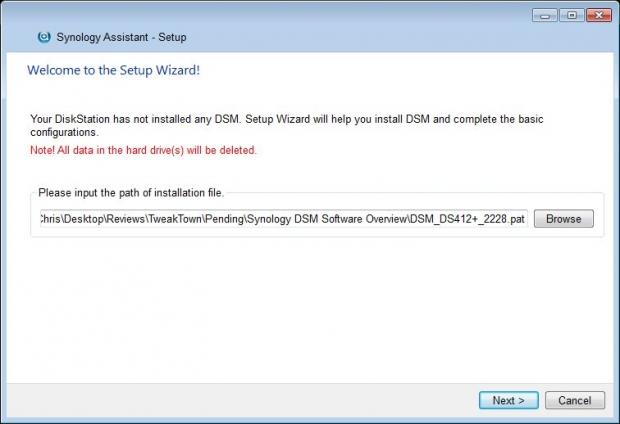
Before you can begin to configure your NAS you need to point the Assistant software to a copy of the firmware / software that you want loaded on your NAS. By going to Synology's website you can choose the newest version from your NAS product download page.
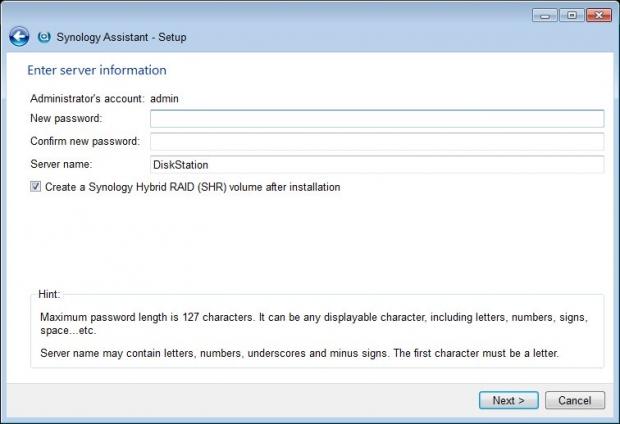
After the software is loaded to the NAS you are asked a couple of questions and can setup your storage array.

Before you do anything crazy, the Assistant software reminds you that the data on your HDDs will be erased in the format process.
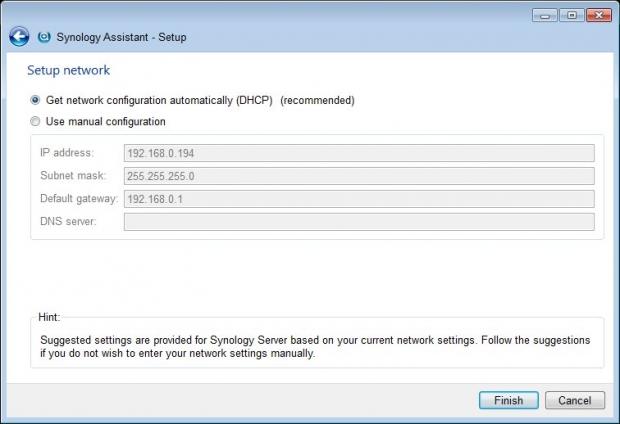
This is also when you configure your network. If you don't know anything at all about your home network you don't need to worry, Synology has an easy setting that handles it all for you.
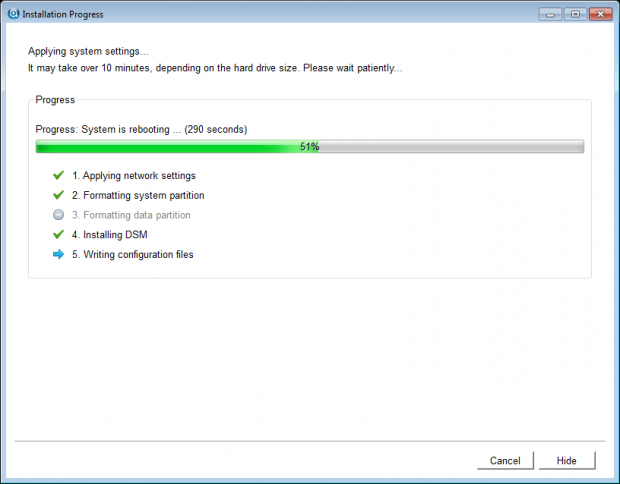
After these five steps are finished, the Assistant software goes to work formatting the drives, building your array and applying your network settings.
Inside a Synology NAS - Getting Started
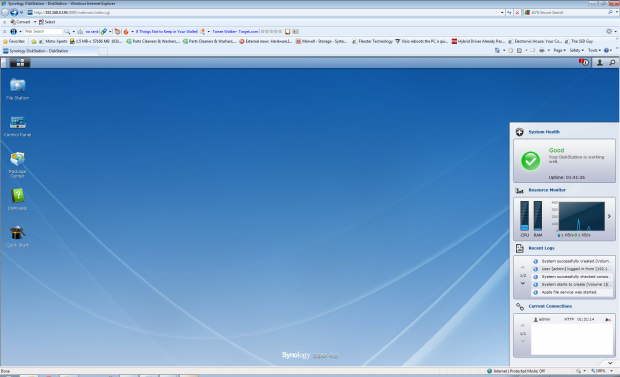
Once inside you're introduced to what looks like a desktop. This desktop for your NAS is easy to navigate with just a few icons.
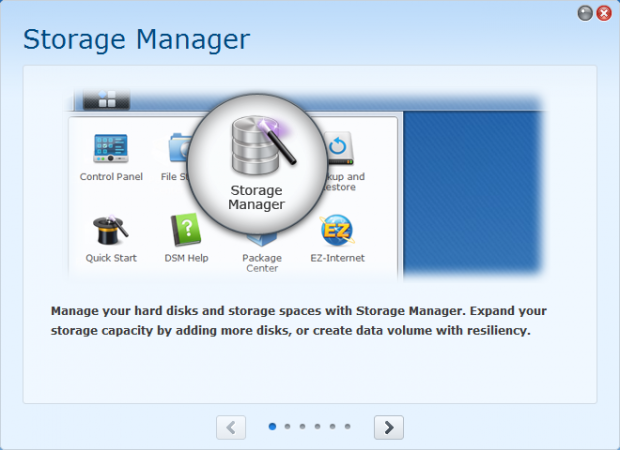
The first time you log into your Synology NAS a new window opens within the NAS desktop and briefly shows you what the icons on the desktop lead to.
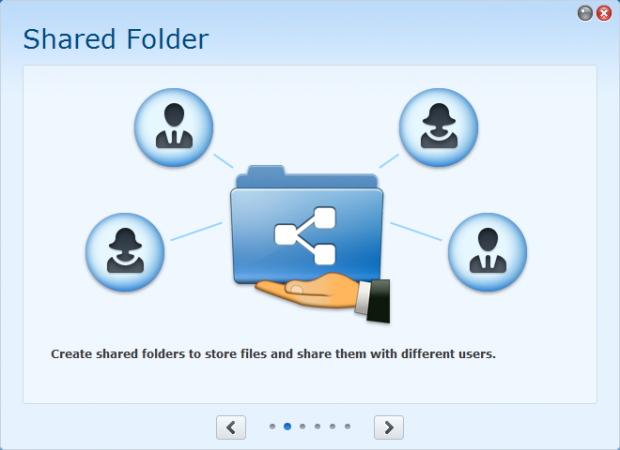
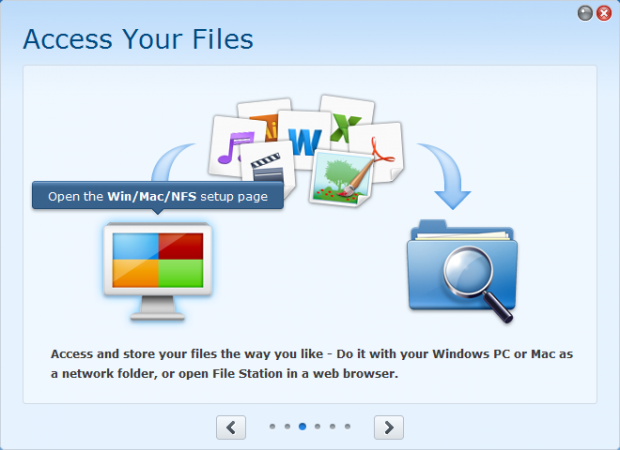
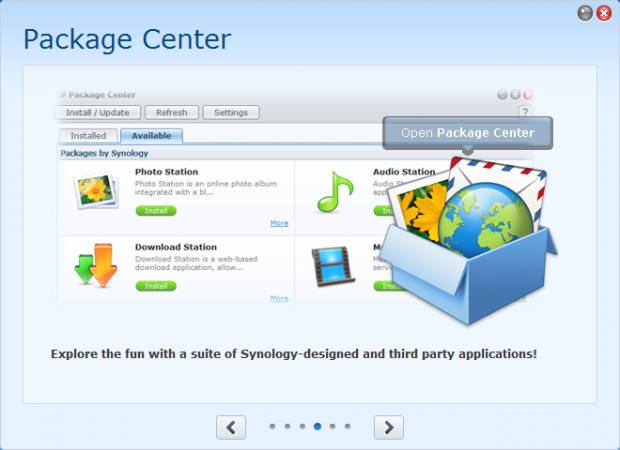
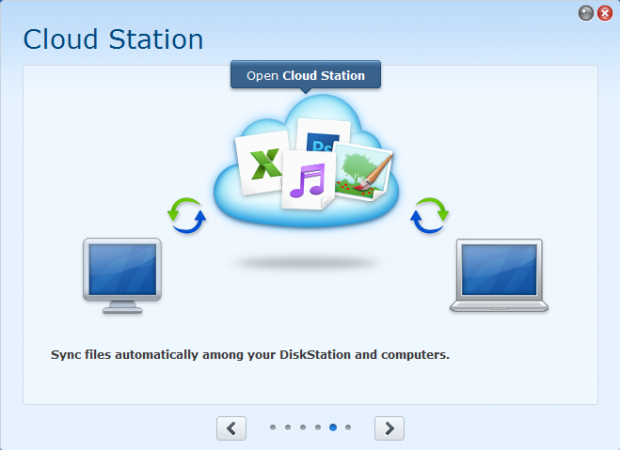
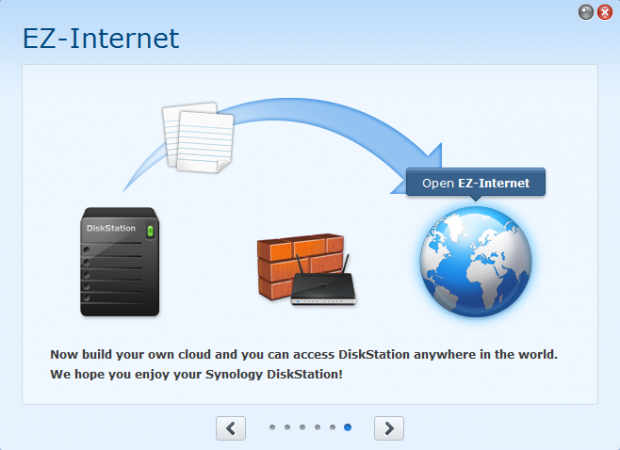
As a NAS reviewer, I've seen just about every setting and check box before but for many setting up a NAS can be intimidating.
Getting Started with Advanced Settings
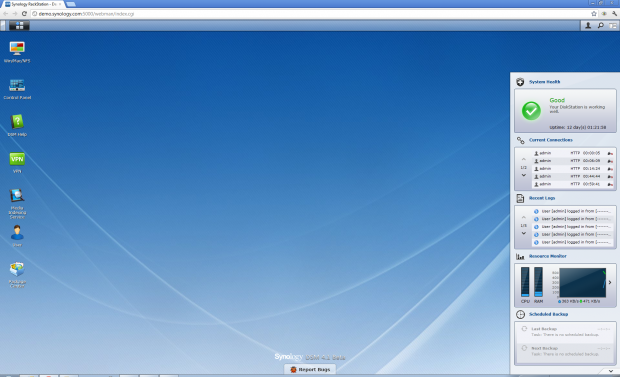
Here we find ourselves back at the Synology Desktop. On the left side we see a handful of icons. Above the icons we have another icon that is useful and opens up another list of icons.
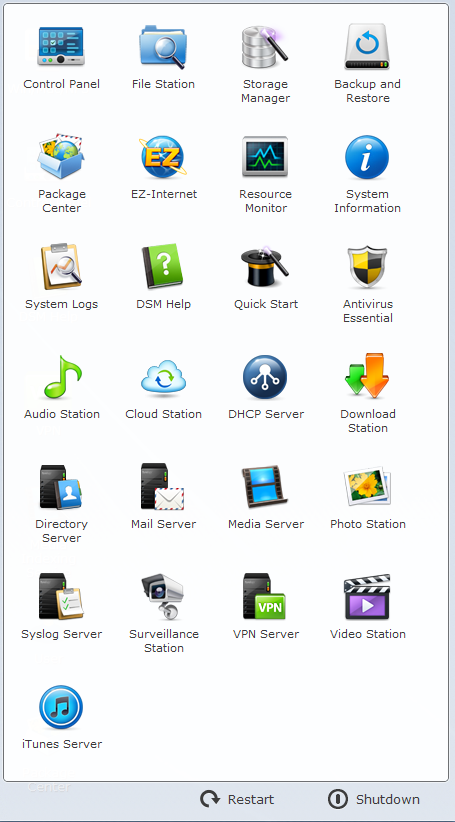
The upper icon isn't named in the NAS, but it open up an entire page of new icons.
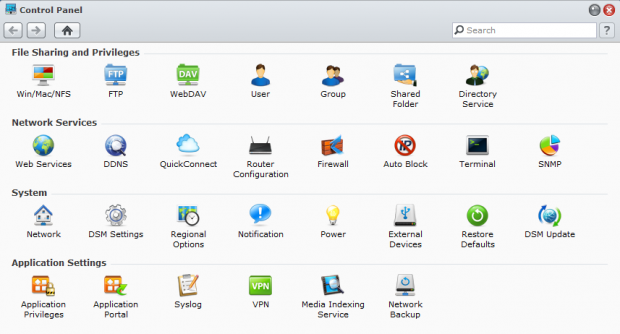
The Control Panel icon opens the door to all of the advanced settings if you want to use these features.
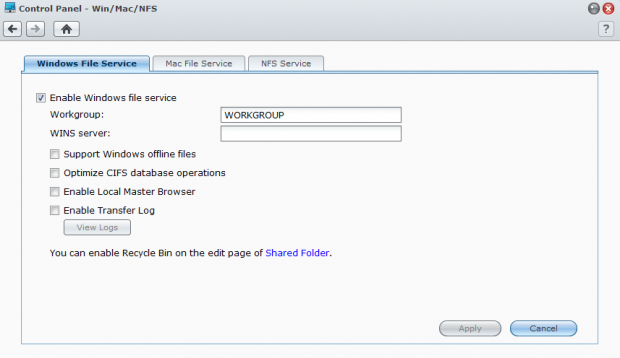
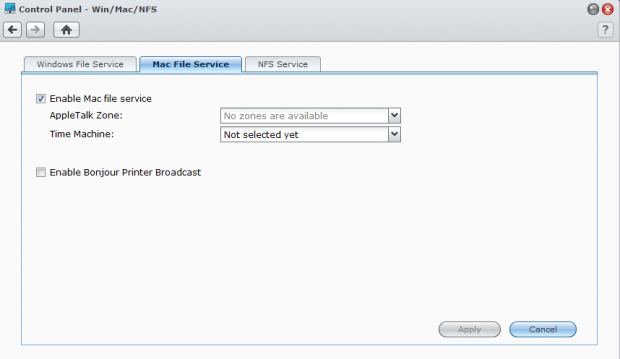
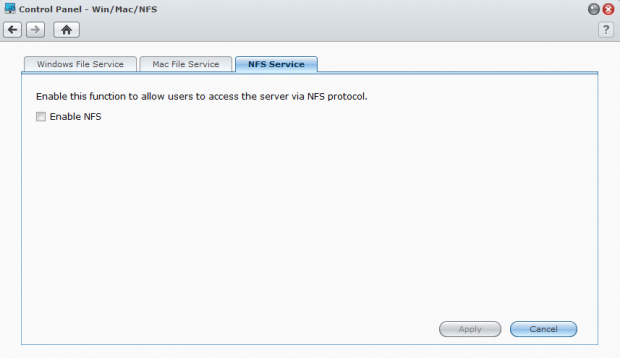
Your Synology NAS comes setup right out of the box to work with most home networks.
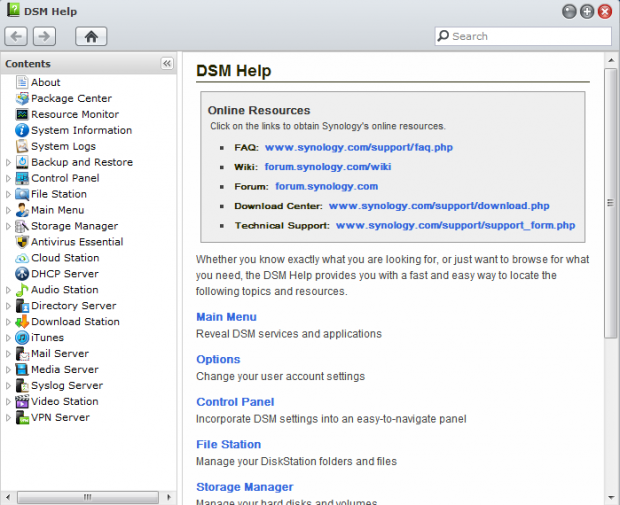
There are several settings, but Synology includes an easy to follow and more importantly, an easily searchable Help Menu that explains in detail what each and every setting does.
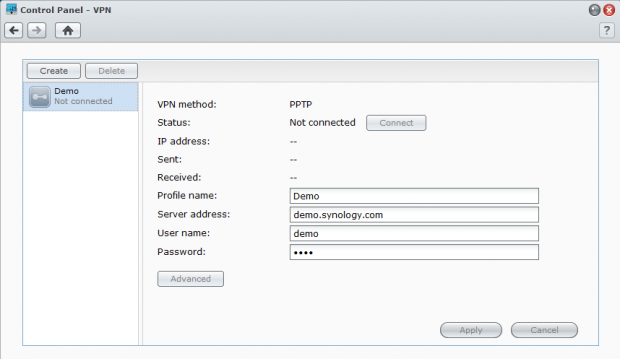
The easy to follow Help File makes setting up advanced tasks very easy. Within a few minutes you can configure a VPN to your office or make use of iSCSI in your SOHO setting.
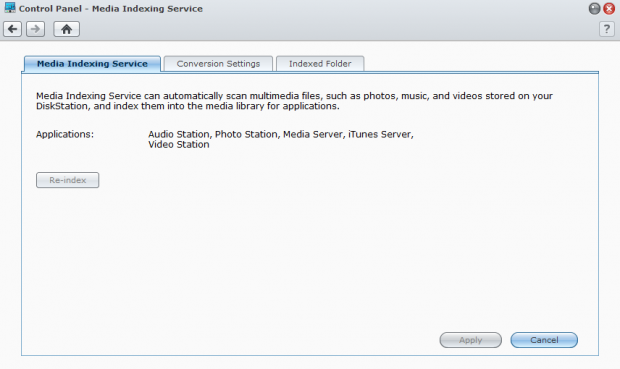
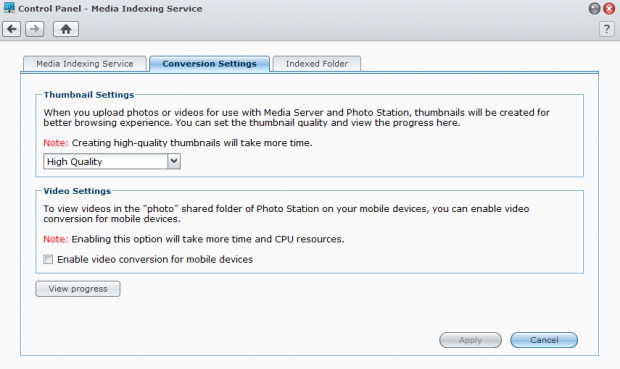
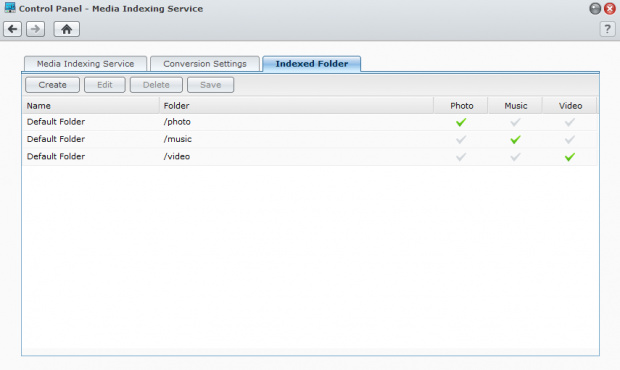
For home users, tasks like building a central media hub for media files is equally as easy to configure.
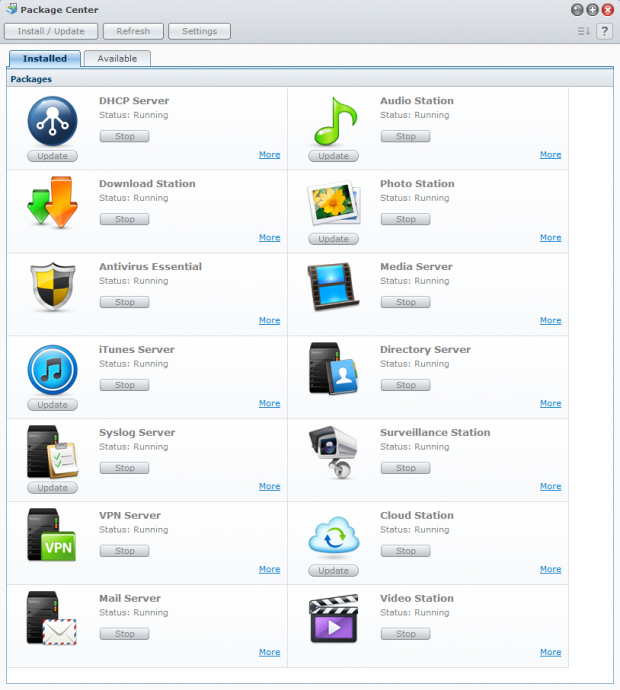
Out of the box several modules are installed and running. You can easily turn these off if you don't need them.
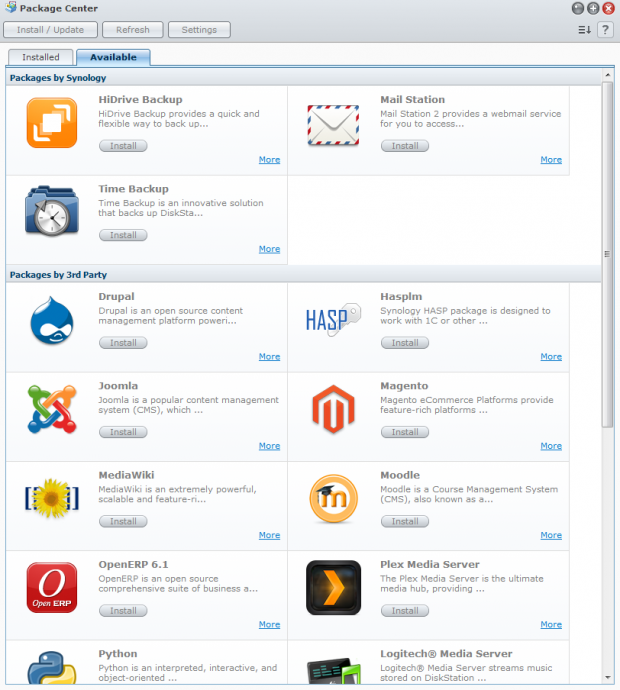
Many other modules are available and you can install them right from the NAS without searching for download files on websites, searching through forums on how to install them and such. It really doesn't get any easier than clicking the Install tab.
Setting Up Disk Arrays
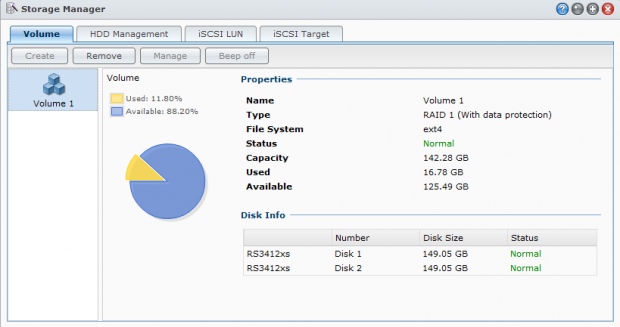
Truth be told, most users aren't going to use their NAS too far beyond the actual NAS part, holding data. Synology sells systems with and without drives. Systems sold with drives come preconfigured in what Synology calls SHR or Synology Hybrid RAID. Essentially this is RAID 5, but easier to upgrade to larger drives when needed.
Systems sold without drives will need to be configured. During the initial setup procedure users are presented the option of checking a box for SHR. If you want to use RAID 6 or another array type you need to configure that in the Storage Manager area.
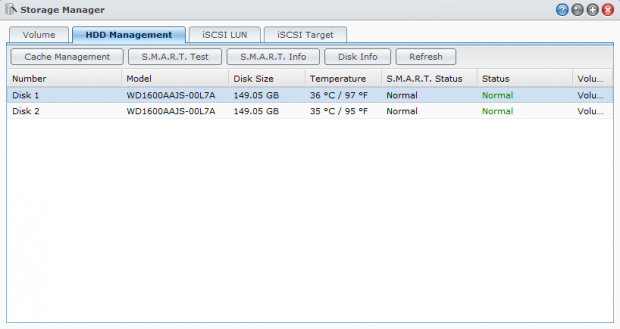
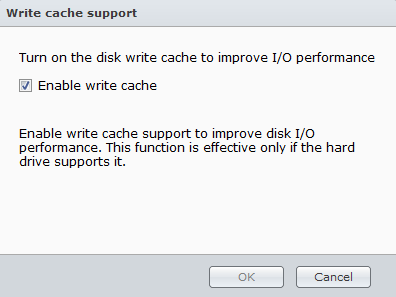
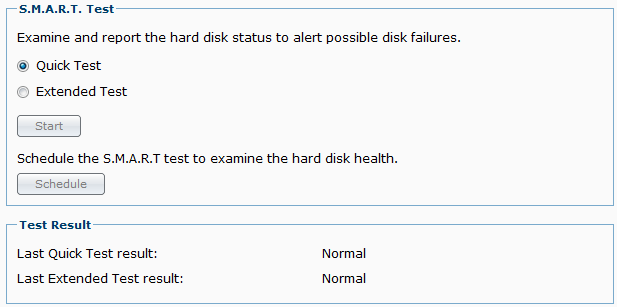
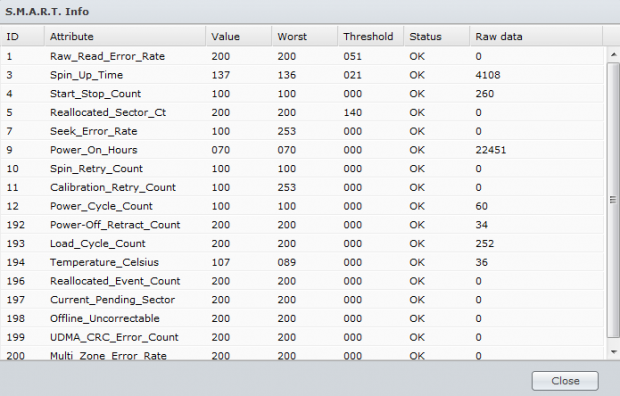
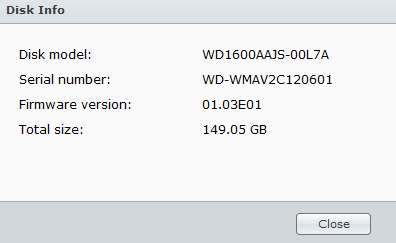
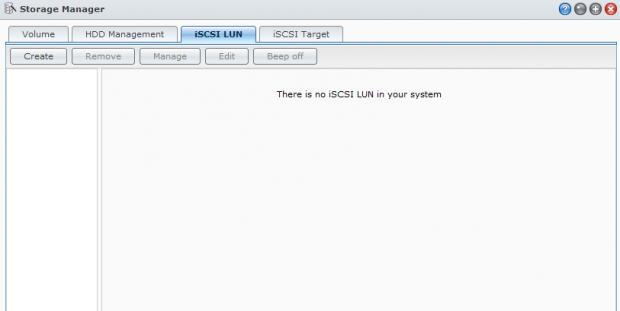
Once you are past the regular disk setup portion you can take the next step and start configuring iSCSI. I've yet to hear of a home user setting up iSCSI targets, but in small offices on up, iSCSI is almost necessity these days.
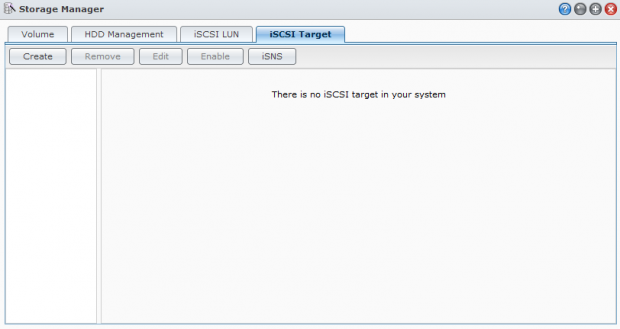
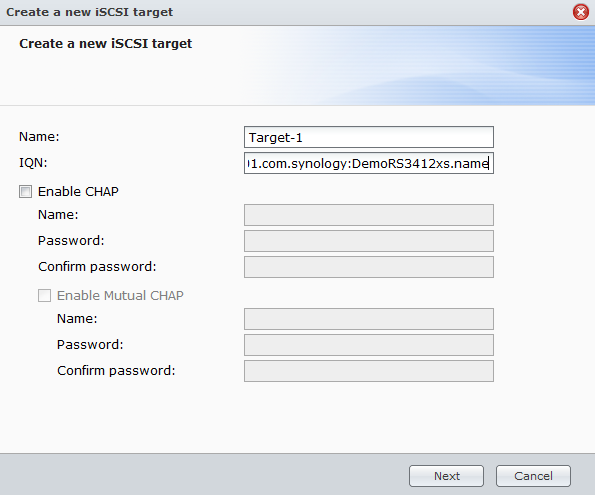
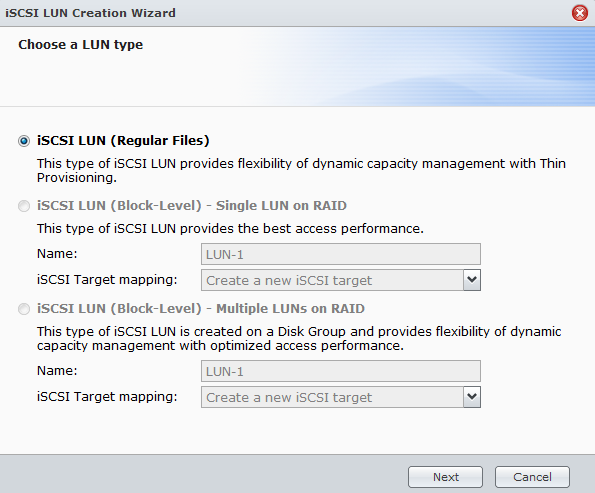
Synology makes the iSCSI easy for users.
Files, Backup and Resource Monitor
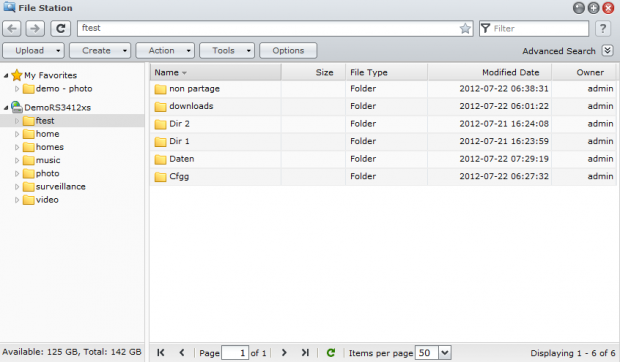
Within the NAS you can see the folder and file structure on the content on the NAS. This includes folders you've hidden from the public.
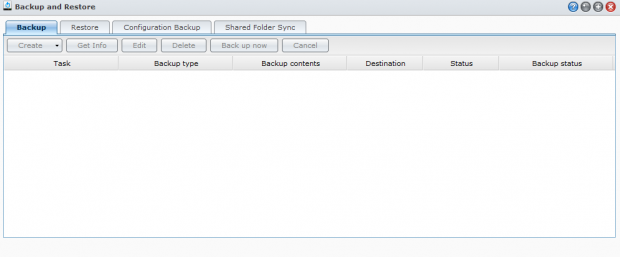
The file structure makes setting up more advanced features easier. Here we see the backup and restore section of the software.
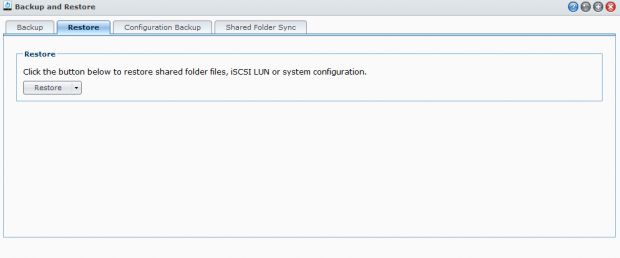
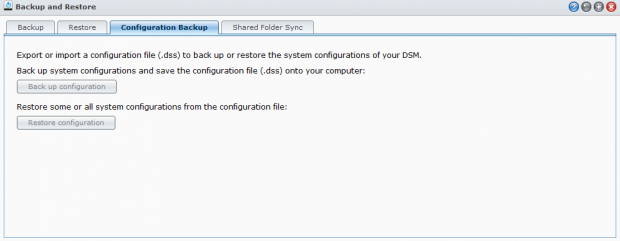
You can even backup and restore your backup and restore configuration.
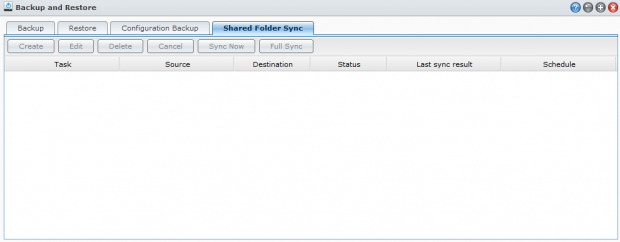
In my office, I have several folders setup to sync with the NAS. This way I know if my notebook SSD fails, all of the data is kept safe on the NAS.
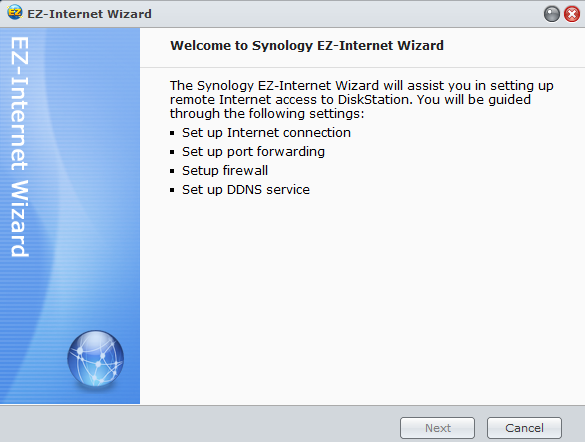
You can even keep your folders in sync from remote locations. The EZ-Internet Wizard will program your uPnP router, a task that even I can only attempt to do, usually without success manually.
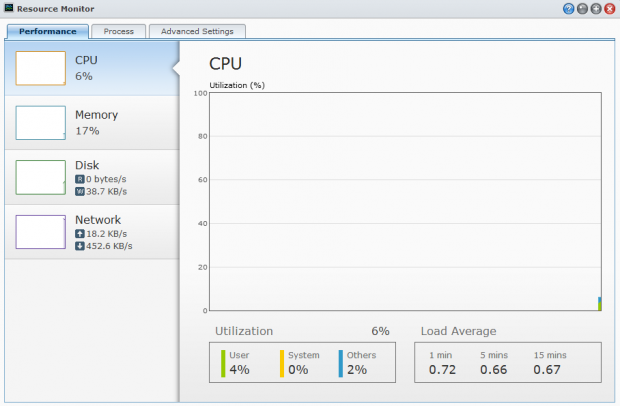
If you're in an office and worried about recent growth you can peer inside the Resource Monitor and observe how hard your NAS is working.
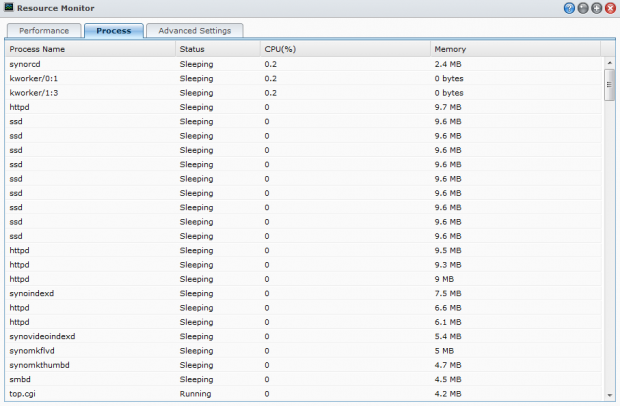

If your office grows you may need to upgrade to a higher performing model or add another NAS.
Information and Logs
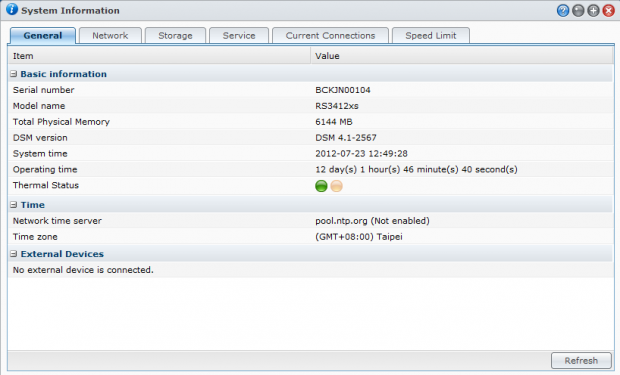
At some point you'll want to dive in and see how your NAS is configured be it for security purposes or just to add another feature.
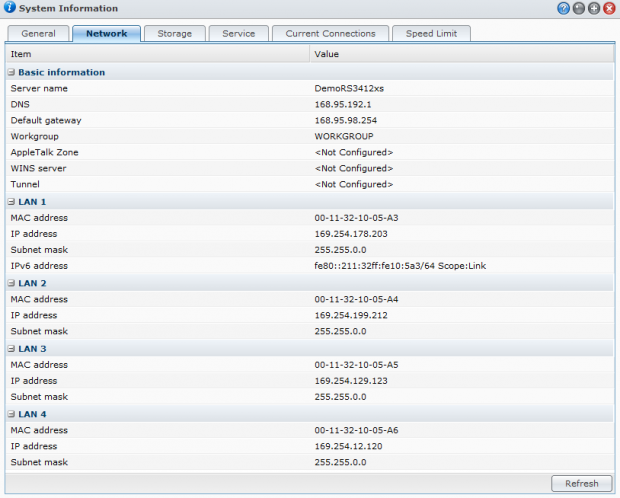
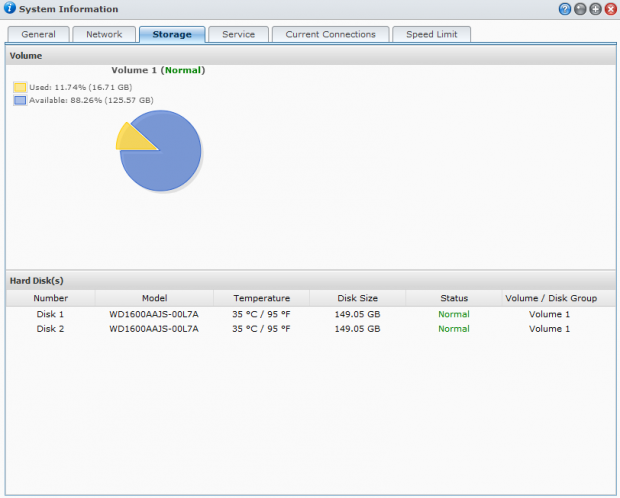
Monitoring your storage use is easy in the Synology DSM software.
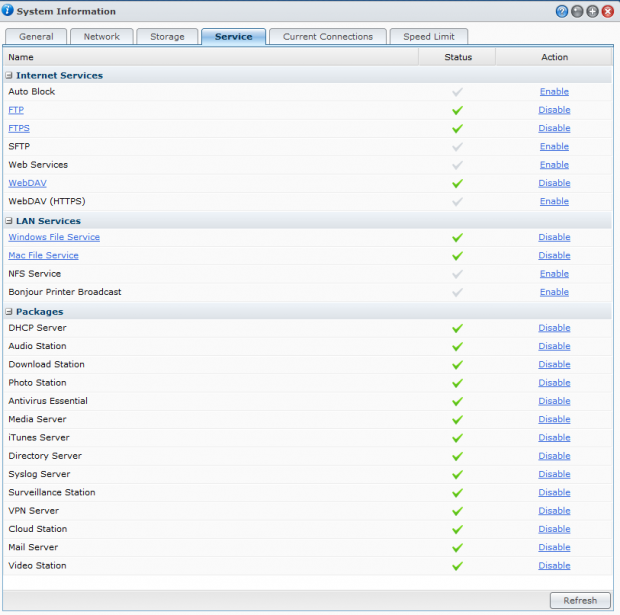
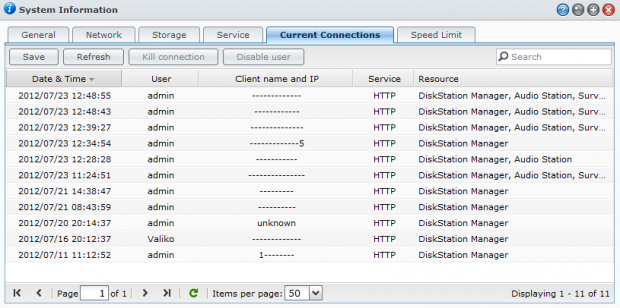

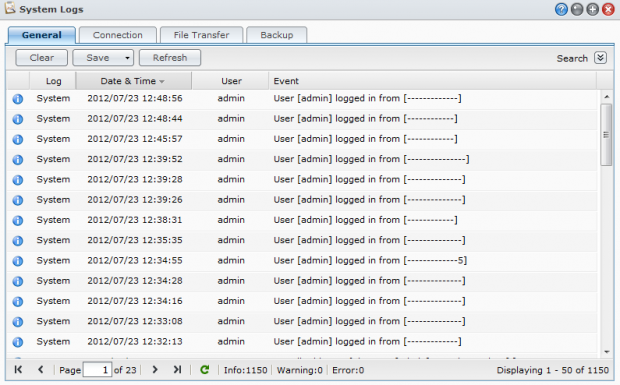
Synology DMS also keeps detailed system logs so you can go in and see who and when an administrator logged in or changed a setting.
Having Some Fun
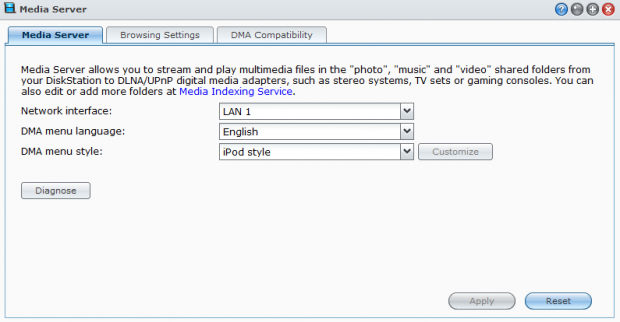
I have numerous NAS servers at my home and in my office, but the most used is the NAS that holds our family media.
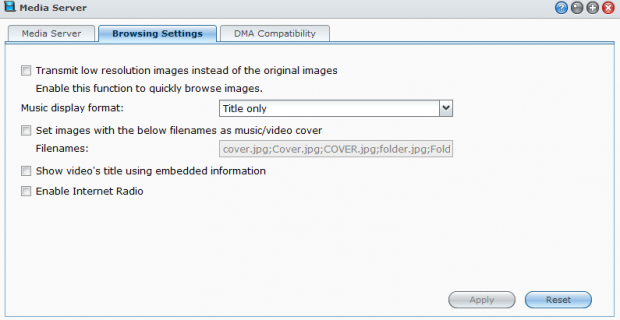
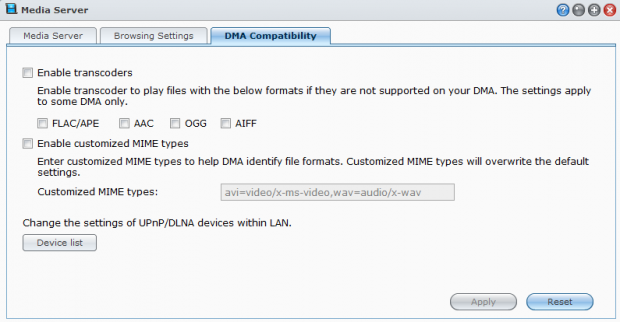
Even if your devices can't play the format of your files, the Synology software can transcode the files to a format they can play. This is a big issue for Sony PlayStation consoles.
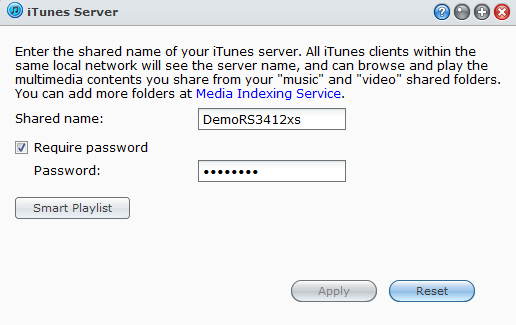
I think everyone needs an iTunes server.
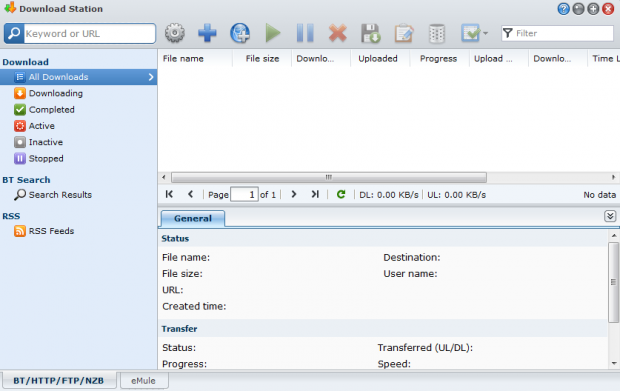
If you don't have the files you want to play then Synology includes a Download Station.
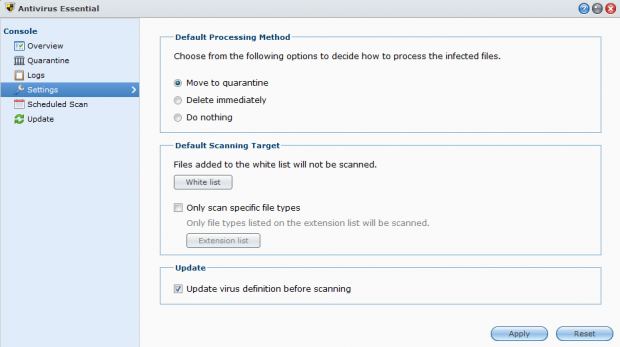
And when you use the download station... Antivirus is built into the NAS software.
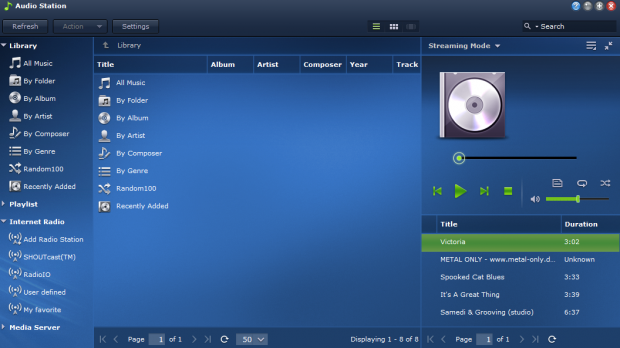
If you have a web browser on your connected device you can still get to your media files and play them through the web.
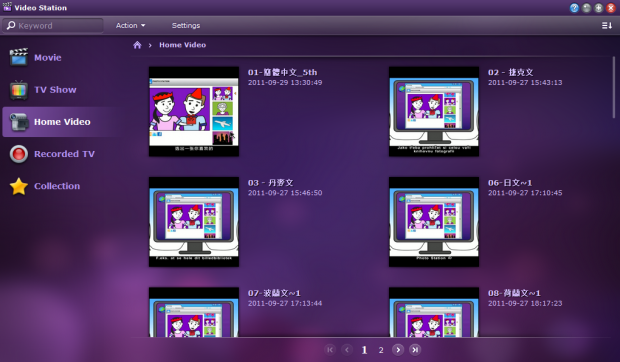
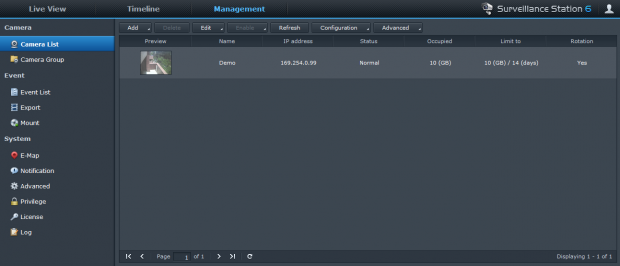
You can even attach cameras around your home or office and view them in the Live Viewer.
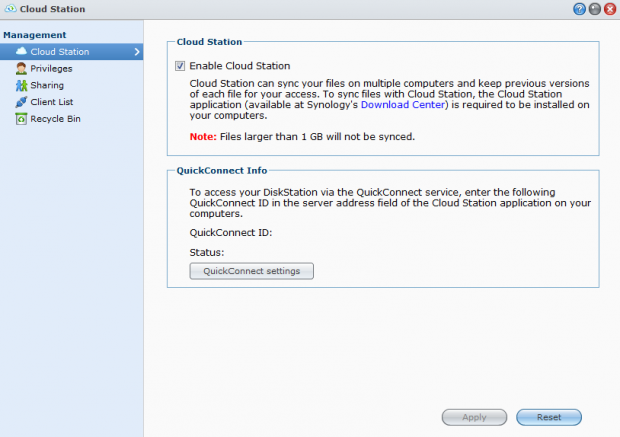
In 2012 Synology launched a new cloud feature that makes getting to your NAS through the cloud easier than ever.
Final Thoughts
In order to keep the upcoming NAS reviews from Synology from becoming 20+ pages we write NAS software and firmware articles like this to refer back to. Articles like this also give readers a chance to see the software before purchasing a product.
Synology, QNAP and Thecus make up the 'Big Three' in the NAS market today and all three companies provide virtually the same features. Enabling and configuring the features is a different story, everyone has a different interface and method. We can't really say that one method is better than another since for the most part it is all the same features and functions. What we can say is that some users will relate to a layout better than others.
Synology's software is a lot like a desktop and is easy for Windows users to learn. Some of the features are tucked away in a system of menus, which isn't always ideal for power users who want to get to a certain feature quickly. It's like needing to go to the Control Panel in Windows to change the user password. The icon based menu system does keep everything tidy so you are not presented with every option at the same time.
In the next few days we'll have a review of the Synology DS412+ online and take a close look at the hardware side of Synology.

 United
States: Find other tech and computer products like this
over at
  United
Kingdom: Find other tech and computer products like this
over at
  Australia:
Find other tech and computer products like this over at
  Canada:
Find other tech and computer products like this over at
  Deutschland:
Finde andere Technik- und Computerprodukte wie dieses auf