Guide: Increase the RAM in your QNAP NAS
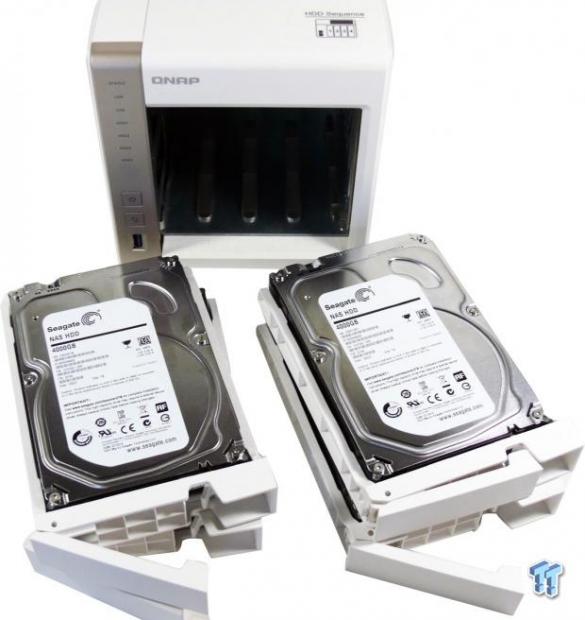
As most of you know, when you purchase your very first QNAP NAS, most of the units come with upgradeable memory. While the procedure to upgrade the memory will differ by model, in the most basic of terms, this article will serve as a general guide to upgrading memory. The NAS we are using today is the QNAP TS-451.
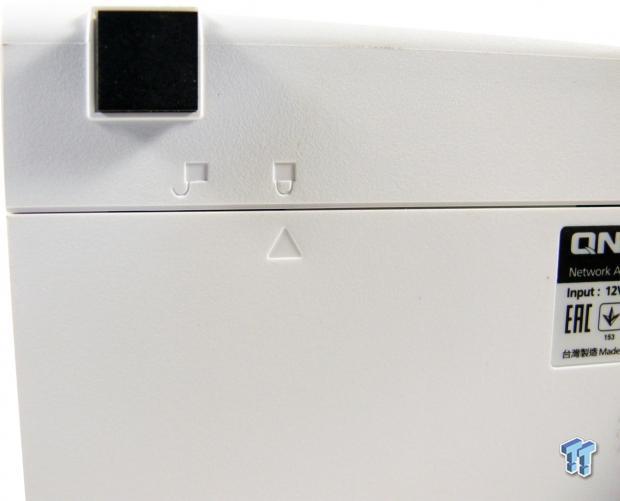
The TS-451 is the first NAS I have seen from QNAP to offer an easy solution to opening up the enclosure for the memory upgrade procedure.
On older NAS units or Pro models with the metal casing, you will want to start off by pulling all the screws off the rear panel.
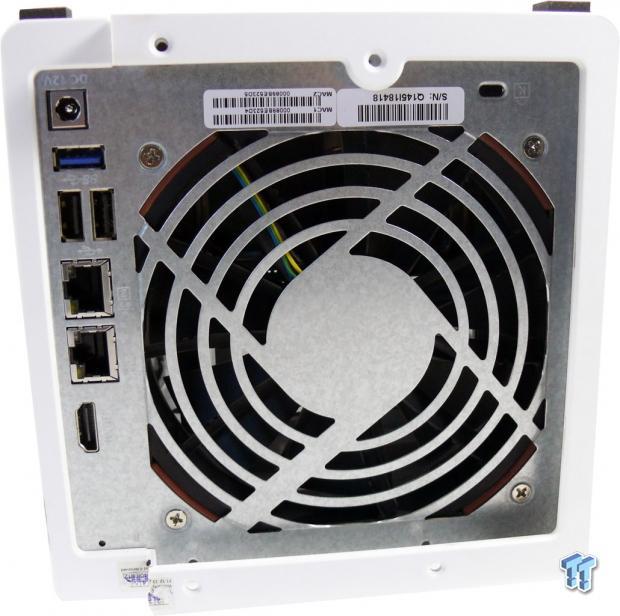
For the TS-451, you will need to pull a few screws to release the rear panel, of course they have put the warranty void sticker over the chassis at bottom left in the image.
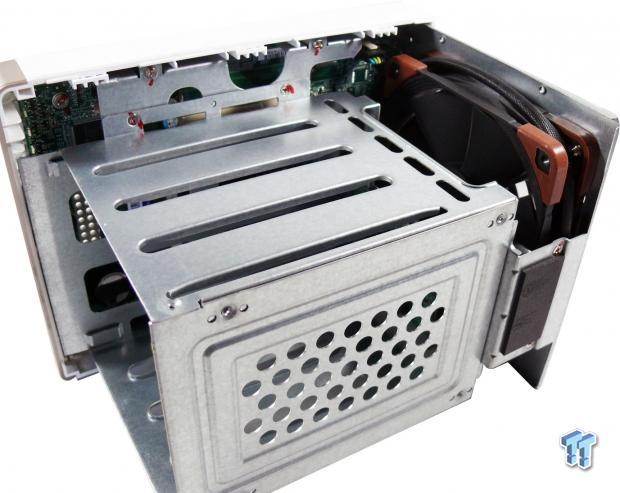
Once you get your NAS open, it will look similar to this. The drive cage is almost always in the way when trying to upgrade memory, so we will start by removing a few screws to get at the motherboard.
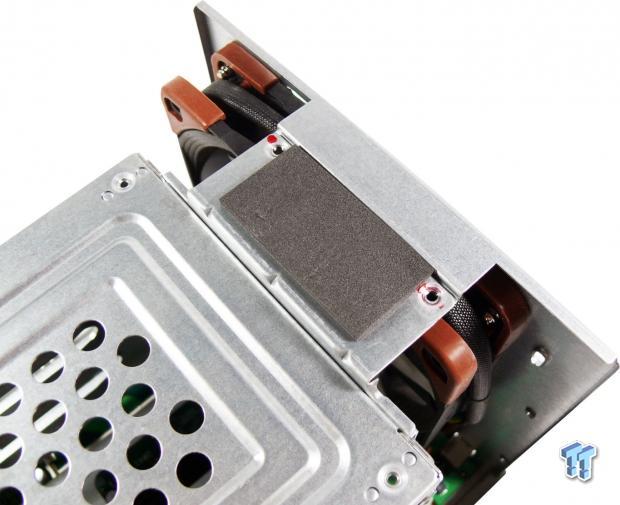
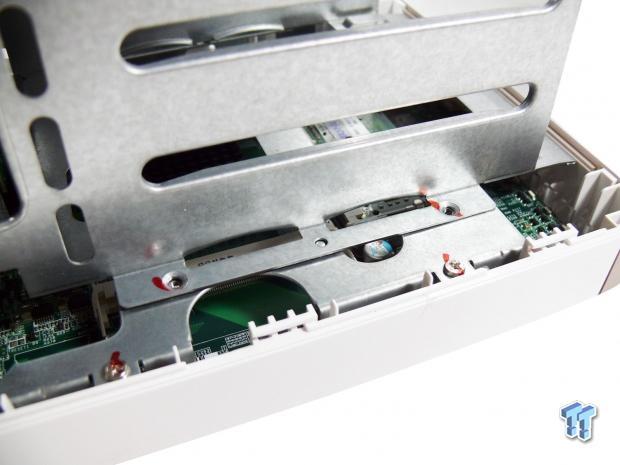
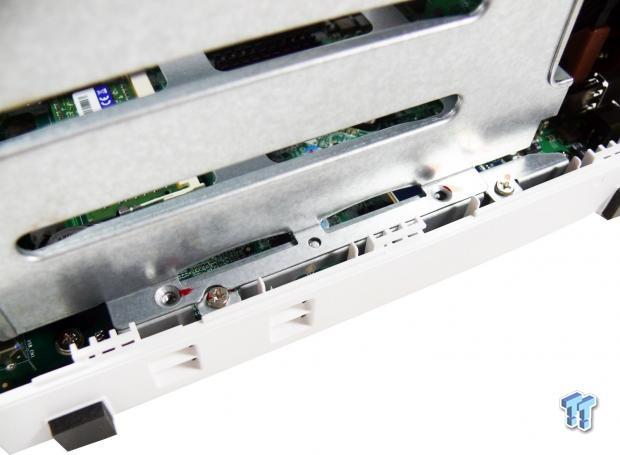
Seen above are the screws you will need to remove to get at the motherboard for the TS-451. On NAS systems like the TS-470 and other with the metal chassis design, I always found it easier to go at it by removing the motherboard from the chassis.
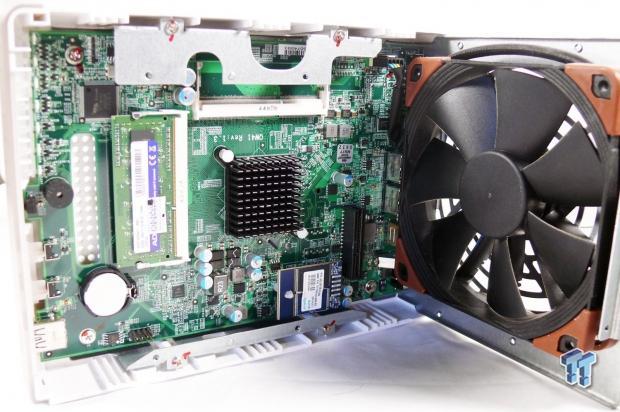
We have finally reached the motherboard in our TS-451, and as you can see QNAP has left a memory slot open for us to upgrade.
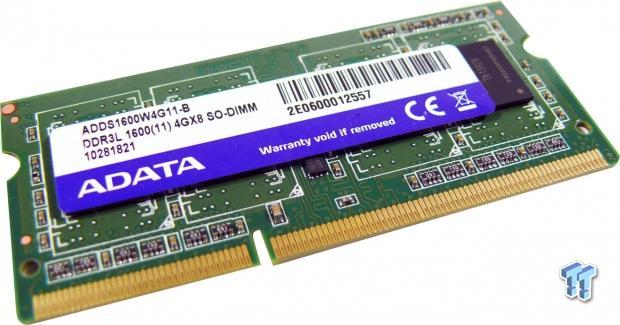
Over the past few years, I have had a lot of NAS appliances and every one of them has, at one point in time, went through the upgrade process. While I do believe QNAP offers memory upgrades for each of their NAS appliances in their store, the best way I have found to go about this is to pull the NAS open and purchase the exact same module that is already installed.
This will help result in compatibility of both memory modules running together. In the case of our TS-451, we found a 4GB stick of ADATA DDR3L that operates at 1600MHz, so we grabbed a second.
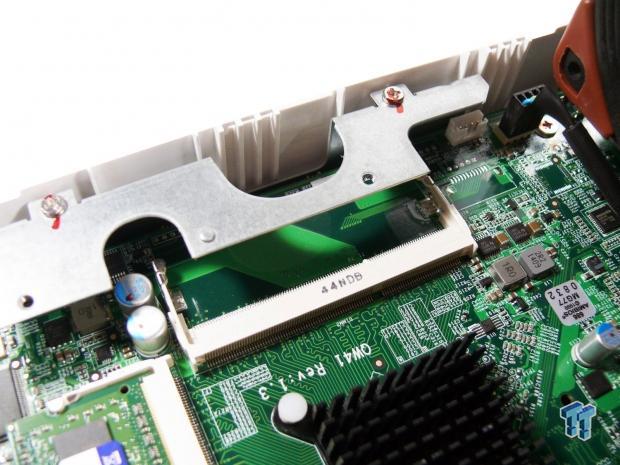
Before you go messing around with the motherboard, you are going to want to ground yourself and discharge any static that has built up. Take a look at the socket and see how you can go about installing the second module, for our TS-451 the memory slot is covered up by part of the motherboard tray. The metal chassis models like the TS-x69 and x70 series normally house the second slot on the back of the motherboard, making it slightly easier.
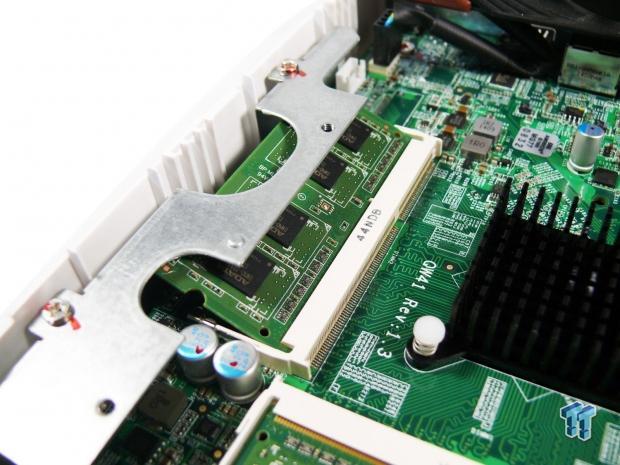
Above, you can see I was able to snake the stick of RAM into the slot - it took some time, so be patient when trying to get it lined up.
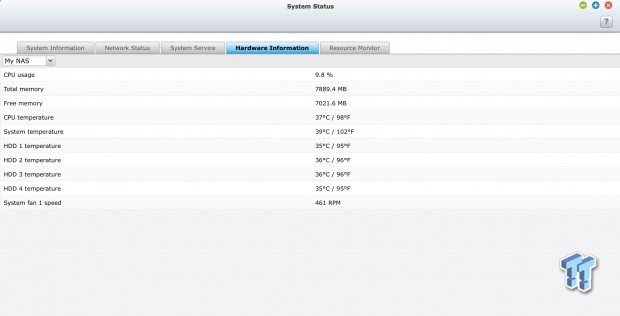
After you get your additional memory installed in your NAS, button everything back up by installing all the screws back where they came from and replacing the chassis housing. Fire up your NAS and head to the GUI to see if your newly installed capacity is being recognized. As you can see above, our TS-451 now has 8GB of RAM ready to go.
So, when should you make that decision to upgrade the memory in your NAS appliance? What I normally do is watch and log my resource use over time. If you see that your NAS is using a lot of resources running services or add-on applications, it may be time to add a second stick of memory.
Adding a second stick of memory can at times help systems with poor file transfer performance, or for those of you that use HD Station and XBMC, improve performance there as well. With new NAS appliances like the TS-451 supporting virtual machines, additional memory will aide in running those VMs, whether you choose to run a Windows or Linux OS.
PRICING: You can find the QNAP TS-451 NAS for sale below. The prices listed are valid at the time of writing but can change at any time. Click the link to see the very latest pricing for the best deal.
United States: The QNAP TS-451 NAS retails for $599.99 at Amazon.
Canada: The QNAP TS-451 NAS retails for CDN$900.71 at Amazon Canada.

