The Bottom Line
Introduction, Specifications and Pricing
LEPA is a company that we do not see too much of on this side of the pond. In fact, here, you are more likely to have seen products from their sister companies, Ecomaster and Enermax. While it has been a very long time since we have put our hands on anything made by Ecomaster, we have seen many cases and cooler from Enermax in our time, but this is the first we have ever seen a chassis from LEPA. That being said, since 2010, LEPA has been striving to be a company well known for high standards, quality, performance, and stability, all wrapped up in "reliable, high-tech solutions".
With nothing to really go off of in our history, we look back to what we can recall of the various Enermax cases we had the pleasure of looking at. While they are all very unique except for one very old example, they always tended to have a pretty decent feature set, and it really came down to if the styling appealed to you or not. The only thing that sticks out in our mind about all of the cases we saw, is that Enermax cases always tended to have very tight door panels. Not the kind of tight that eliminated rattles, but the panels were so tight it made them a real struggle to get them on and off. We just hope this is not something that carried over to LEPA when they started offering cases under their name.
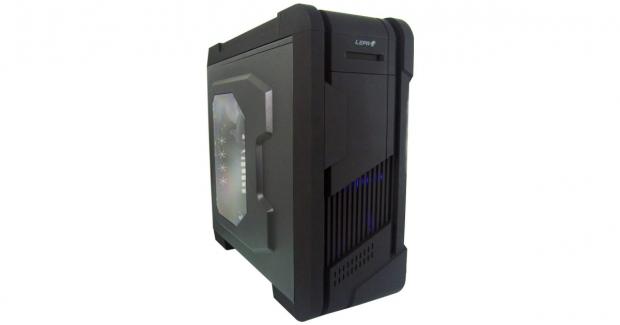
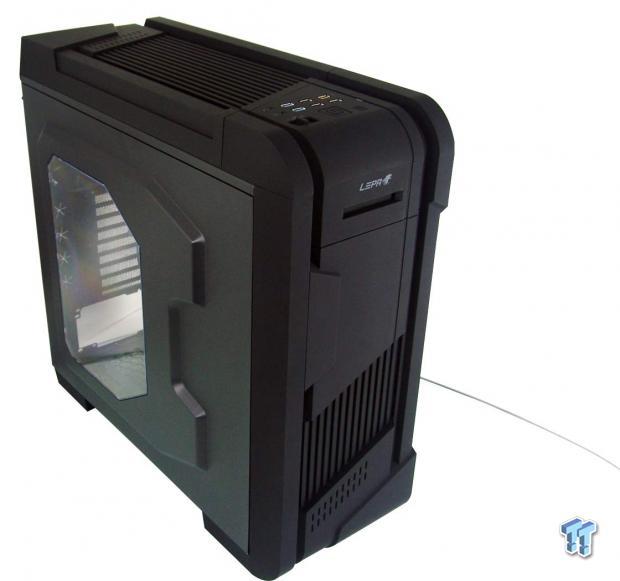
Today, we are having our look at the LEPA Lenyx, or the LPC801A-B full-tower chassis, that is actually marketed as a "big-tower" if you look on the LEPA website. This is due to the fact that this chassis offers all things associated with a full-tower chassis, but with one addition, the Lenyx can also allow for E-ATX motherboards, making it somewhat larger than the standard full-tower designs out there. Lots of time was spent on the exterior appeal and design that is sleek with the choice of surface treatment, but has a masculine angular feel to it, with plenty of body lines and features to keep even the most picky customers content.
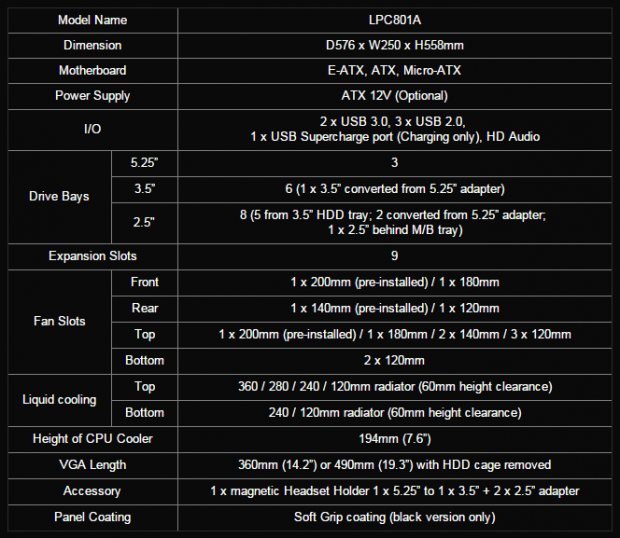
The LEPA Lenyx LPC801A does come in two variations. There is the 801A-B or the black version we are seeing here today, and there is also an 801A-W that is white inside and out. The Lenyx is 576mm deep, 250mm in width, and stands 558mm tall, offering room inside for Micro-ATX, ATX, or E-ATX motherboard compatibility. The provided chart then jumps to what is found in the front I/O panel, where we see there is plenty with the pair of USB 3.0 and three USB 2.0 ports, a USB Supercharge port, HD Audio jacks, and the typical lights and buttons.
Internally, the chassis offers four 5.25" bays, but only three are accessible via the slide down section of the front bezel. Below those, you will find a two section HDD rack, where the top section will fit four 3.5" drives and this section is removable, while the lower section is permanent, and houses another pair of 3.5" drives. Mind you, all six trays are also drilled for 2.5" drive installation as well. Specifically for 2.5" drives, there is one location behind the motherboard tray, and another is offered in the unused ODD bay, in the form of a 3.5" bay adapter that is also drilled for 2.5" drive installation. Then in the back of the chassis, we find this design affords users eight expansion slots to populate with cards.
Cooling in this chassis is a bit unusual when it comes to what can fit and what is installed. The front of the chassis offers a 200mm fan which we have seen many times before, but as options, it is either that, or the option of a 180mm fan; there are no holes for 120mm or 140mm fans. The rear of the chassis offers room for either a 120mm or 140mm fan, and a 140mm fan is placed there. The top of the chassis is a bit more normal. Where we are given a 200mm fan for now, but it also offers room for a 180mm fan, two 140mm fans, or three 120mm fans, while offering 60mm of room for water cooling as well. The bottom of the chassis is the last option for fans, where we see that two 120mm fans can go there. The permanent section of HDD bay does offer a channel to slide in a radiator, but also limits overall height again to 60mm.
As to the limitations this chassis imposes on your purchasing choices, we find a lot of room to fit your needs. They offer 194mm of CPU clearance, which will cover just about any and all air coolers out there. We also see that with the HDD rack fully installed, the chassis affords 360mm of room for video cards. With it out of the way, that space greatly increases to 490mm of room. We also see that there is a magnetic headphone holder to stick to the side of the case, and they mention the bay adapter we addressed a bit earlier. Lastly, we see that they have followed along with designs from the likes of BitFenix, and offer this case with a top and front panel that have a "Soft Grip" coating, and it appears this is does not feature in the white variation.
We were easily able to find around ten locations where the Lenyx LPC801A-B can be purchased, but wow is the pricing all over the place. The low-end of the spectrum has this chassis offered for $171 via Amazon. If this chassis interests you, and you are on the lookout for the best deal, make sure you look carefully as $171 is a reasonable price to get you into a super-tower chassis.
Packaging
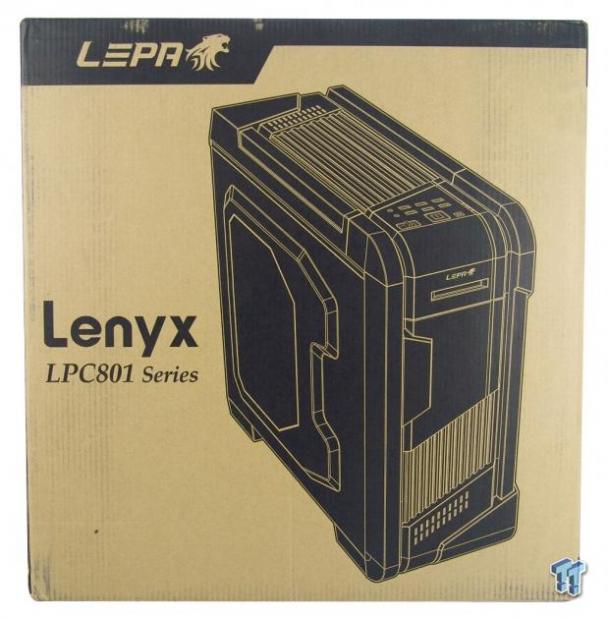
Packaging is kept simple to allow more of the investment to go to the actual chassis, and so they offer this black printed plain cardboard box. The front of which offers us the LEPA name and logo at the top, a rendering of the chassis off to the right a bit, and the Lenyx LPC801 Series marked to the left.
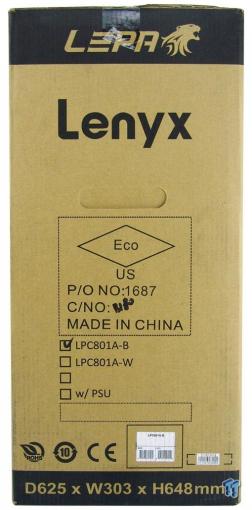
This skinnier panel also starts with LEPA and the logo at the top, but the only thing worth a mention on the rest of the panel is the check boxes at the bottom where we see which color of the chassis we have, and whether or not it has a PSU inside.
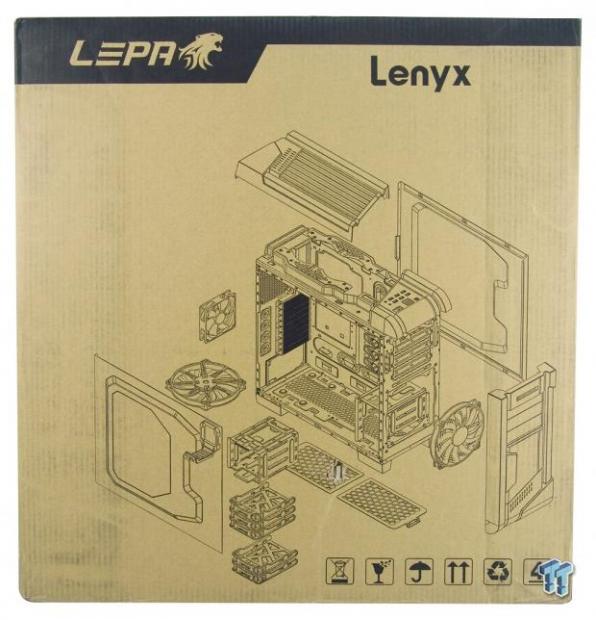
Outside of the naming at the top of the back panel, the rest of it is taken up with a huge exploded diagram of the Lenyx. This shows all of the removable components, the fans, even down to the dust filters offered.
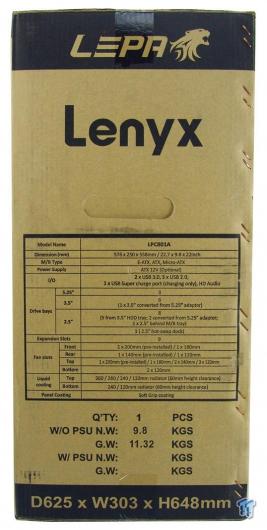
As we make it to the last of the four panels, we see that now LEPA is offering potential customers the full specifications of what the Lenyx has to offer. We also see the first mention of the 9.8 kilograms of weight.
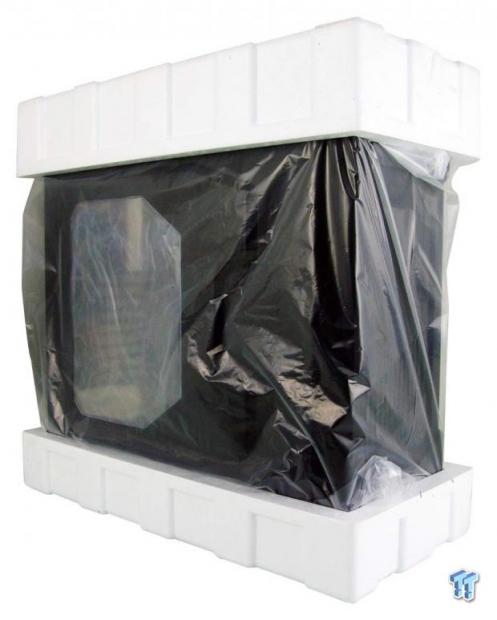
Inside of the box, we find the chassis has had plastic applied to both sides of the window prior to being wrapped in the clear plastic liner to protect the surface treatments and paint from minor rubbing. To take on the drops, bangs, and kicks associated with shipping, thick Styrofoam caps are used at the top and bottom, which allowed this large and weighty chassis to arrive in great condition to us for testing.
LEPA Lenyx LPC801A-B Full-Tower Chassis

The front of the Lenyx gets completely covered in Soft Grip, from the deep grooves over all the angles, and covering all of the vertical body lines as well. Just below the LEPA name, there is a hot swap 2.5" bay, and just below that, the front of the chassis actually slides down.
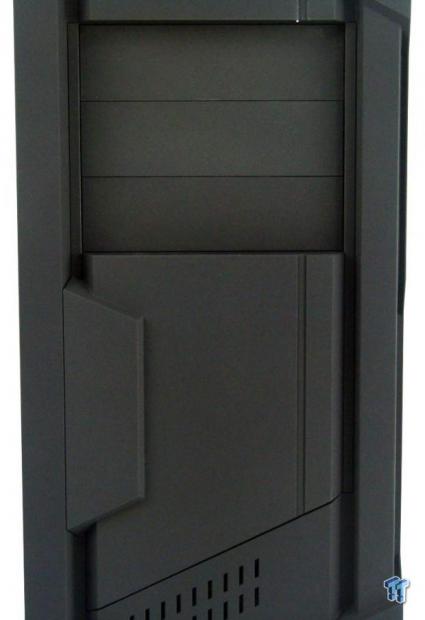
As easy as pressing a finger on the angled protrusion to the left, the section of the front bezel slides down to exposed three of the four 5.25" bays in the chassis.
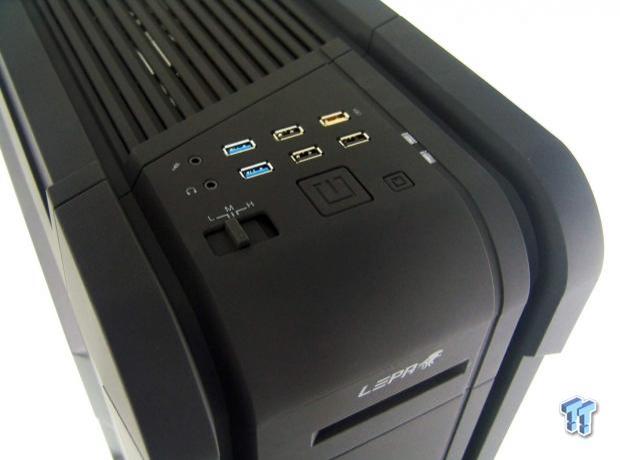
As the top panel curves from the front to the top, we first run into the three-way fan control switch, along with the power and reset buttons. Behind them are the HD Audio jacks, USB 3.0, USB 2.0 and Supercharge port, and off to the right of them is a blue case power LED, and a red HDD activity light.
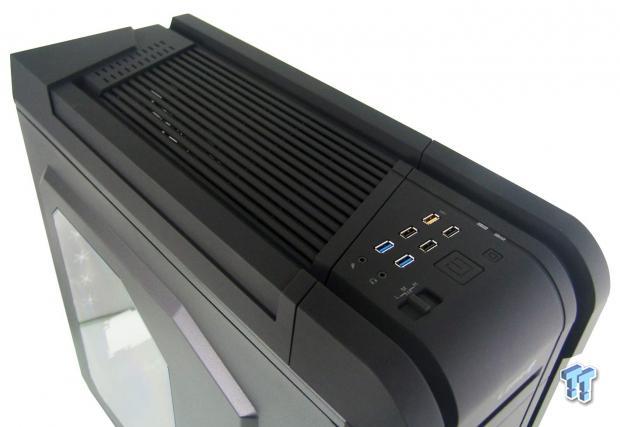
The rest of the top panel sort of mimics the lines and angles we saw on the front, just this time offered to allow the most possible ventilation with the skinny bars this time.
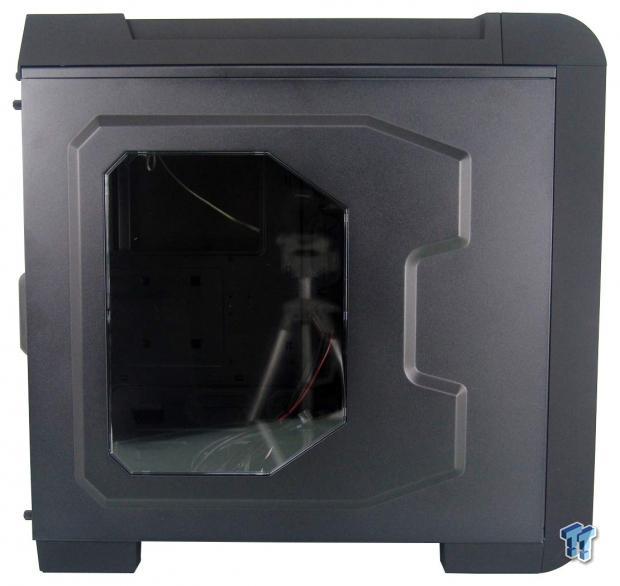
The left side of the Lenyx has a shape on the door we have seen in Enermax cases, and the window is well placed, but irregular in shape. We can also see a bit of a difference between the Soft Grip on the top, front, and used on the feet, from the black textured paint applied to the steel panel and frame.
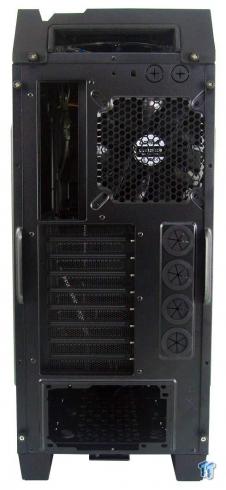
Starting with a reinforced handle at the top, we see a pair of knockouts just below for wiring, and below that is the exhaust fan next to the rear I/O. We are then given eight expansion slots with four grommets for water cooling next to them, leaving room for the PSU at the bottom.
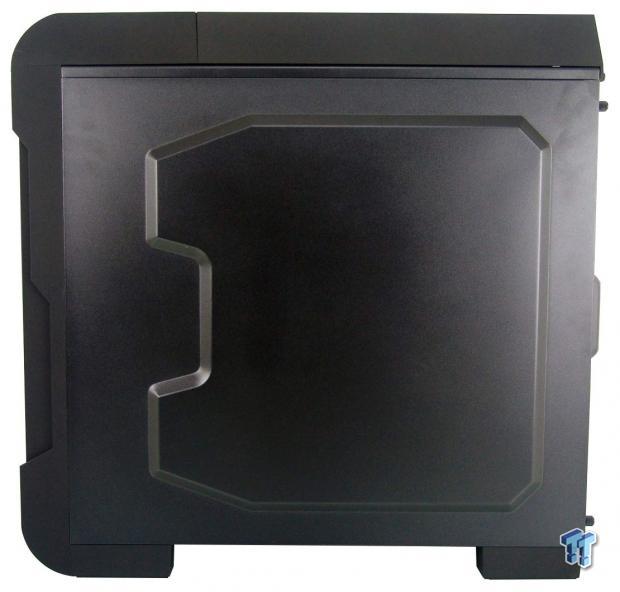
The right side of the chassis looks much the same as the left, but of course, there is no window this time. What we do like to see though is that the frame meets the plastic cleanly and with a sharp line, and the side panel has finite gaps and the lines are also indeed straight as an arrow.
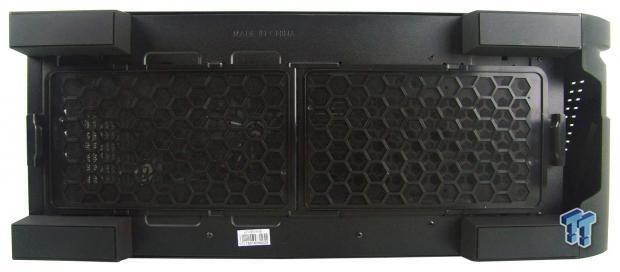
Under those thick plastic legs we saw earlier, the entire bottom surfaces are covered with a rubber foot. The dust filter that covers the entire bottom of the chassis is broken into two sections so that it is easier to remove and clean. We also see rivets used in the front under the HDD rack, not screws.
Inside the Lenyx LPC801A-B
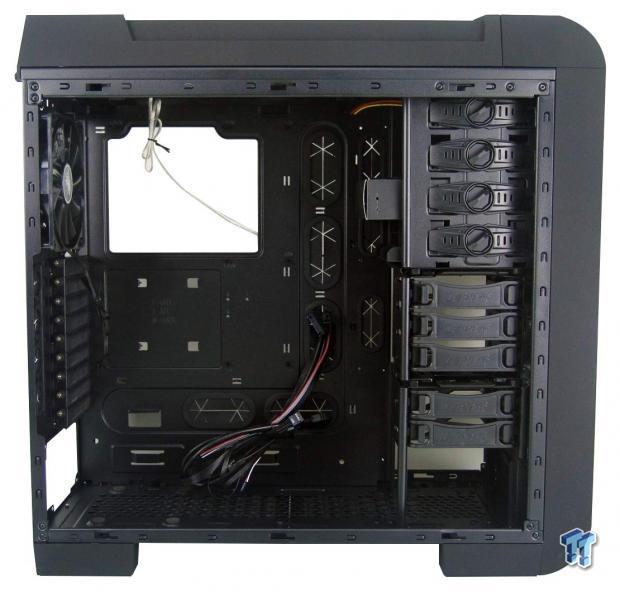
Finding out LEPA cases indeed have super tight door panels, with much fuss we got them off to see inside. Along with a vast cavity of room inside, we can see the wiring is tied up and bundled at the bottom, and there is a hardware box locked into the 5.25" bays.
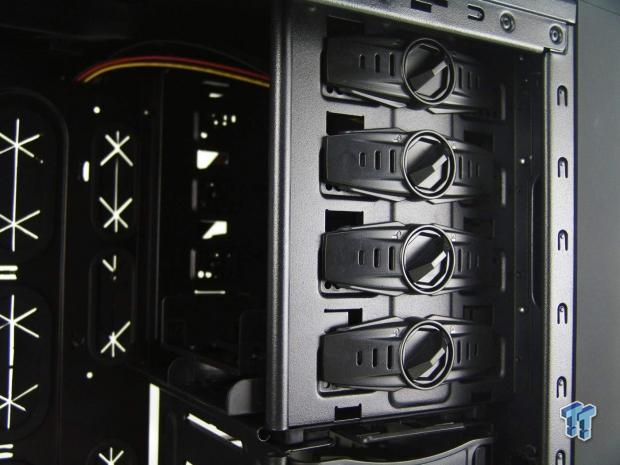
Of the four 5.25" bays, the bottom three are the ones that pass through the bezel, yet all four bays offer tool-free locks. In the lowest bay, you can just make out the edge of the bay adapter that is made to take on either a 3.5" drive from the sides, or a 2.5" drive through the bottom.
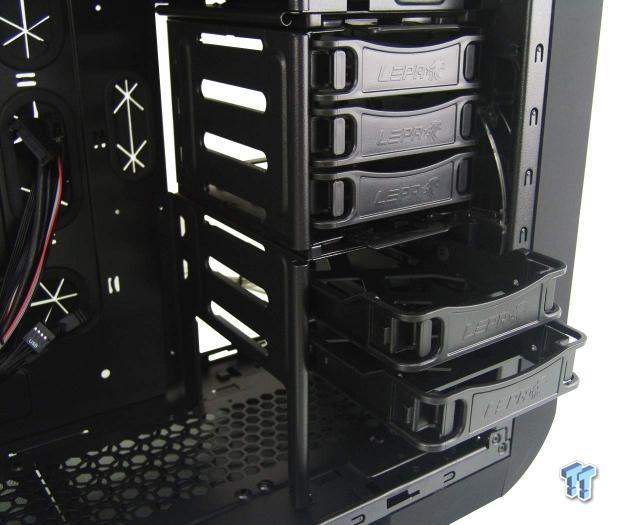
Where they could have fit more than the six trays provided, each capable of either 2.5" or 3.5" installation, they wanted to leave room under the cage for potential water cooling and fan placement.
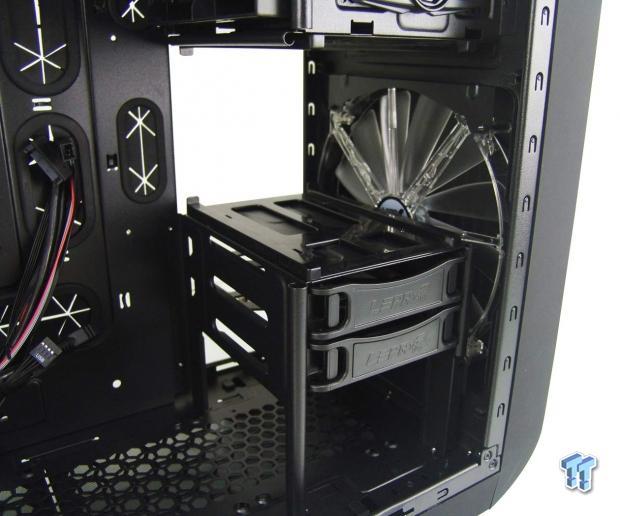
Squeezing some tabs towards the center of the cage, the top section of four trays is indeed completely removable. This will free up room for longer expansion cards, and also frees up the flow of that 200mm fan in the front.
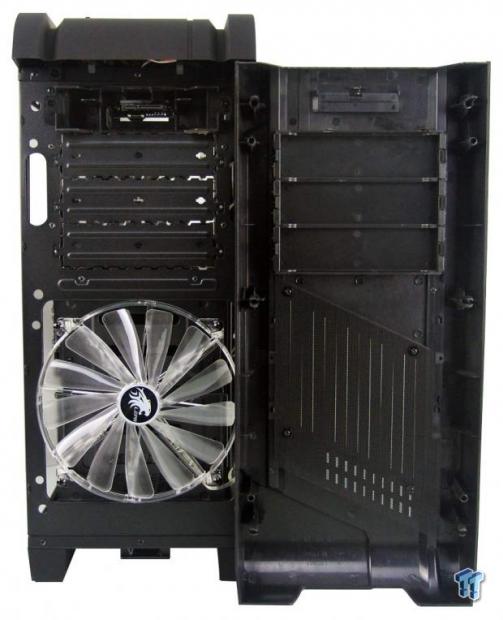
Removing the front bezel is easy enough, and we see this is how you would access the front fan. Inside of the bezel, we can now remove the bay covers, or after pulling some screws, remove the attached dust filter at the bottom for cleaning.
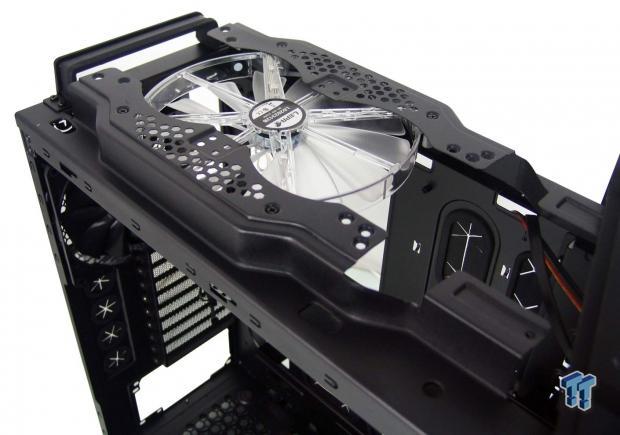
The top panel of the chassis is easily removed by removing a pair of thumbscrews at the back, and sliding the panel back and lifting it off. This give access to all of the cooling possibilities, and at the same time, the front I/O panel is a separate section, so there are no wires involved removing this panel either.
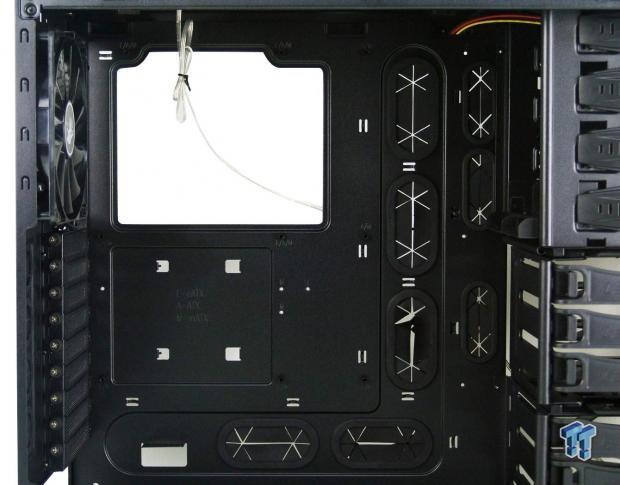
The motherboard tray comes with standoffs set for ATX, but is also able to take Micro-ATX and E-ATX boards as well. We find grommets in most of the wiring holes, there are plenty of tie points, and the access hole for cooler back plates is sufficient in size.
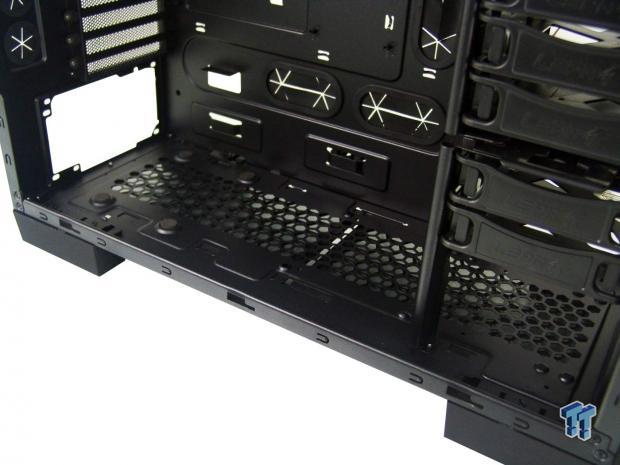
At the front of the chassis we mentioned that you can install a pair of 120mm fans or a radiator as well. This is of course as long as the PSU at the back and its wiring isn't too long and doesn't cause conflict with that area.
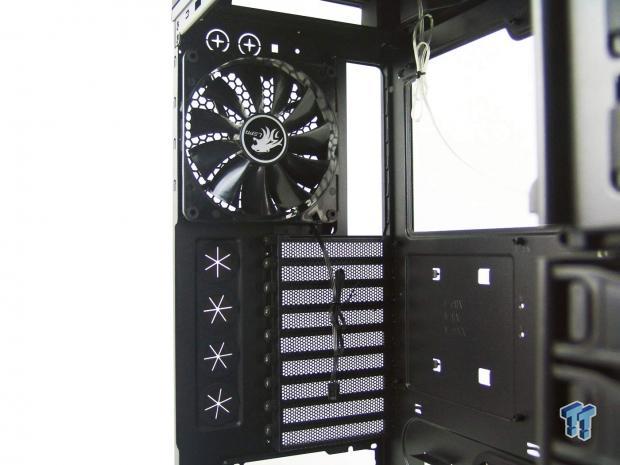
In the back of the chassis, we find an all black, non-LED fan with its 3-pin power lead hanging there. We also see that the ventilated expansion slot covers are held in place with thumbscrews, making securing cards pretty easy.
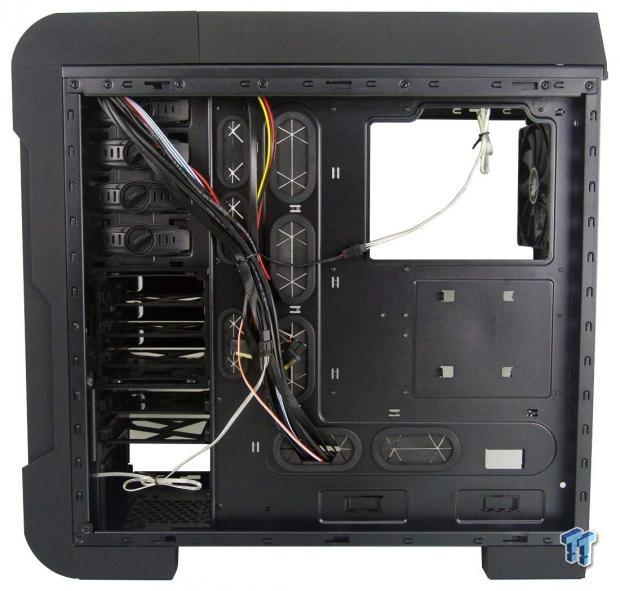
Behind the motherboard tray, there is a minimum of 25mm of space for all of your wiring needs. They had sort of tended to the wiring, but we will clean that up. We also see the SSD location under the access hole, and plenty of room to the left to wire up all of the drive bays.
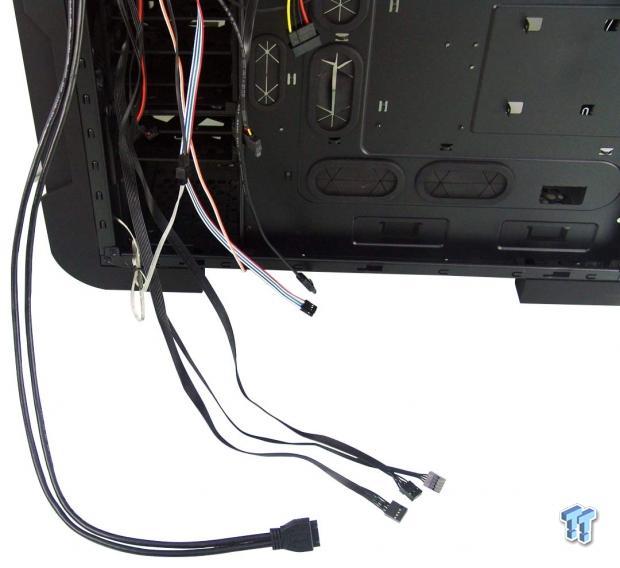
There is a lot of wiring to deal with in this design. Along with fan power leads and a SATA power lead for the fan controller, then the SATA power and SATA cable from the hot swap bay, then of course the normal switch and LED wiring, two USB 2.0 cables, and the native USB 3.0 cable. We just wish it was all black.
Accessories and Documentation
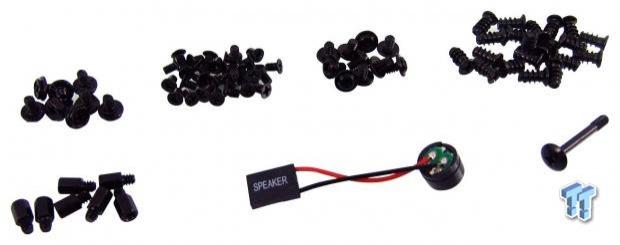
We are given PSU and HDD screws, countersunk M3 screws for the SSDs and motherboard, 6/32 screws, and a handful of fan screws. We are also given some extra standoffs for E-ATX, a motherboard speaker, and one long screw in case your 200mm fans lose one.
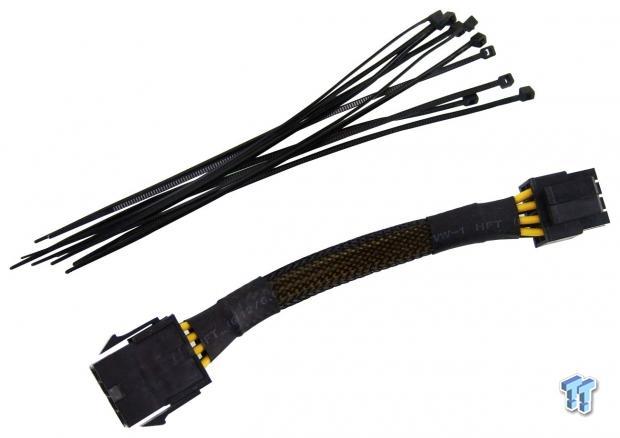
Also inside of the hardware box, we found ten zip ties to help with all of the wiring, and also due to the taller height of this chassis, we are also offered an 8-pin cable extension to help ease the strain on the PSU lead.
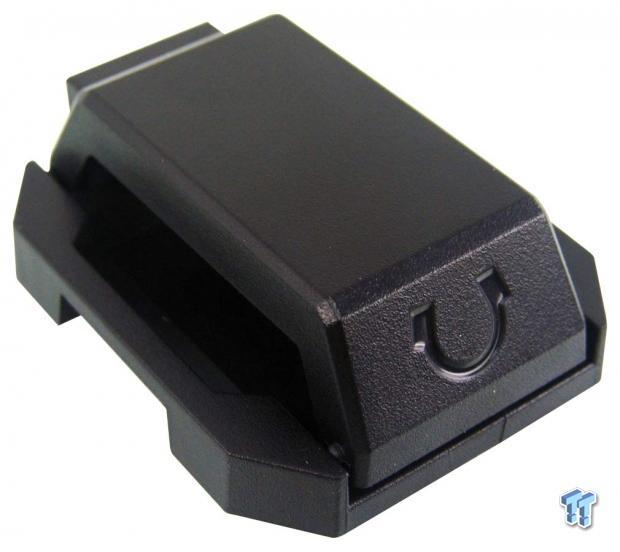
Also in that box, we found this heavy bit of metal and plastic that has five magnets on the back of it. What this is happens to be a headphone holder. The thinner top bit is on a hinge, and opens up to hold the cans, while the large part hangs from anywhere on the chassis that is convenient for you.
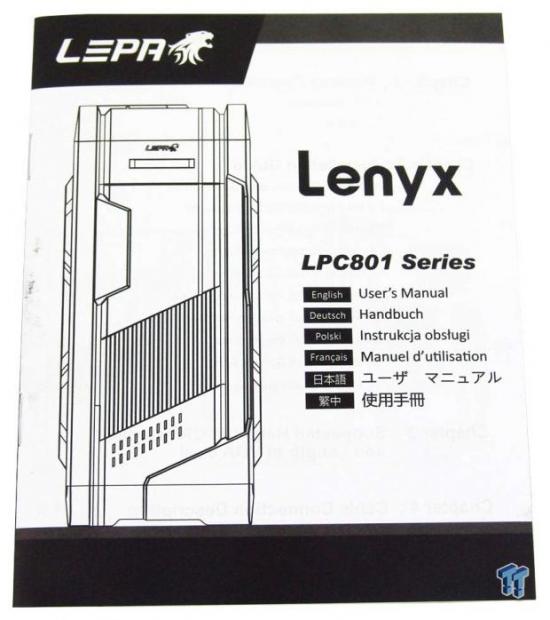
The manual is pretty thorough with its images and text explaining how everything goes into the chassis, including optional cooling ideas. They do not offer a parts list inside, and it is up to you to sort out if the component uses M3 or 6/32 screws and where best to use them.
Case Build and Finished Product
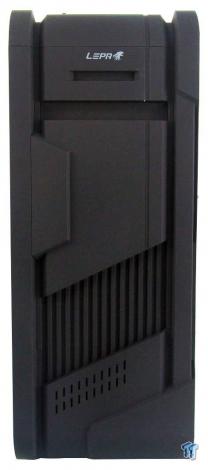
Without the use of a DVD or Blu-ray drive, we left the drop down section of the chassis in its upper position, and to be honest, the more we look at this chassis, the more we tend to like it. We know the angles and lines may not be for everyone, but we can appreciate it and its hidden features.
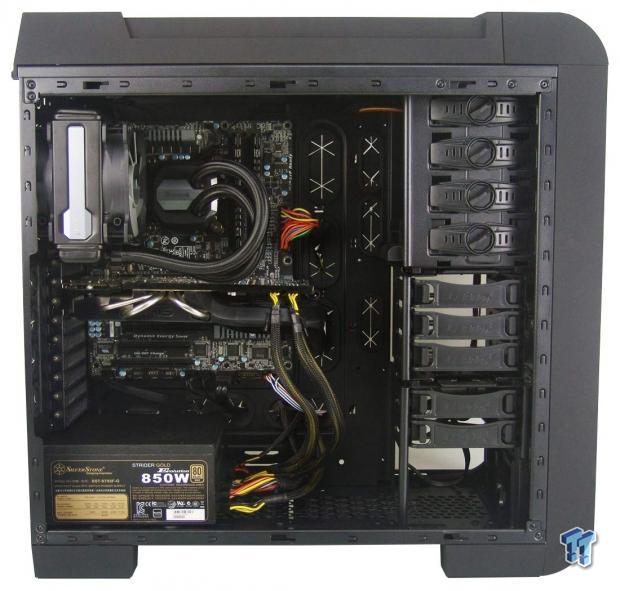
Inside of the chassis, we have plenty of room for the motherboard, and still plenty of room for that 60mm worth of water cooling to go up top still. There is also plenty of room to the right for E-ATX systems and another row of management holes for it. As far as the components went, they all went as expected with no real complaints.
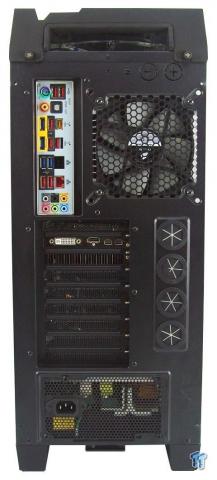
The I/O cover snapped right in, we did not have to flex the chassis to get the video card mounted, and the PSU lines right up to take on screws to secure that into place. Nothing out of the ordinary.
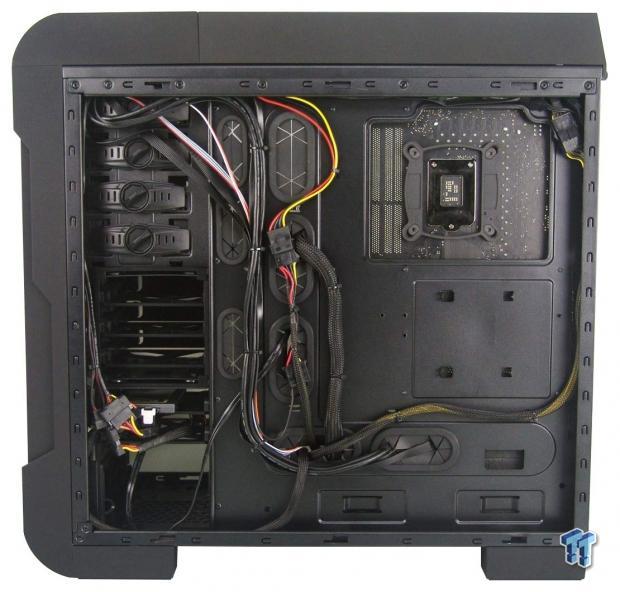
This took a bit of time, but with a bit of planning, you can get wires out of the way of each other, and still cleanly power everything and have the I/O panel wiring routed as well. This is also where we can to appreciate all of the tie points provided that seem to all be in great locations and easy to use for routing.
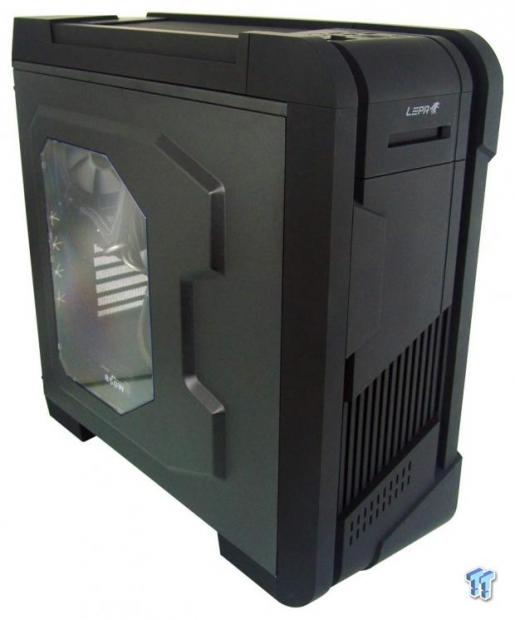
As we closed up shop with all of our goodies inside and looked for the power cable, we see that this chassis does not change a bit from the box to completed, and we always like that in case design. That is all except for the view through the side window, which has greatly improved with the hardware now behind it.
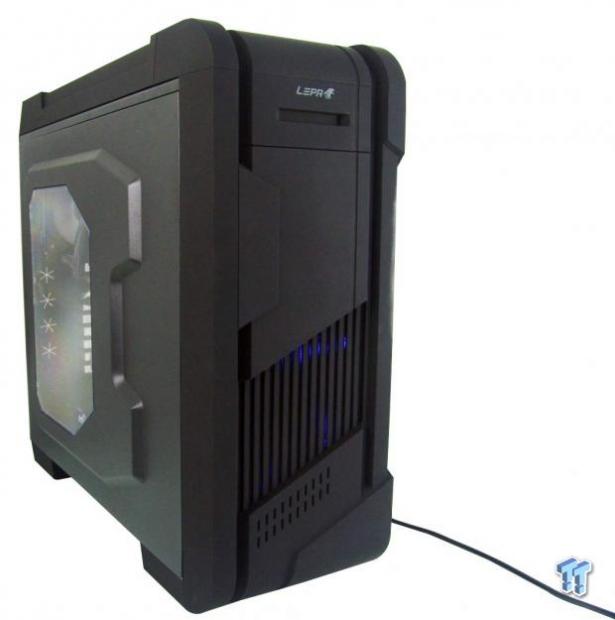
As we power the chassis, at the top of the chassis, we found a blue LED and a red flicker in front of it as the SSD booted up. We also saw that the top fan offers blue LED glowing through the top venting, much like the front 200mm fan is doing in this image through the front.
Final Thoughts
The exterior is well designed in our opinion. It does take some of the design points from other cases out there, yet still offers something completely unique looking. We do like the Soft Grip coating as well, and while it may not match the steel painted bits, it is super easy to clean, and makes carrying this large chassis around easier by using the grip and the handle.
We like the oddly shaped dent that carries on from older designs, yet offers a window that is irregularly shaped to fit the styling of the panel, and offers a great view of components with no view of the HDD and ODD racks. While we did have to fight the doors both taking them off and getting them to slide back onto the frame, we guess it is better than something that is poorly fitting and would flap in the breeze and rattle your brains lose. So, we aren't going to dwell on it, just be aware of it.
Inside the layout does show a bit of age with the large clunky tool-free clips, granted we are glad they are there, but most cases today are moving away from them all together. We do like that the entire rack of the HDDs was not locked into place, and that we can free up some airflow if needed, but we do wish the bottom was removable as well. We would have liked more fan options in the front, but with the HDD cage in there, water cooling options are out there anyways, so the 200mm fan is more than fine in this design. Speaking of the fans, more specifically the controller, and noise associated with it, we found on low the fans were heard at 29dB, 33dB on medium, and 37dB on high, and at the same time, the fan voltage increase also increases the LED brightness. We also dig the fact that while showing hints of blue through the front and the top, the design is covered enough that the lighting is not overwhelming and obnoxious.
As easy as it was to work with, and the roominess of this design, even if not as water cooling friendly as many others in its class, the Lenyx still has a lot to offer. LEPA chose the route of other accessories that many cases don't even think to offer anymore. Nothing here is completely new, it has just been a while since we have seen an external hot swap bay for 2.5" drives, a fan controller, and a USB Supercharge port all in the same design. All of what it offers, and all it includes will cost you around $171 at the time of writing, and to be fair, the pricing is not bad.
While not top notch in a water cooling extremists eyes, this chassis will offer the masses plenty of room and options to get the job done, looking very good while it does it. And it offers a couple of things that many have forgotten, but are greatly appreciated when the need to use them arises.

