Intro and Getting Started
Intro and Getting started
If you own a fairly recent Windows Mobile 5 device (let's say less than a year old or there abouts), then the chance that you'll be able to upgrade to Windows Mobile 6 is quite high. Today we're taking a closer look at how to upgrade the HTC Hermes, this also known as the TyTN. Although our device wasn't originally from HTC, it's currently running a HTC branded version of Windows Mobile 5. HTC announced that it is releasing updates for several of its Windows Mobile 5 devices during August 2007, with the TyTN being the first of the devices that got the new firmware.
HTC isn't the only device manufacturer to offer upgrades for its Windows Mobile 5 devices, and if you're a Dopod owner you'll find that HTC has actually purchased Dopod and offers the same upgrades for the Dopod devices. Asus also offer updates for several of its Windows Mobile 5 PDAs and we're expecting others to follow suit. If you own a network branded device, we suggest you contact your network operator and ask them if they'll offer an upgrade for the specific device.
However, if you're somewhat skilled with a computer you can find several versions of the HTC firmwares for branded devices, and it is very possible to upgrade these devices with a generic firmware from HTC. However, if you're considering going about it this way, we'd like to offer a few words of warning. First, you won't get any support from your device provider if something goes wrong. Secondly, you might lose some pre-installed applications. And lastly, you'll have to find the firmwares online and some of them are homemade concoctions which don't always work, so be careful and do some reading before you go ahead with this.
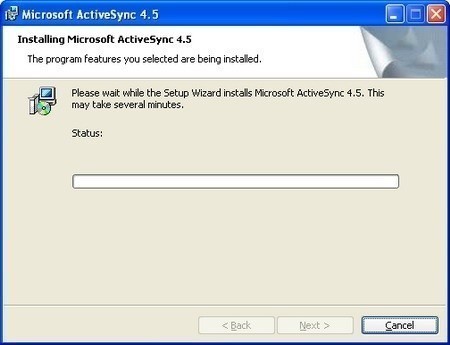
There's some preparation work that has to be done before you can proceed with the upgrade, just to make sure you backup all your data on the device. First of all, download and install ActiveSync 4.5 or you won't be able to sync your device once you've installed Windows Mobile 6. Next, do a full backup of any files on the device, as these will be wiped during the upgrade. Once this is done and you've downloaded the correct software version for your device, you're ready to go ahead with the upgrade.
The Upgrade
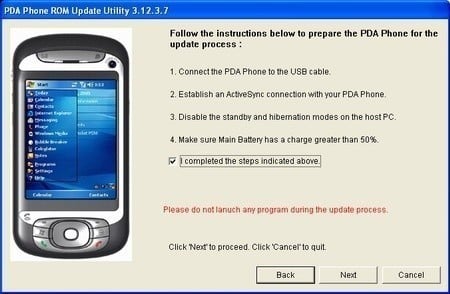
So, now we're ready to proceed with the upgrade procedure itself. Connect your phone to your PC via a USB cable, make sure the battery is charged up and you're pretty much set to go. Double-click the firmware upgrade and once it's loaded, hit next. This will put the phone into service mode where it will then extract the files and prepare itself for the firmware upgrade. Depending on how big the upgrade is (as the files will vary in size depending on the manufacturer and what software they supply) this part can take different amounts of time.
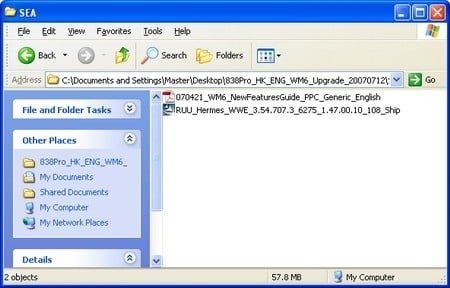
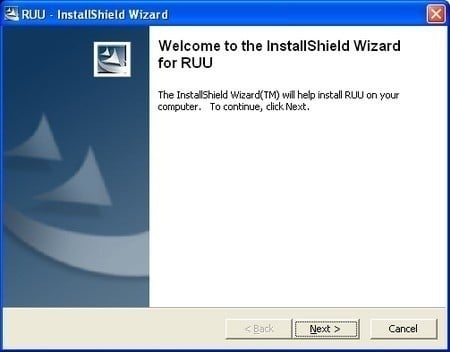
Don't worry if the screen on your device looks strange, the HTC devices will have a red, green, blue and grey bar across the screen alongside with some text. This is perfectly normal. After a little while you should see a screen similar to the one below if you've got a HTC device, it might differ for other manufacturers' devices. Again, click next to proceed.
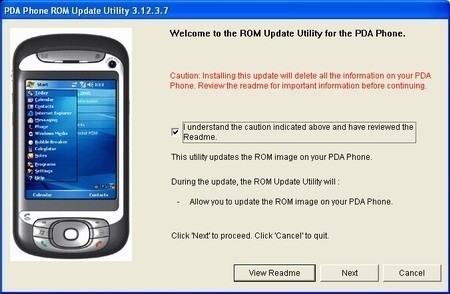
Now, there might be a list of things that you need to check before you continue, although we've covered most of the important ones already. Again, this will differ between various manufacturers. After clicking next here, you have to wait a little while again while the software upgrade checks that your phone is using the right language and so forth, as you can't cross install language versions. This might be bad news for those that wanted to install their own local language files, but if you have a look around online, you'll find ways about how this can be done.
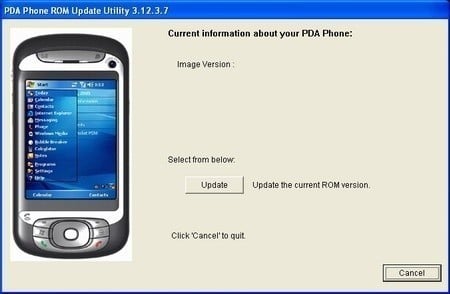
Finally you're ready to proceed with the update by oddly enough pressing the Update button. You'll of course have to press next one more time, just to make sure you're sure that you really want to proceed with the upgrade.
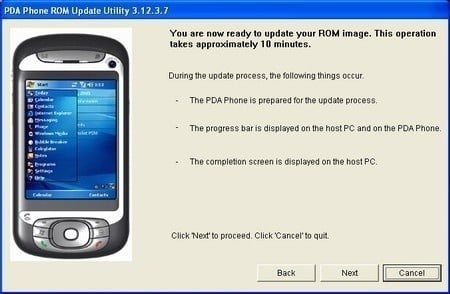
If you own a HTC device you'll also get a dialogue box that tells you what will happen during the installation procedure, have a quick read and press next to continue. This is when the scary part starts, as this is when the upgrade process actually initiates. You'll get a progress bar on your PC as well as on the device. It should take about 10 minutes on a reasonably fast computer, although this does again come down to how many extra applications, pictures, video and audio files the manufacturer supplies for the device.
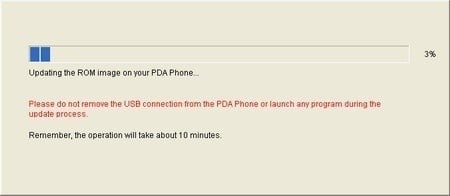
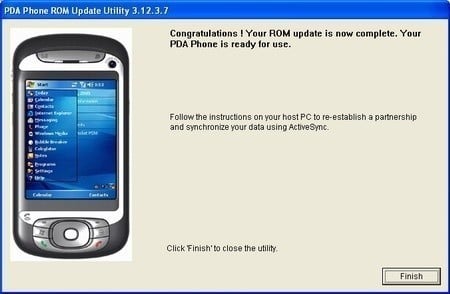
Once the upgrade process has finished, your phone will reboot and you're greeted by a pristine device in all its glory running Windows Mobile 6. From here on you have to set it up as you would with a new device and enter all the various settings you want it to use. We can't offer any screenshots here, as it's like doing a hard reset on the device, so any software would've been wiped off. Once you've gone through the basic setup, the device will load up any custom settings and applications from your device manufacturer.
The End Result
Some interesting points that we noticed before and after the upgrade (at least on the HTC TyTN), was that with Windows Mobile 5 we had a total of close to 55MB of storage space with some 49MB available. We expected this to drop as Windows Mobile 6 takes up more space, and we weren't wrong. After the upgrade we had just over 47MB of storage space with just under 37MB of free space.
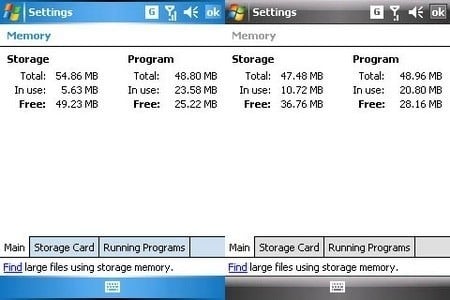
However, what we didn't expect was the increase in program memory or RAM. With WM5 the total memory available was close to 49MB, and just over 25MB available when only the screen capture application was running. WM6 had about the same total amount of memory available, but had over 28MB free to use. This was a surprise indeed, although it shouldn't have any real impact on performance, apart from the fact that it would allow you to run another application or two before the device would come to a crawl.
This is of course dependant on what applications you're loading up, and having Windows Live on the home screen eats up a fair amount of memory as well, but this is easy enough to disable. Our TyTN device felt just as responsive as it did with WM5 and we're quite happy with the upgrade so far. Just remember to sync up your phone with your computer once you've installed the new version so you get your precious data back onto it.
I hope this has made your upgrade process more painless and streamlined, as you can see it's really not too hard to accomplish at all. Good luck and enjoy your free upgrade folks!
