


Introduction
For as long as I have been reviewing NAS products, one thing I never really fooled around with was "Surveillance Station." Nearly every vendor has their version of it, included either as an app, sometimes preinstalled, and others just set it up as a recommended package. About a month ago, Synology contacted me and let me know they had put together a package they call their surveillance bundle; this includes cameras from Amcrest, IronWolf drives from Seagate, and a mid-range NAS solution, the DS416j.
Before this launch, the one or two times I setup NAS-based surveillance, while the whole setup process was relatively straight forward, I found leaving a browser window open to view cameras inefficient. With the creation of this package, Synology is celebrating the launch of Surveillance Station 8, which now includes a desktop client, a feature that many will enjoy. With that said, Synology was also kind enough to send over a kit for us to go through and set up, so let's take a look at what we get.
Cameras, NAS, and Drives

As I mentioned above, this package includes cameras from Amcrest. We received two Pro HD cameras with the IP2M-841B model number. Features include 32-foot night vision, 90-degree viewing angle, and two-way audio capability.
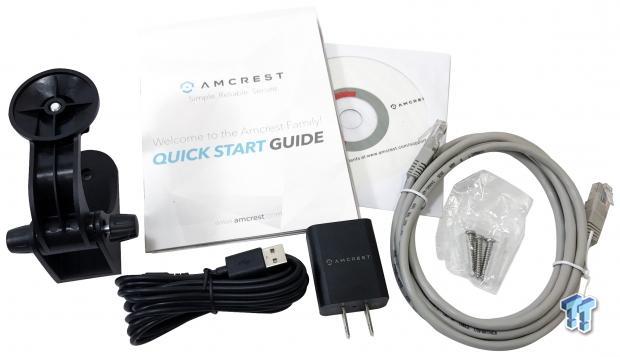
Included with the cameras, you get a quick start guide with software, Ethernet cable, and camera mount. The power cable comes in the USB form factor, something many vendors are now doing.
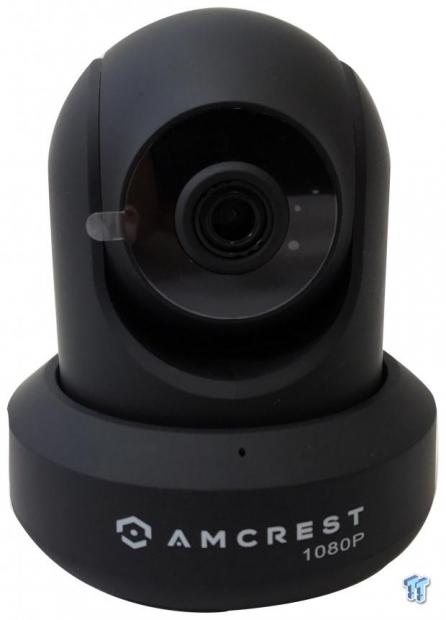
The Pro HD cameras carry a matte black finish, which I love. The mic port sits just above the branding.
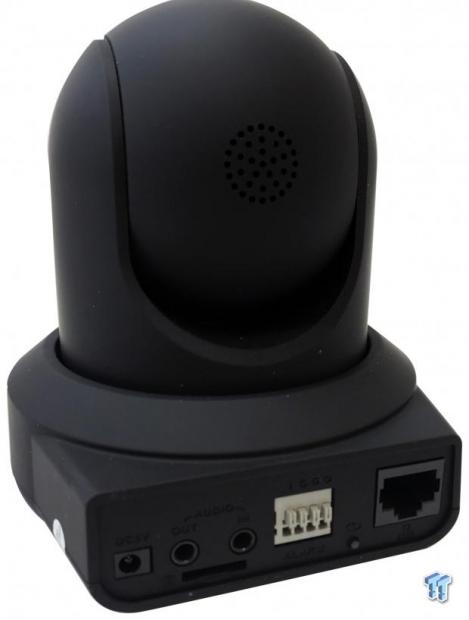
The backside gives us the 5v power input followed by a stacked audio I/O and MicroSD port. Ethernet sits next to the power and four pin alarm output. On the PTz body, you will find the speaker for two-way audio.
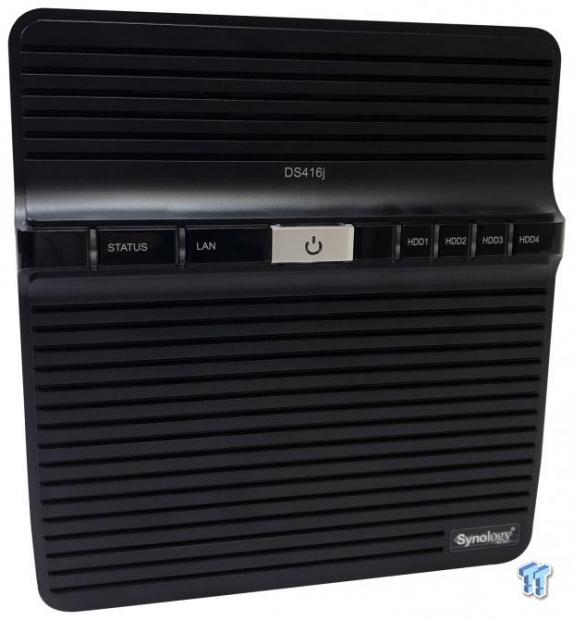
As mentioned, you do get a rather nice NAS solution with this bundle. The DS416j is a four-bay Marvell Armada-based appliance with 512MB of DDR3. The front doesn't carry the typical Synology aesthetic. Instead, we have a vented front with several LEDs for status and a large power button in silver.
Our Latest TweakTown Guides
- 6 Mistakes to Avoid When Buying a Windows Laptop
- I capped Windows Update's bandwidth with Delivery Optimization, and my downloads stopped choking
- I use this decade-old free tool that finds files faster than Windows Search does
- I install and update most of my apps with this Windows command now, and I stopped downloading sketchy installers
- I stopped digging through Windows menus after I set up this one folder
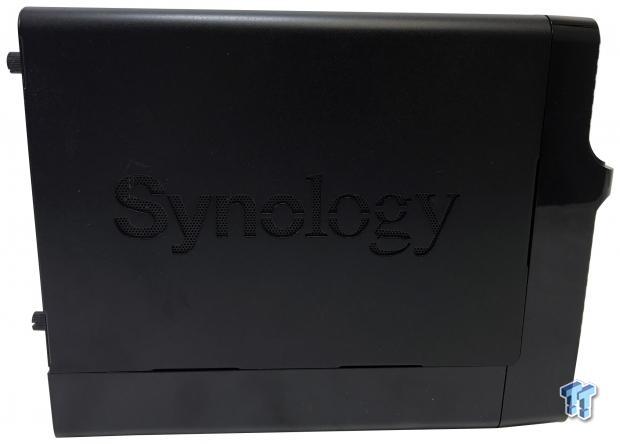
The side of the NAS still carries the Synology branding vented with honeycomb mesh.
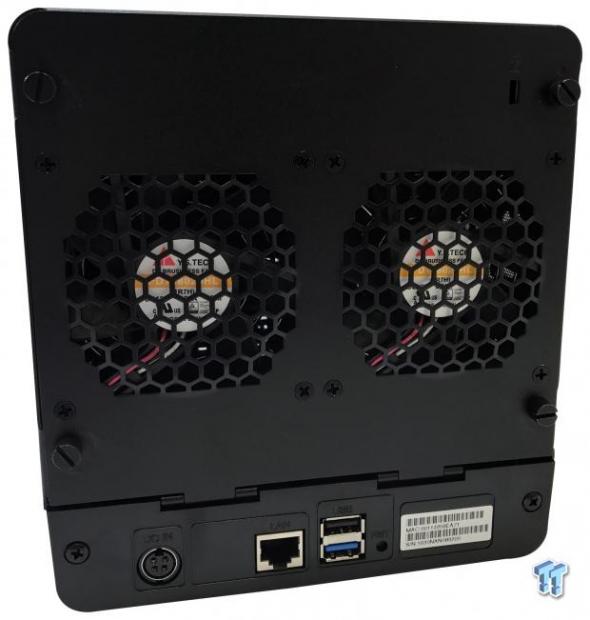
The back houses dual 92mm fans along with a proprietary power input single Gbe LAN port and USB 3.0 ports.
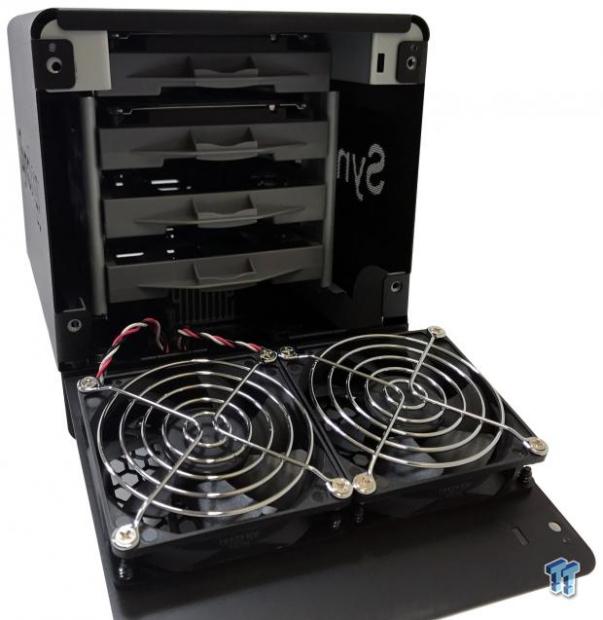
Removing the four thumbscrews drops the rear of the NAS away like a military LCAC. This exposes the drive trays which once the outer shell of the NAS is peeled away, can be removed.
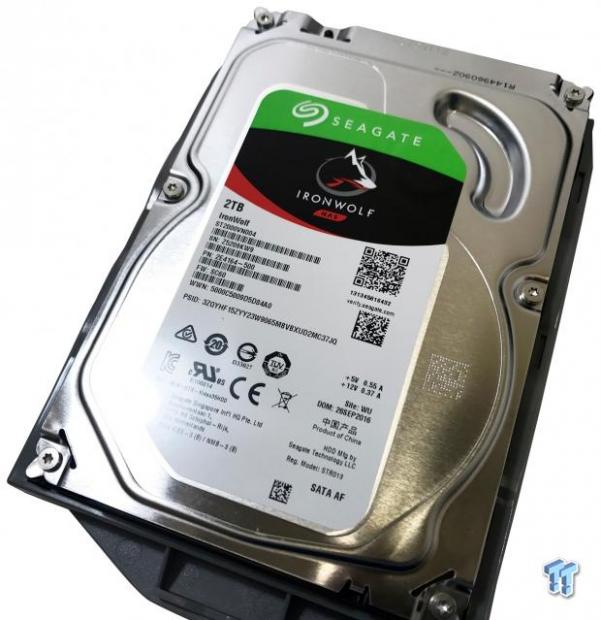
The included drives are 2TB IronWolf solutions from Seagate. On launch, we reviewed the 10TB IronWolf solution. You can find out what we thought about it here.
Surveillance Station 8.0 Beta
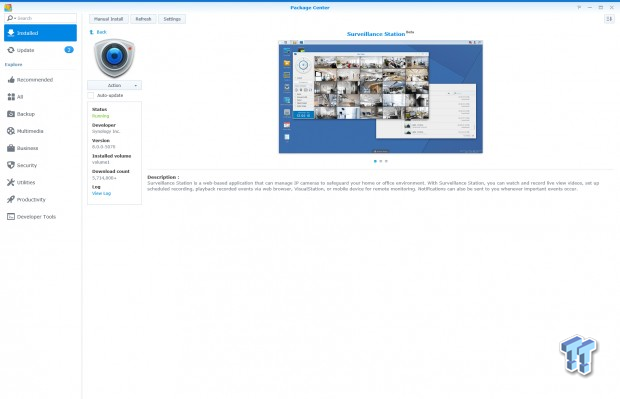
Once you have your NAS setup, you will find there is a beta update to Surveillance Station 8.0, as I believe most appliances are shipping with 7.2.
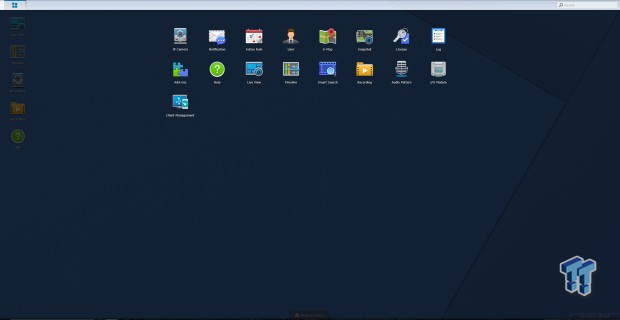
Once installed and upon entering, you will find a full menu at the top left of the screen. Inside, you have access to IP camera settings, action rules, E-Map, snapshot, and the license. The DS416j and I believe most if not all Synology appliances come with a license for two IP cameras. Moving on, there are add-ons we will take a look at later along with live view for taking a current look at your cameras.
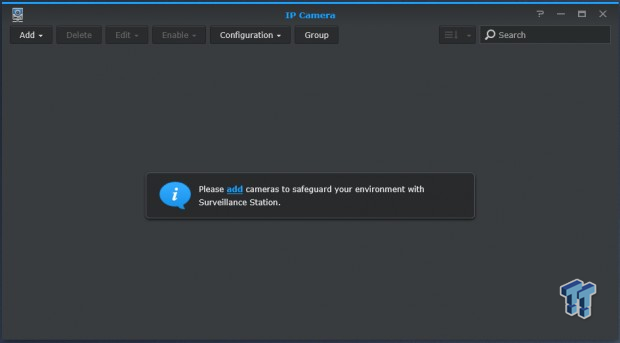
Starting the setup process within the browser, we launch the IP camera and have the screen above. We simply click add which brings up the wizard in the image below.
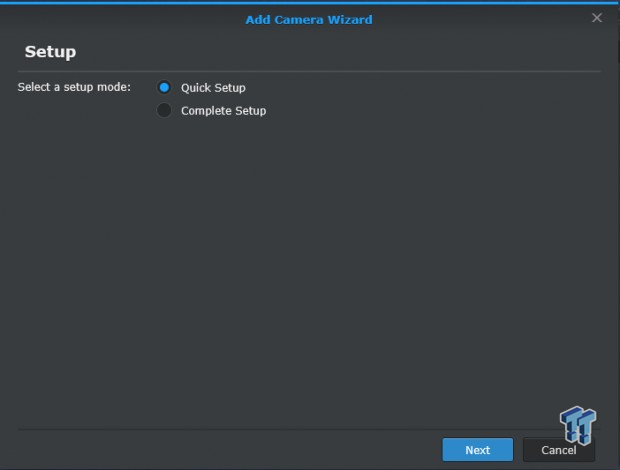
The wizard allows you to do a quick setup or complete setup. For this guide, I ran through the quick setup for both Amcrest cameras.
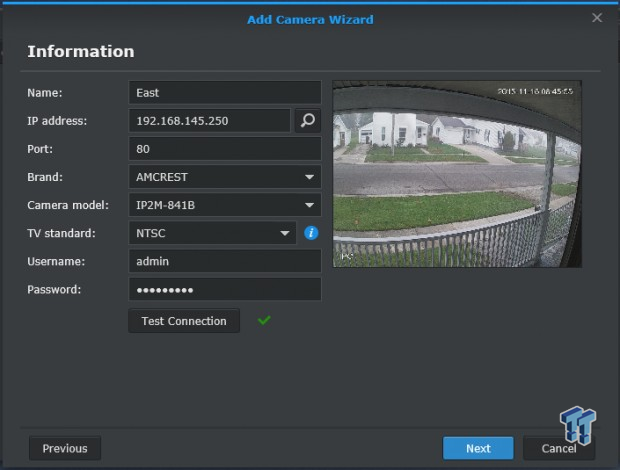
Setting up the cameras requires you to know the IP address after which you just select from the dropdown, the brand and model and everything else is filled in for you. As long as you have kept with default settings for the camera upon pressing "test connection," you should see a live feed pop up to the right.
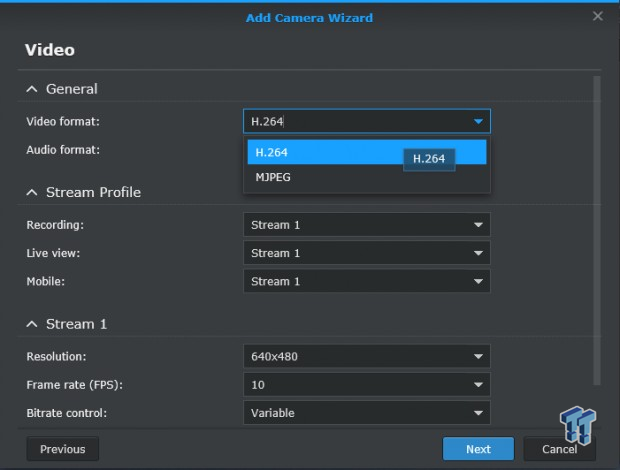
Further settings for each camera can be found in the configuration menu on the main window. In here, you can change codecs and setup each stream profile.

As you can see above, we have 480p, 720p, and 1080p options in the image quality dropdown.
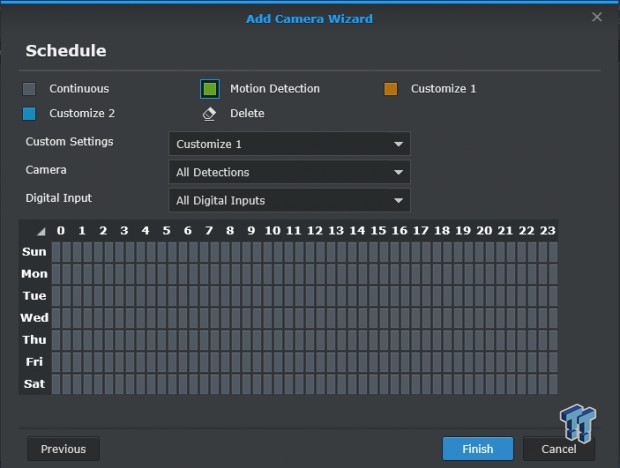
The next step allows you to setup motion detection or continuous recording along with custom modes if you use digital inputs on the cameras.
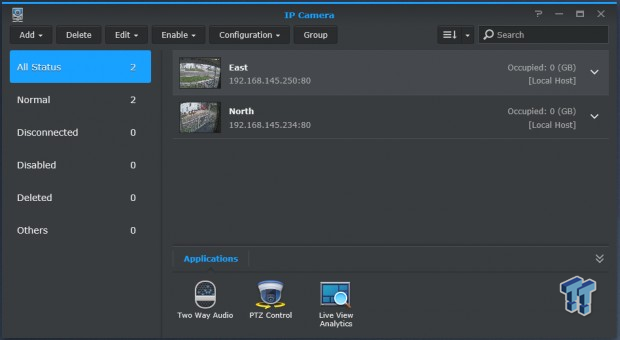
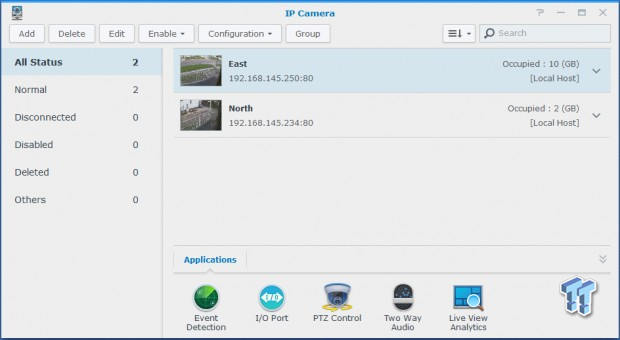
Above, we have the menu screen after setting up both cameras. As you can see, I have labeled them per their position and to the right Synology shows how much recording space they are using. Along the bottom of this screen, you will find several applications which you can explore.
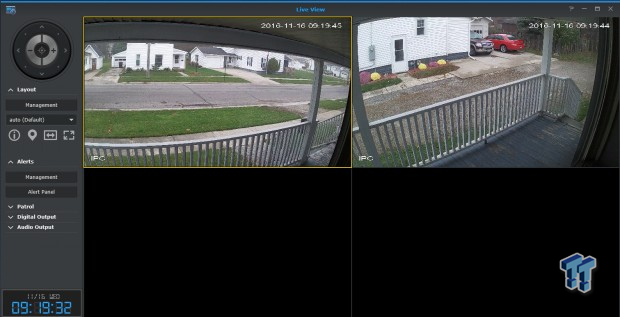
Into the Live View screen, we have both of our Amcrest cameras feeding in. As you can see, the date and time is displayed at the top right of each window. To the left, the sidebar gives you access to PTz controls along with the digital outputs.
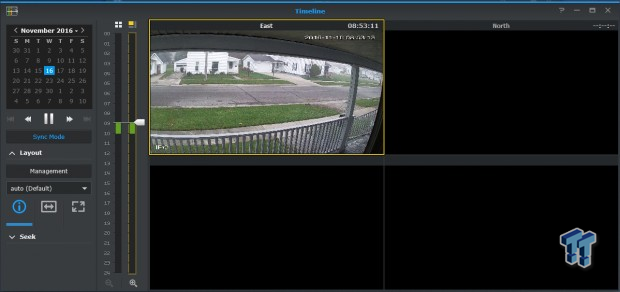
Timeline is a feature I really enjoyed. As you can see, there is a time bar on the left of the viewing windows. You simply use the slider and adjust where you want to start. You can change days as well with the calendar at the top left.
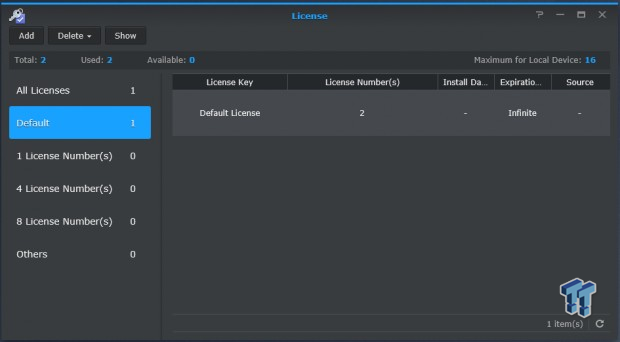
The license menu is just that, a place where you can enter keys to unlock more cameras for Surveillance Station.

The Add-Ons feature allows you to include things like door controllers, joystick control, and others to your surveillance experience.
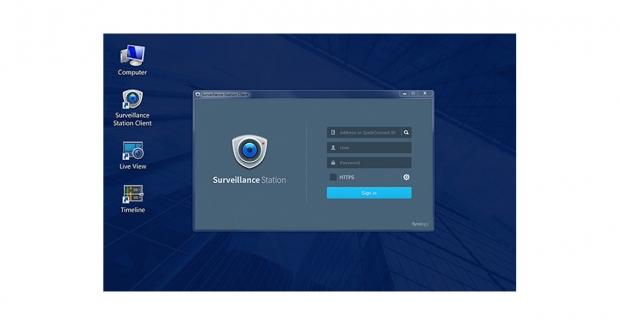
The Desktop Client
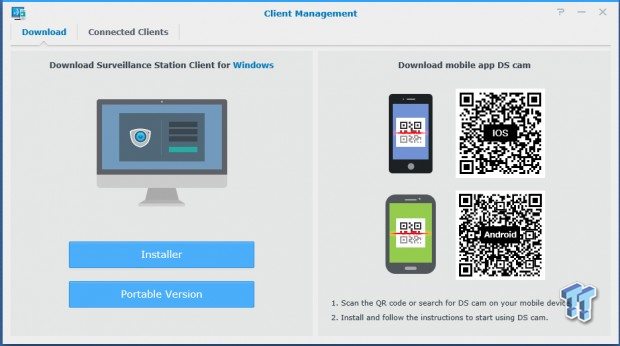
The big push behind Surveillance Station 8.0 is the desktop client. In the second image after we started talking about Surveillance Station 8.0, you will see Client Manager at the bottom left. Once you open that, you will see the menu we have above that allows you to download the desktop client for Windows. I do believe a MacOS version is in the works.
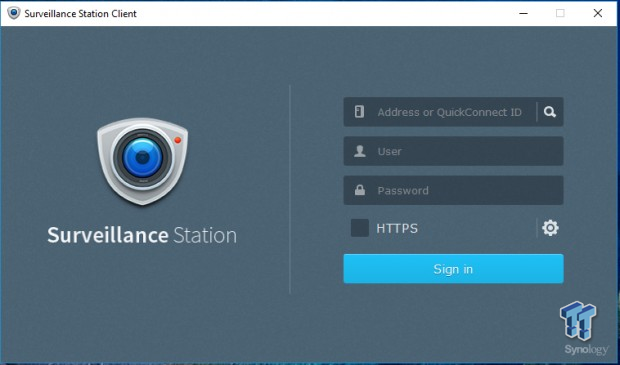
To setup the desktop client, after installing, of course, we simply enter the IP of the NAS along with our username and password.
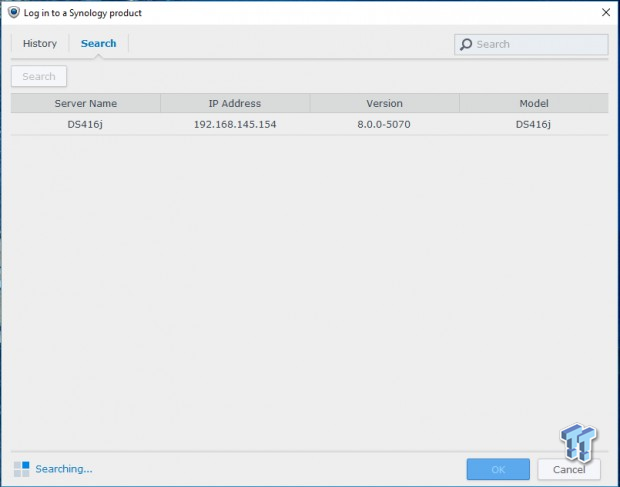
The wizard can also direct you to NAS solutions running Surveillance Station as seen above.

So after logging in, we have this dashboard seen above. It's quite similar to what you would see using the browser-based version. On the left-hand side, we have icons for Live View, Timeline, and IP Cameras. You will also have that drop down control panel using the icon at the top left.
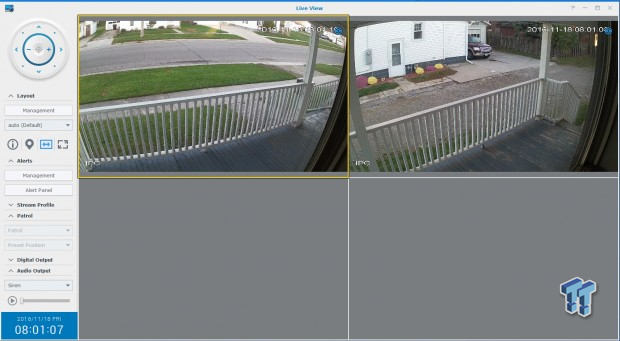
Diving into Live View, we have the same cameras you set up in the browser menu. If you haven't set up cameras, you can follow the steps above and use the IP Camera Wizard in the browser or desktop clients.
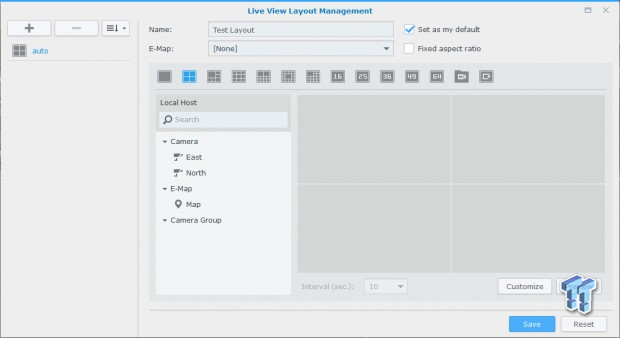
For those of you that manage many cameras, you can use the layout manager to setup which cameras in the left sidebar lineup to the live view on the right. For those that have set up an E-Map, you can also get a coverage map.
Similar to the web client, the desktop solution just allows a more accessible interface for your cameras.
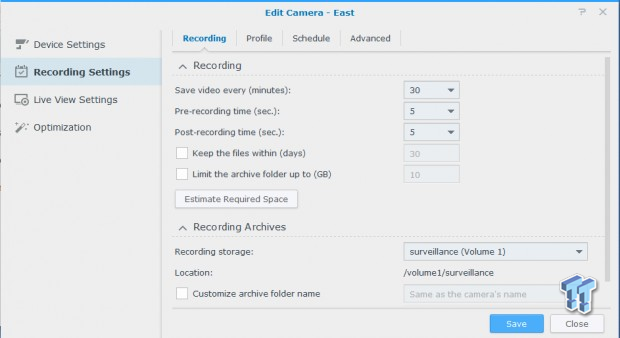
Last, we have the recording settings that you can fine tune to your liking. I have both of these set to five seconds of pre and post recording following an event.
Final Thoughts
Synology has put together a rather solid experience with their latest iteration of Surveillance Station. I have been using all kinds of IP camera solutions going back nearly six years now including many full on NVR kits and they don't quite compare to what Synology has here. First thing's first, though - the cameras.
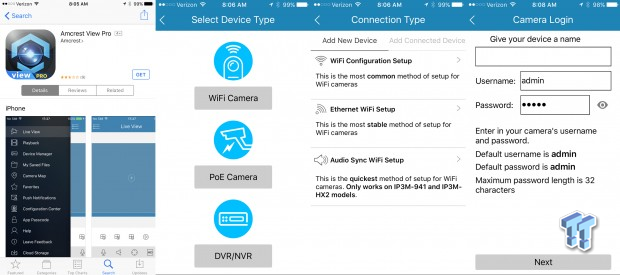
Before this guide, I had never used an Amcrest camera. I have used cameras from Foscam, DLink, Huntvision, and Amped Wireless all with their own features but these Pro HD solutions really stood out to me as soon as I started setup. Before I actually set these cameras up with the DS416j, I used them with their iOS app, as you can see above. Amcrest claims a simple 60-second setup process, and I can vouch for every second of that. I went from getting the app installed, selecting the type of connection, to entering a username and password easily within that 60-second time frame.
Adding these cameras into Surveillance Station was just as easy, a process we completed above. The live view experience that is shared between the desktop and web-based client allows for an amazing level of customization. Support for multiple streaming means you can have 64 cameras all streaming at the same time, with resolution that can be scaled on-the-fly. Adding to this, Synology has implemented a unique way of maximizing storage utilization, taking pre-defined events like motion or sound triggers and recording those in high resolution while standard everyday events recorded through a feature they call Advanced Continuous Recording will be stored at low resolution, to lessen the storage impact.
I have had this solution running in my home for a touch over a month now, and with typical iOS or Android IP cameras with an app solution that comes through the lab, I would have taken the cameras down and packed them away by now. The biggest thing for me that keeps the Amcrest cameras rolling, the IronWolf drives recording, and the DS416j managing everything is the desktop client. With this new client, there is no more fumbling about with IP addresses, inputting NAS credentials, and navigating to the correct menu. I can go about my daily business and check in on the cameras just by opening the client.
 6 Mistakes to Avoid When Buying a Windows Laptop
 I capped Windows Update's bandwidth with Delivery Optimization, and my downloads stopped choking
 I use this decade-old free tool that finds files faster than Windows Search does
 I install and update most of my apps with this Windows command now, and I stopped downloading sketchy installers
 I stopped digging through Windows menus after I set up this one folder
 Snapdragon X Elite laptop runs Cyberpunk 2077 using an RTX 4060 eGPU with the help of an RTX Spark development driver
 No amount of backlash will change Sony's mind on disc cancellation, says ex-Santa Monica dev
 The PS6 controller could eliminate stick drift by using magnetic joysticks
 Xbox confirms free game streaming with ads, clarifies how it'll work and ethos around monetization
 Ex-PlayStation boss can't understand why there isn't a Bloodborne remaster for PS5, but he hasn't given up hope yet
 AMD's Ryzen AI Embedded X100 Series processors are built for autonomous robots and physical AI
 AMD Helios rackscale solution for AI offers 15% more AI Compute than NVIDIA Vera Rubin NVL72
 AMD Instinct MI455X GPU launches with 432GB of HBM4 memory and next-gen CDNA 5 architecture
 AMD announces 6th Gen AMD EPYC 'Venice' CPUs, up to 256 cores and 512 threads and built for AI
 Apple is preparing 11 new Macs, including touchscreen OLED MacBooks
 Thrustmaster T.Flight HOTAS 5 MSFS Edition Review
 SteelSeries Arctis Nova Pro Omni Wireless Headset Review - One Headset to Rule Them All
 SteelSeries Arctis Nova 7 Wireless Gen 2 Headset Review - New and Improved, But Is It Enough?
 AMD Ryzen 7 7700X3D Review - Days of Future Past
 Samsung 990 2TB SSD Review - Ninth Gen QLC at PCIe Gen4 Speeds
 ASUS ExpertBook Ultra (Panther Lake) 14" Business Laptop Review
 ASUS ROG Raikiri II Xbox Wireless Controller Review - Ready to Take Control
 MOZA FMP18 Panel Bundle Review: authentic F/A-18 Hornet cockpit controls for flight sims
 Micron 6600 ION 245.76TB Enterprise SSD Review - Best in Class Programming Speeds
 MOZA MA3F EFCM Flight Control Module Review: authentic Airbus A320 autopilot panel for simulators
 Hisense U6SF 65-inch MiniLED TV: High Performance Meets Leisurely Convenience
 Don't sell your Windows laptop until you do these things
 6 PC cleaning mistakes to avoid for safer hardware maintenance
 Phison and Intel Take Aim at Local AI's Memory Wall with aiDAPTIV
 How to Remap Keyboard Keys in Windows using Microsoft PowerToys