


Introduction & Features, Pricing and Availability
Over the past few months, I have been slowly building up and adding onto my test regiment for network storage and switches alike. After ramping up to five systems, I quickly came to the realization that using a desktop ATX chassis just wouldn't work. As anyone who has built multiple systems knows, typical ATX cases can take up a lot of vertical space, and this quickly leads to cluttered desks and tables.
The solution to this is to build your systems into a rackmount chassis. Server racks, like most things, started in the enterprise arena. They allowed businesses to maximize space, and build for the future. This has started to slowly trickle down to the average consumer.
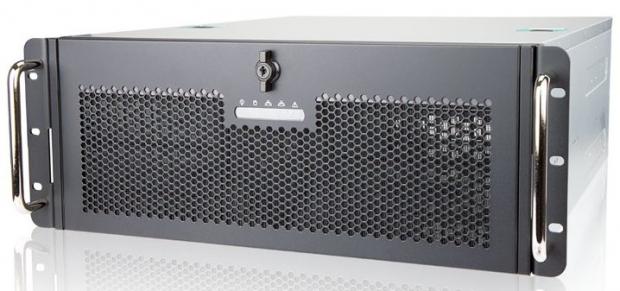
Today, we have a 4U rackmount chassis from InWin: the R400. The R400 is compatible with ATX, CEB, and EEB form factors, and allows PS2 and 1+1 mini redundant power supplies to be used.
Features, Pricing and Availability
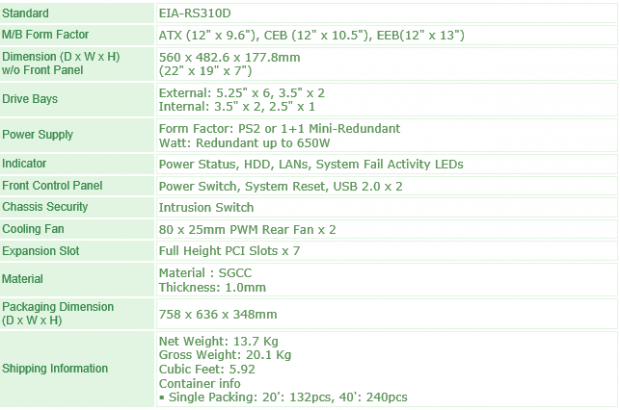
The InWin R400 rackmount chassis features a typical 4U rackmount footprint at 22" x 19" x 7". Additional features include a locking front door, adjustable PCI card retainer for full height and low-profile cards, in addition to a tool less drive bay design with optional storage kits.
Without the kit, you still have six 5.25" bays, and two 3.5" bays, along with another two available internally. Cooling of the chassis is maintained via two 80mm fans placed at the rear of the chassis.
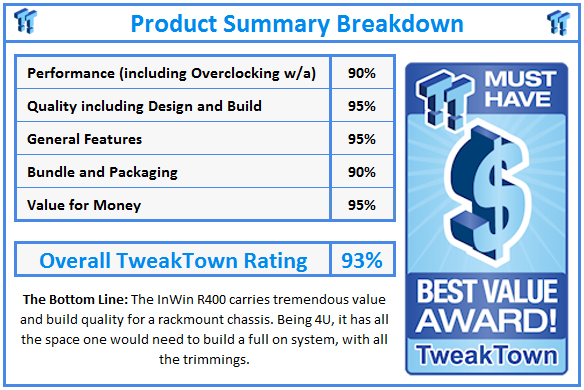
Pricing of the InWin R400 at the time of writing sits at $129.99 at several online retailers. Warranty of the chassis is listed at two years.
InWin R400 Rackmount Chassis


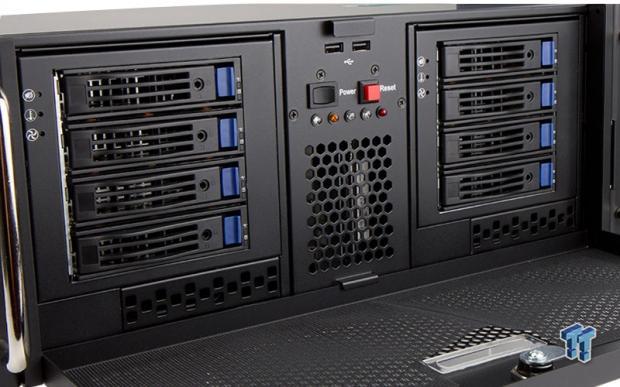
In the first image, we have the front door complete with locking mechanism. The door also allows a view of the underlying activity LEDs. By pulling the door down, we have access to the power and reset buttons, with front mounted USB ports above.
Our Latest Racks & Cases Review Coverage
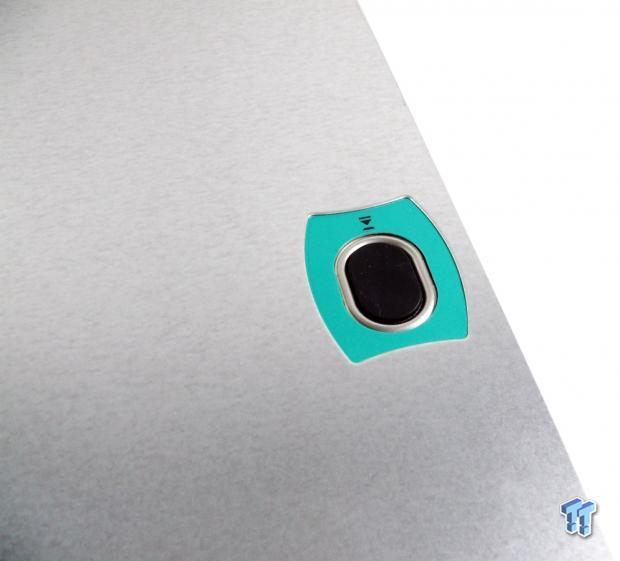
The top of the chassis features toolless locks to secure the door once closed.


We have taken measurements of the chassis. The first image above shows the overall length of the chassis coming in at 23 7/16", with the second image showing the total width of the chassis at 19".
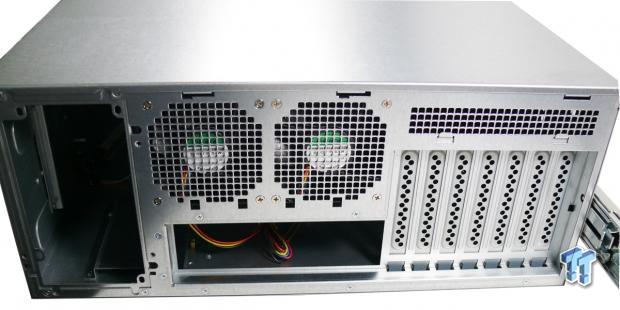
The back of the chassis houses space for both mini redundant and standard PS2 power supply mounting, along with ample room for expansion via the seven PCI slots. Additional cooling is provided out of the box via dual 80mm fans.
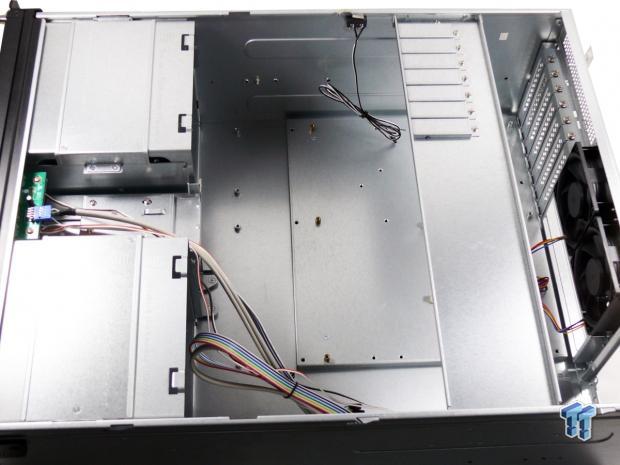
Taking our first look at the internals of the chassis, we find ample room to start our build. The front of the chassis houses removable bays; the center provides an area to install 3.5 and 2.5" drives.
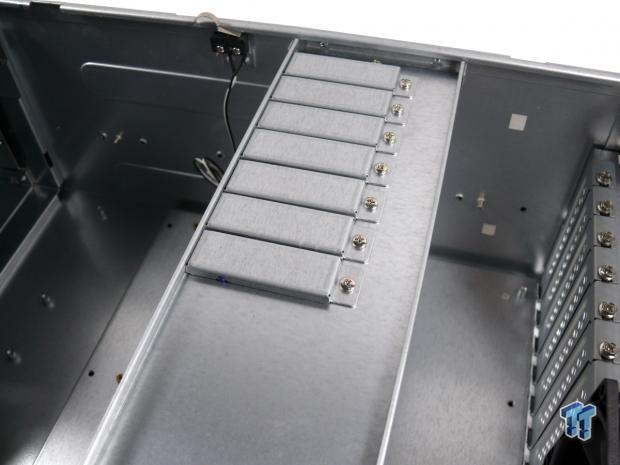
Above, you can see the support and PCI bracket that supports full height cards, while also being able to adjust to support low-profile options as well.


Up front, you can see the two 5.25" bays with support for 3.5" devices in the center. The rear of the chassis includes dual 80mm fans for additional cooling.


Here, we have the chassis intrusion switch, and the PCB for the front panel USB 2.0 ports.
System Build
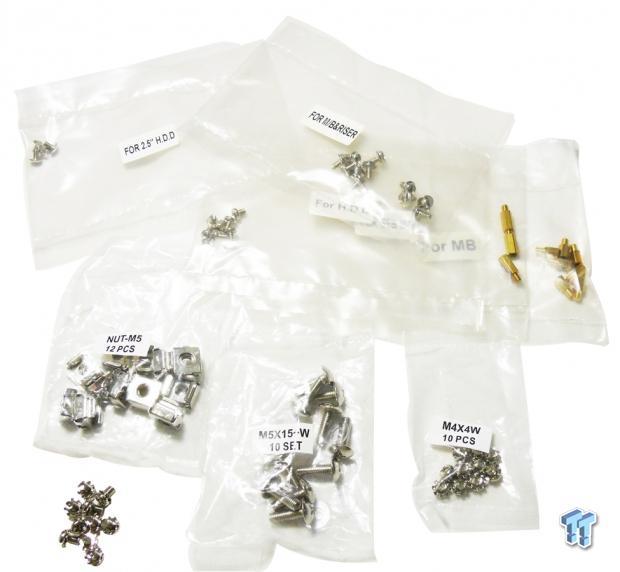
A plethora of screws and fasteners are Included with the chassis. Here, we have everything from brass standoffs to mount our motherboard, to fasteners to mount the rails that were included with our sample.
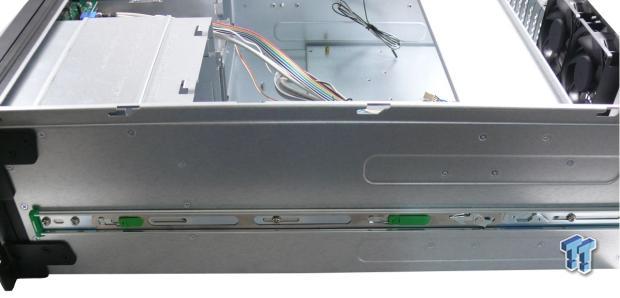
To mount the rails, we first lined up the holes in the rail with the chassis, and then screwed them down. As you can see, the rails are adjustable to fit any style of rack.

We then adjusted and fitted the second part of the rail.
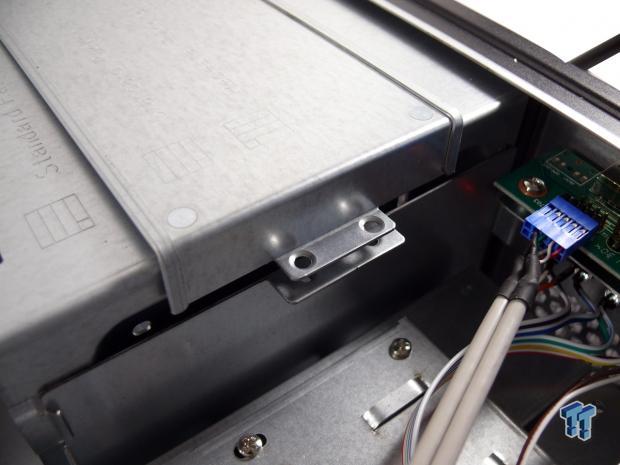
Each of the two drive bays are locked into place by a retaining bar that is screwed down to the inner side. To remove the bay, first remove the two screws, and then push the drive bay back and out.
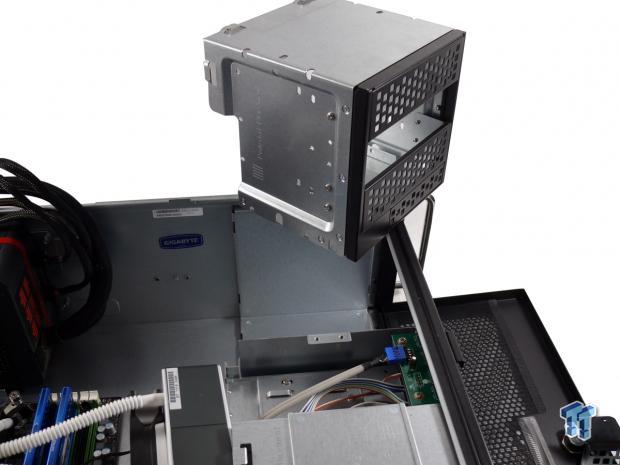
Here, we have removed the bay to prep it for installing drives.
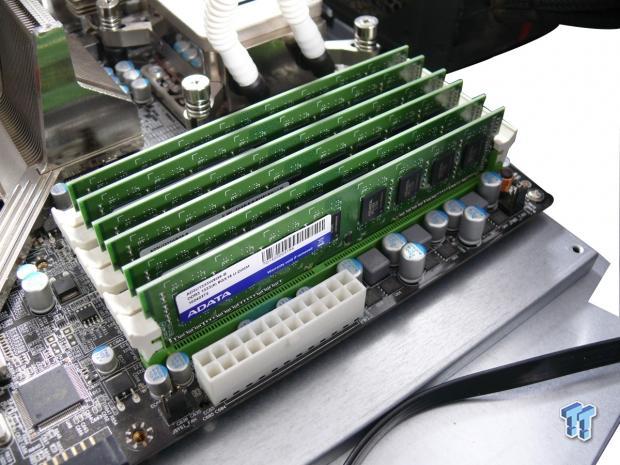
Above, we have installed our motherboard, complete with a hefty amount of DRAM.
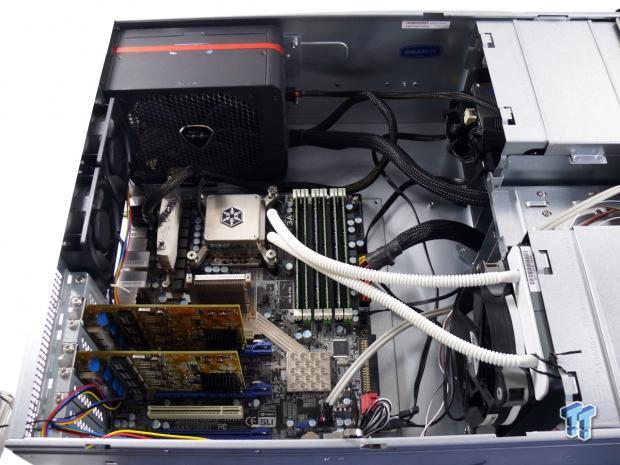
Here, you can see our entire build. I chose to go with an AIO water cooler, just because of its simplicity and value in comparison to air coolers. We also used an ATX board in our build. Above, you can see we have plenty of room around the board.
Final Thoughts
If you have come to the point where rackmount chassis have become an option, then I would highly recommend you take a look at some of the many options available from InWin. While InWin has built some incredible consumer chassis over the past few years (including the DFrame and XFrame), the build quality of the rackmount series is equally as impressive. In my recent expansion, I went over several rackmount options before landing here with this InWin R400.
With the optional toolless bay devices, drives are easier to manage, and the locking front panel and chassis intrusion switch keep unwanted hands out of your pc. While building this machine from the ground up in the InWin, I was unable to come up with any issues that threw me off; in fact, everything went rather smoothly.
The need for rails to mount and manage your systems comes along with rackmount chassis. These too differ from each manufacturer in length, and quality. The InWin rails in my experience are some of the nicest and most complete units I have used. These rails include easy roll ball bearings that make a 100 pound chassis full of gear feel weightless. They even lockout when the chassis is pulled out of the rack.
As stated at the beginning of this article, the R400 can be had for a mere $129.99 as a bare unit. You can also throw in the optional toolless bays if you so feel, but don't forget to grab a set of the rails from InWin, as they are pure gold.
 Micron 6600 ION 245.76TB Enterprise SSD Review - Best in Class Programming Speeds
 Memblaze PBlaze 7 7A40 Ocean 61.44TB Enterprise SSD Review - Oceans of QLC at 3.3 million IOPS
 KIOXIA CD9P-R 7.68TB E3.S Review - The Best-In-Class Data Center SSD
 DapuStor Roealsen6 R6060 E1.L 245.76TB SSD Review - Massive Capacity with Fast Retrieval
 Phison Pascari X200P 7.68TB Enterprise SSD Review - Sequential Read Champion
 Overclocker gets hold of never released E-coreless Core i9-14901KE and achieves 7.4GHz using sub-zero cooling
 Xbox outage exposed how your physical Xbox game discs aren't completely safe
 GTA 6 could launch without one of its biggest features in Australia
 Victim of first autonomous agent cyberattack explains what happened and why
 Valve promises Steam Machine reservation holders will get their chance to buy before 2027
 KIOXIA's UFS 5.0 embedded flash memory opens the door to powerful, compact, on-device AI
 KIOXIA's next-gen NX1 Series SSDs for AI deliver close to 40% more performance with support for direct liquid cooling
 NVIDIA is giving away 3-Month Discord Nitro subscriptions to all GeForce gamers
 AMD Software Adrenalin 26.7.1 WHQL driver adds support for a brand-new RDNA 4 GPU
 Xbox Helix's biggest feature may be what hurts the Xbox console the most
 Noctua NL-LC1-36 Liquid CPU Cooler Review
 Logitech G316 X 98 Wired Gaming Keyboard Review - Retro-Inspired Board that Falls a Little Short
 Biwin M560 2TB SSD Review - Best Overall Retail-Ready DRAMless SSD
 Logitech G512 X 98 Analog Mechanical Gaming Keyboard Review - An Innovative Two-in-One
 Thrustmaster T.Flight HOTAS 5 MSFS Edition Review
 SteelSeries Arctis Nova Pro Omni Wireless Headset Review - One Headset to Rule Them All
 SteelSeries Arctis Nova 7 Wireless Gen 2 Headset Review - New and Improved, But Is It Enough?
 AMD Ryzen 7 7700X3D Review - Days of Future Past
 Samsung 990 2TB SSD Review - Ninth Gen QLC at PCIe Gen4 Speeds
 ASUS ExpertBook Ultra (Panther Lake) 14" Business Laptop Review
 Printer Not Working in Windows? How to fix detection, print queues and drivers
 The Ultimate Guide to Personalizing Your Windows 11 Taskbar
 How to Turn Your Windows Laptop Into a Second Monitor with Miracast and Wireless Display in Minutes
 6 Mistakes to Avoid When Buying a Windows Laptop
 I capped Windows Update's bandwidth with Delivery Optimization, and my downloads stopped choking
 I use this decade-old free tool that finds files faster than Windows Search does
 I install and update most of my apps with this Windows command now, and I stopped downloading sketchy installers
 Hisense U6SF 65-inch MiniLED TV: High Performance Meets Leisurely Convenience
 I stopped digging through Windows menus after I set up this one folder
 Don't sell your Windows laptop until you do these things