Introduction and Specifications, Pricing and Availability
TP-Link aren't a brand that most people think of when they are after high-quality networking gear, but the company have been making some truly stellar products of late, at prices that the big boys just can't compete with.
TP-Link is a Chinese company that has been around for 17 years and now has over 14,000 employees across the world. So, if you've never heard of TP-Link, it's definitely a big company. I received their TL-WDR4300 Wireless Dual Band gigabit router to test, and while I'm not a networking professional, I'm going to come at it from a consumer point of view.
We'll do some testing on the Gigabit Ethernet ports, the Wi-Fi, and a quick skim through how to set it up, too.
Specifications, Pricing and Availability
First, we'll tackle the huge list of specifications that TP-Link have crammed into the TL-WDR4300.
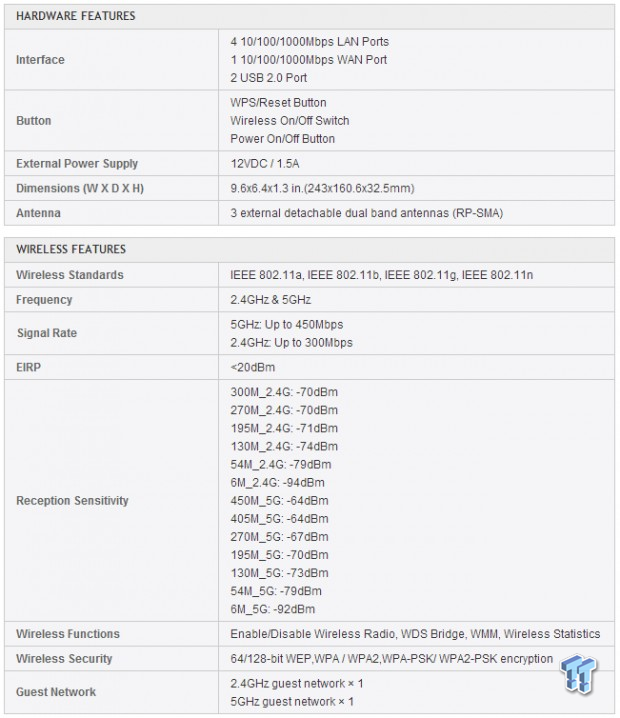
The router has four Gigabit Ethernet ports, and two USB 2.0 ports for some simple sharing of printers, or files between systems over the Wi-Fi network. But, wireless is where it's at for the TL-WDR4300. It supports Dual Band Wi-Fi, meaning 2.4GHz and 5GHz. With the 5GHz band, we have the ability to crank up to 450Mbps and the 2.4GHz can ramp up to 300Mbps.
There's three detachable antennas, which are quite good quality, and big, too. We have the usual wireless security with 64/128-bit WEP, WPA/WPA 2 and WPA-PSK/WPA2-PSK.
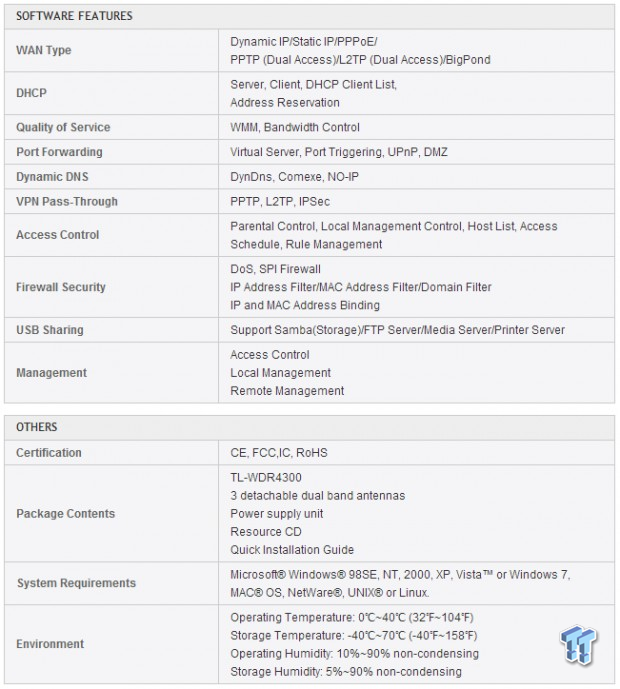
There's a gigantic list of software features, so if you're after something specific, you'll be able to find that in the specifications above.

As for pricing, TP-Link has the router very competitively priced - and by very competitive, I mean dirt cheap. Newegg is listing it for just $78.99 at the time of writing, which I find nearly unbelievable for the amount of bells and whistles the TL-WDR4300 throws at you.
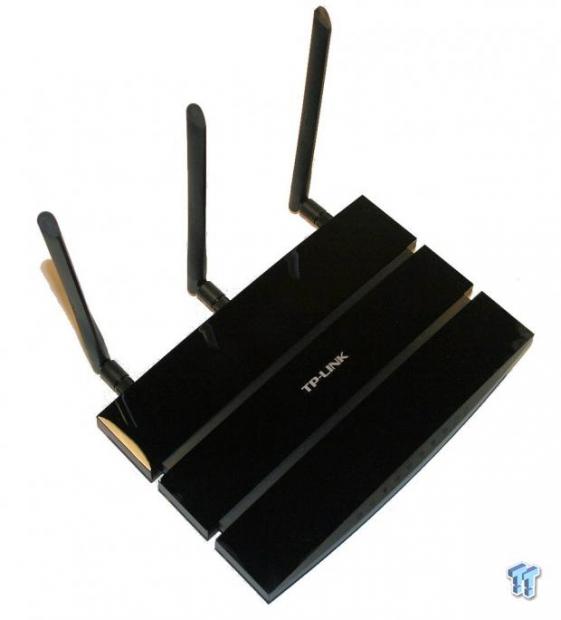
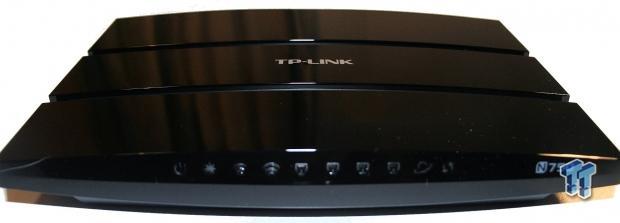
We'll finish off with the looks on the WDR4300, which are stunning. It's a fingerprint magnet, sure, but it looks great.
What's In the Box and Setup
What's In The Box
Let's take a look at what TP-Link provide in the box, but for $79, I'm not expecting much.
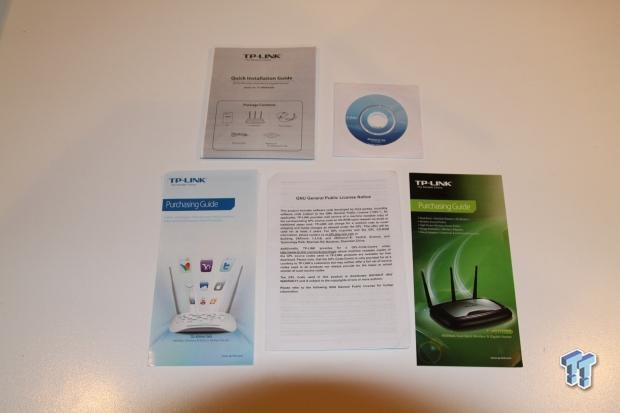
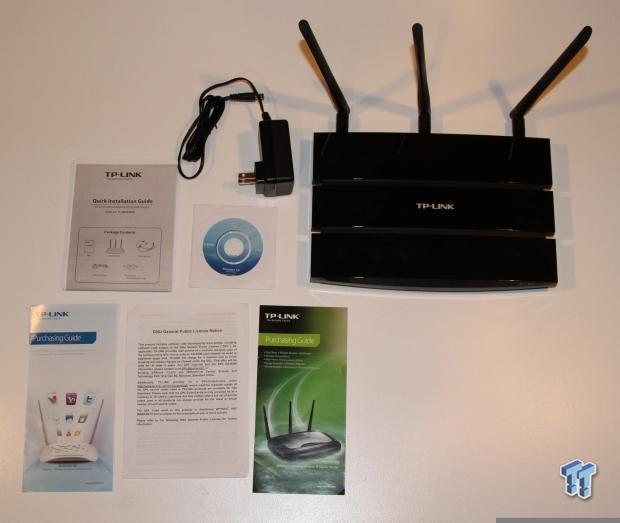
As you can see in the below images, we have the WDR4300 itself, the power supply, three antennas (which I've already attached to the WDR4300), a Quick Installation Guide, a TP-Link Purchasing Guide, a Resource CD, a General Public License Notice and another Purchasing Guide.
Setup
This is where things can get very different for most people. Remember, this is just a wireless router - there is no modem inside, so you'll need to have a modem to begin with. I'm based in Australia and I'm using ADSL, with Billion's 7800N modem/router.
I own a 16-port Netgear Gigabit switch and a 6-bay QNAP NAS. I have the Billion 7800N, QNAP NAS and TP-Link TL-WDR4300 all plugged into my Netgear switch. The Billion modem has a forced, static IP address and has a DHCP server running, which feeds out IP addresses to all of my devices.
This means that when setting the TL-WDR4300 up, I had to disable its internal DHCP server and manually push it to another IP range. By default, it runs at 192.168.0.1, but my IP range at home is 192.168.1.x. This took a little while to figure out, because it was giving me a correct WAN address, but my LAN address was wrong.
This meant I could access the Internet, but I couldn't access anything on my network - such as my NAS. I figured out the issue after a few strong drinks, cuss words, and dinner. I had the Ethernet cable plugged into the "Internet" port on the TL-WDR4300, when it just needs to be plugged into one of the four Gigabit ports - silly me.
Every set up is different, so I'm not going to bore you with the whole "this is how you set it up" thing just yet. But... if this is something you'd like to see from us, please do let me know and I'll write another page up on our next review with a guide on how to get you going. These days modem/router's have setup CDs that will guide you all the way through, and this unit is no exception - you get one in the box, I just have a more complicated setup and didn't need to use it.
Before we get into the numbers, we'll take a look at the User Interface (UI) of TP-Link's WDR4300. It's actually quite detailed, but for the most part, you won't need to do make changes in it. Most of your routing functions will be handled automatically, or you would have already set this up through your modem.
In order to access this part of the modem, you'll need to visit the following IP address: http://192.168.0.1 - this can be changed, but this is the one you'll need by default.
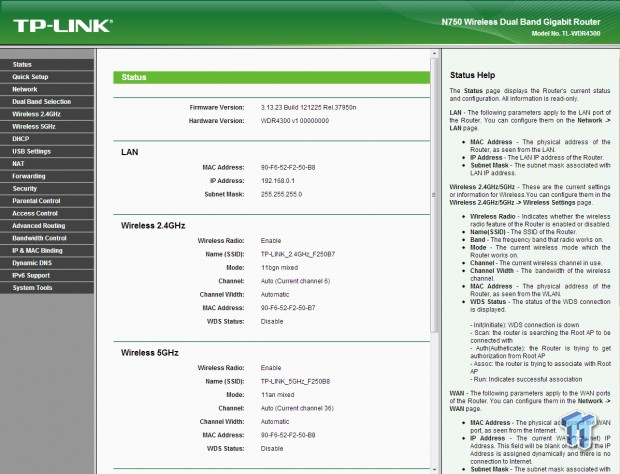
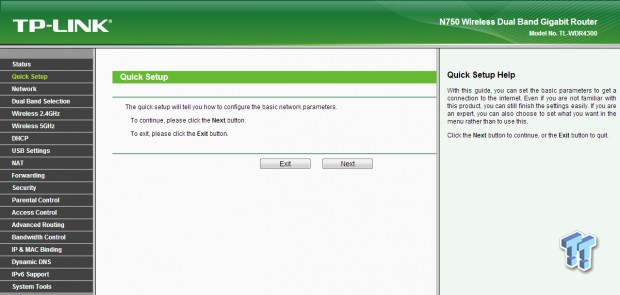
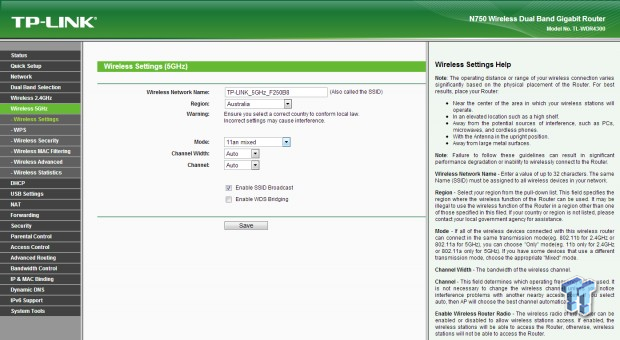
We'll show you some of the more important parts of the UI, but you'll really need to familiarize yourself, as there are some very complicated settings, as there are with any networking product.
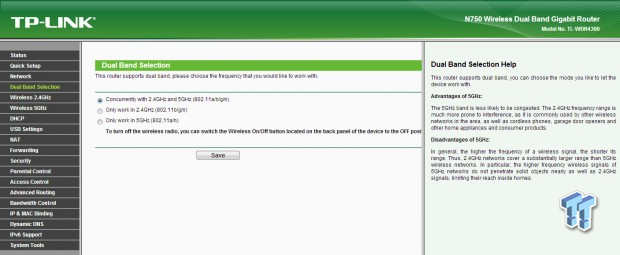
There is obviously a Dual-Band option, where you can choose to opt for both bands or a single band only. This is more advanced, but I would keep both of them enabled, unless you're knowledgeable with networks.
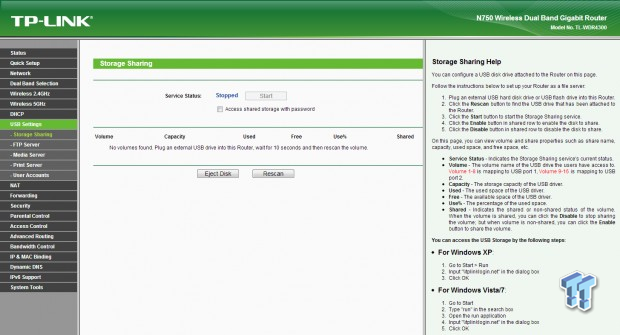
We also have the awesome USB sharing option on the WDR4300, which is just way too easy to setup. Plug it in, and then access the USB Settings of the WDR4300 and voila, you're ready to go.
Let's move onto our Wi-Fi testing, shall we?
Wi-Fi and Gigabit Ethernet Performance
Wi-Fi Performance
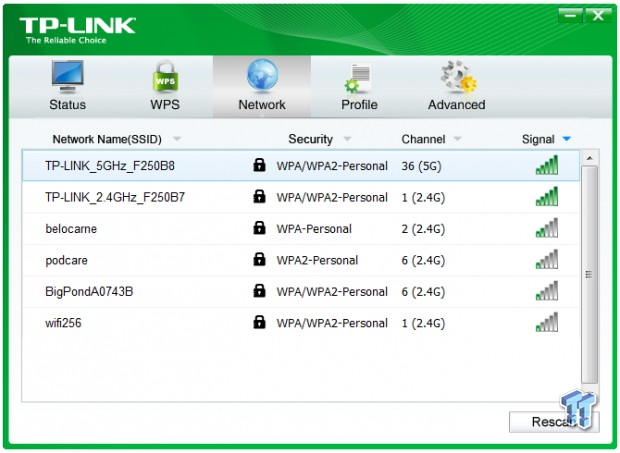
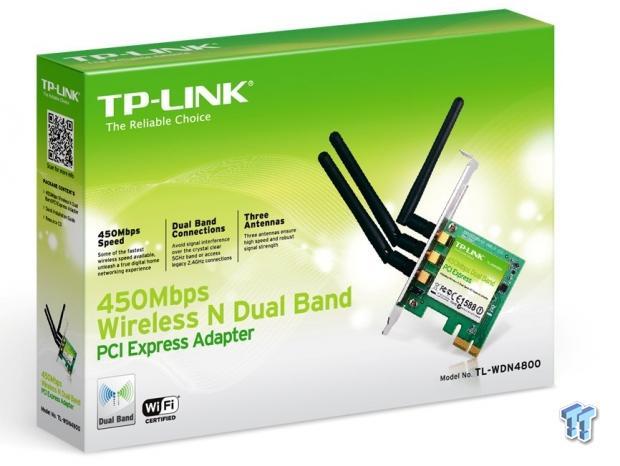
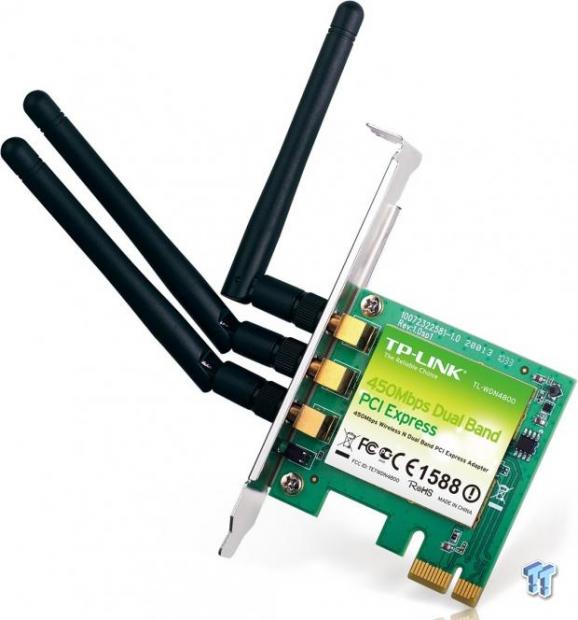
The most important aspect of the WDR-4300 from TP-Link is wireless performance. We have some serious Wi-Fi power here, so let's see what it can do. TP-Link were gracious enough to hook us up with a TL-WDN4800 450Mbps Wireless N Dual Bank PCI Express Adapter, which we installed into our BitFenix Prodigy PC.
I conducted some Windows file transfers, using Net Meter to measure the Wi-Fi performance. I transferred a 6.6GB file from my QNAP NAS to my PC through the WDN4800 adapter. We have a chart below to check out.
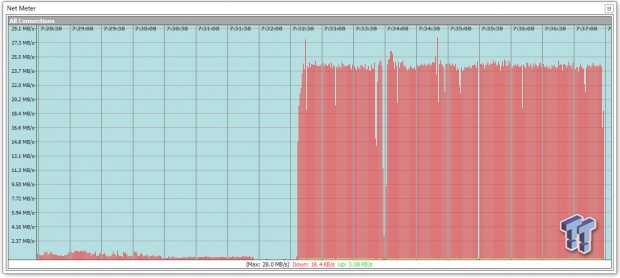
24MB/sec over wireless is quite stunning compared to most setups - you have to admit. I transferred the 6.6GB file in just five minutes. Compared to using stock wireless on a normal notebook, where you receive 1.3MB/sec or so, the results from TP-Link's devices are nothing short of stunning for something that is just $79.
Gigabit Ethernet Performance
We thought we'd give Gigabit Ethernet a try, too - in case you were going to buy this and use your existing non-Gigabit Ethernet-based modem (or if you're not using a GbE switch like me) a try. We copied the same 6.6GB file.
I started off by unplugging my Ethernet cable from my Netgear GbE switch, directly to the WDR4300. My PC skipped a beat for a few seconds while it changed IP addresses and such, and I began the file transfer. The Ethernet connection completely dropped during the first GbE file transfer test, something you can see in the chart below at the 8:20 mark.
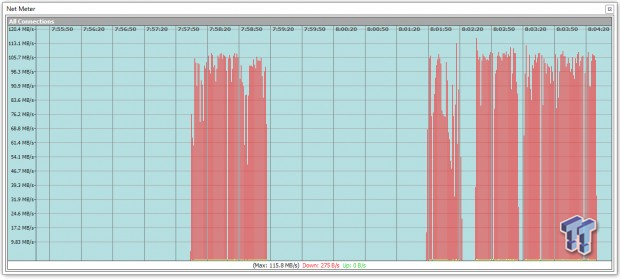
At 8:30 I started it again, and it transferred fine. It took around two minutes to transfer the 6.6GB file, at around 105MB/sec average. This is a good achievement for something so affordably priced.
Final Thoughts
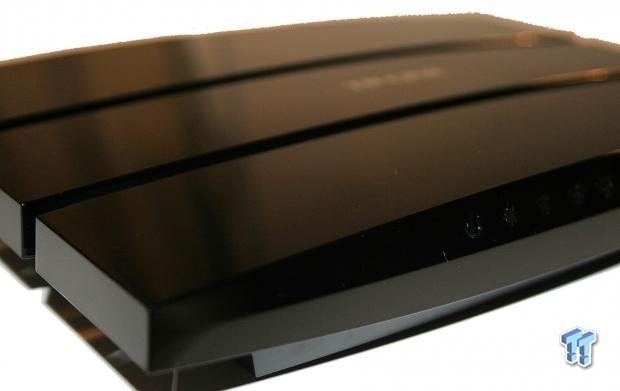
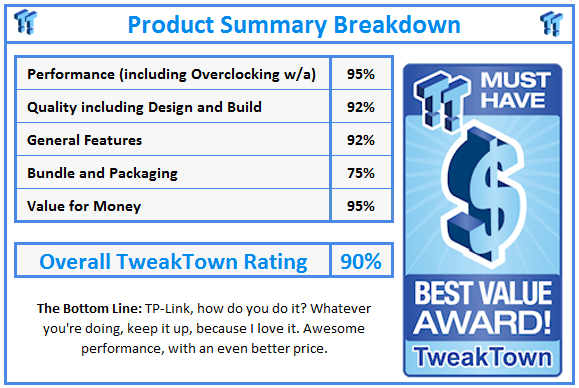
TP-Link, in my opinion, hit a home run with its WDR4300. For $79, how can you complain? Sustaining 100MB/sec+ over GbE transfers, and the supreme Wi-Fi speeds of around 25MB/sec when coupled with the WDN4800 is just great bang for buck in my opinion.
Gone are the days of high-speed networking being expensive, when we have companies like TP-Link coming in and releasing high-quality products that don't break the bank.
The ease of setup is another great factor in both the WDR4300 and WDN4800, something that a novice will love. It only took me a few minutes to get into action in the end, which is something I loved. I'm not a huge networking guru by any means, which is why I'm taking this review method at a more basic level for now, which will fall in line with the general consumer.
Networking is a huge spider web of complexity to most people, but TP-Link has a product here that makes the transition between your old networking gear and new, super-fast networking gear a quick flick. It's well worth it, and if you're itching for an upgrade, you should check out TP-Link and its WDR4300 and WDN4800 products.


