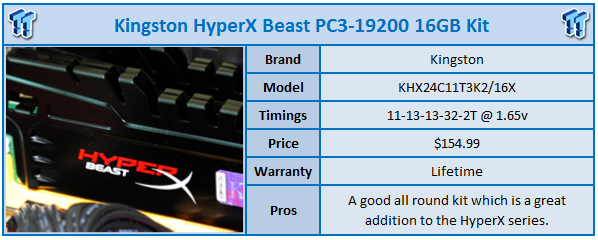
Towards the end of last year we saw Kingston expand the popular HyperX line with a new high-end series within it. The new HyperX Predator PC3-19200 dual channel kit did a good job of impressing us with a strong overclock and strong performance in general. Today we see Kingston have expanded the series HyperX series even further with the addition of the new Beast series. These days the HyperX series is actually quite large being separated into three lines starting with the Blu series followed by the slightly higher end Genesis series and topping out at the Predator series.
Within each of those series we have a further three series bringing a total of nine different names under the HyperX label. We won't go any further than that, but as you can tell, we've got quite a decent amount of RAM that falls under the popular HyperX name. The new Beast kit falls under the Predator series sits as the second highest series at the moment with kits coming in at up to 2400MHz DDR. The actual Predator series on the other hand goes as high as 2666MHz DDR.
With all that said and done let's move onto the actual RAM kit itself. Looking below you can see that Kingston has moved away from the traditional blue heatsink that we see most the time and instead opted for a black one here. It's a good looking heatsink that like so many are ruined by a green PCB.
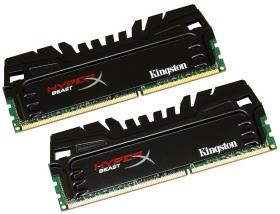
Of course we know that the PCB is purely aesthetics, but it doesn't change the fact that we would love companies who opt for these good looking heatsinks to also opt for a black PCB. We see a few companies do it, but not nearly as many as we'd like - especially when it comes to these higher end RAM kits that cost more.
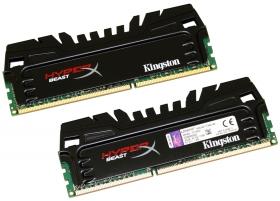
Taking a bit of a closer look at the heatsink you can see that both sides are nearly identical with the HyperX Beast and Kingston logo present on both sides. The only difference is that you can see one side has a sticker on it that gives us a bit of information on what exactly we're dealing with.
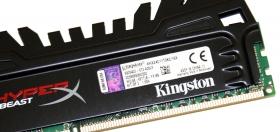
Looking closer at the sticker you can see we've got a bunch of information, but it's generally harder to understand unless you know the model number. Going off the model number across the top, though, you can see we're dealing with a 2400MHz DDR CAS 11 kit - more specifically it's an 11-13-13-32-2T @ 1.65v 16GB kit in the form of two 8GB modules that run in Dual Channel mode.
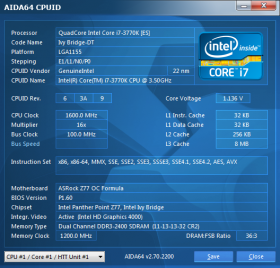
Heading into the BIOS we moved straight to the XMP section hoping that we could set the kit to Profile 1 and get up and running with no issues. Setting the XMP profile and rebooting our system, we booted up straight away and you can see above that we were up and running in Windows with the correct timings and speed. Under AIDA64 we ended up with Read / Write numbers of 22,290 MB/s / 20,684 MB/s, Copy speed of 24,724 MB/s and latency of 35.0ns.
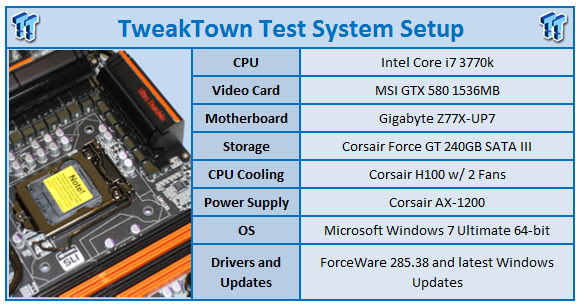
This is fairly typical performance with no real surprise. With stock testing out the way it's onto the next step - overclocking. We've been using an ASRock Z77 OC Formula motherboard for our RAM reviews lately and it's been absolutely fantastic when it comes to RAM overclocking. Most the time we simply opt to adjust the memory divider and from here the motherboard takes care of the timings. Sitting at 2400MHz DDR we moved to the next divider which is 2600MHz DDR. Straight away our machine booted with no problem so we went back into the BIOS to try the 2666MHz DDR option.
We didn't really expect it to work because of our CPU limitation which seems to max out at around the mid 2600MHz DDR mark. With no surprise we got into a reboot loop and our system started back up with the default BIOS settings loaded. So with that done we moved back to the 2600MHz DDR divider and played around with the BCLK a little to see how high we could go.
In the end we got our BCLK up only slightly to 101 and that resulted in this memory running at 2626MHz DDR. With the timings super relaxed at 12-15-15-35-2T, though, we then took the time to see what we could do here.
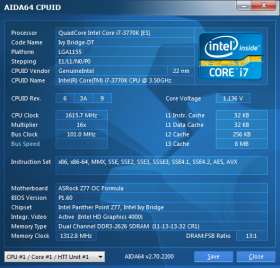
Looking above you can see we ended up running the kit at 11-13-13-32 which is the same as the out of the box speeds. The main difference, though, is that at these speeds we managed to run with a 1T Command Rate instead of the higher 2T one which is seen out of the box. Under AIDA64 we ended up with Read / Write numbers of 23,031 MB/s / 21,021 MB/s, Copy speed of 23,975 MB/s and latency of 32.3ns.
Compared to the stock performance you can see across the board we've got a bit an increase when it comes to our read and write numbers along with our latency becoming slightly better. With that done the last thing we did was head back into the BIOS and adjusted the CPU speed.
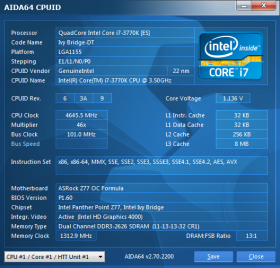
With the 101 BCLK still in place you can see above that we pushed the CPU multiplier up to 46x. This resulted in our CPU running at 4646MHz while our memory stayed at 2626MHz DDR. Under AIDA64 we ended up with Read / Write numbers of 24,848 MB/s / 23,330 MB/s, Copy speed of 24,706 MB/s and latency of 30.7ns.
Across the board you can again see a boost in overall performance and again latency dropped down again coming in at 30.7ns, which looks good against the original 35.0ns that was seen on the kit at its default speeds.
Coming in at $154.99 the HyperX Beast kit we're looking at today is over double the price of the 2400MHz DDR Predator kit we looked at late last year. The big difference is that we're dealing with a 16GB kit here, though, instead of the 8GB Predator kit we looked at. At $154.99 the Hyper Beast kit clearly falls into that higher performance price bracket. Looking today, though, you can see we're clearly dealing with a quality kit that manages to not only overclock to over 2600MHz DDR at the default timings, but manages to work at the more aggressive 1T Command Rate, too.
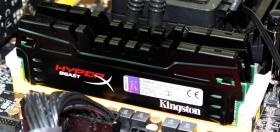
With some strong overclocking potential, a good look and strong price tag considering the stock 2400MHz DDR timings, the 2400MHz DDR 16GB HyperX Beast kit from Kingston is a good option for anyone who's looking for a strong all round kit.


 United
States: Find other tech and computer products like this
over at
  United
Kingdom: Find other tech and computer products like this
over at
  Australia:
Find other tech and computer products like this over at
  Canada:
Find other tech and computer products like this over at
  Deutschland:
Finde andere Technik- und Computerprodukte wie dieses auf