If you install Windows more than once every couple of months, slipstreaming your installation might be down your alley. If you don't know what slipstreaming your Windows installation is, let's have a quick chat.
Don't you hate downloading your Windows Updates, which can be in the gigabytes, to only lose them when you format and re-install Windows? Well, with a few tricks, you can manually download and save your Windows Updates, and then weave them into your Windows installation disc - this, is slipstreaming.
This helps save so much time, and double ups on downloading your Windows Updates. For people like me, it helps because I'm constantly installing Windows on a new build, and hate having to let Windows Update do its thing before I can get to business.
Not only that, but you can also do so many things with the slipstreaming process, such as install applications, remove parts of Windows that you don't use (which saves space and fastens up the installation process) and best of all: drivers. You can have drivers install automatically, so that when Windows is finished installing, you're pretty much ready to go.
Instead of the usual way where you've installed Windows, and now you have the hours-long task of installing all of your chipset, GPU, add-on card drivers, your favorite applications and so on. A slipstreamed version of Windows can do that all for you, saving you a lot of time.
From here on out, you're going to need a few things:
Required:
- Windows ISO file
- RT 7 Lite
- Windows Updates Downloader (read our Tweakipedia article on how to use that)
- Any drivers, software, etc you want slipstreamed
The first step, is to open up RT 7 Lite and get yourself familiarized. It's quite a complicated application, but it can be quite simple if you just want to slipstream some Windows Updates, something we're now going to get into.
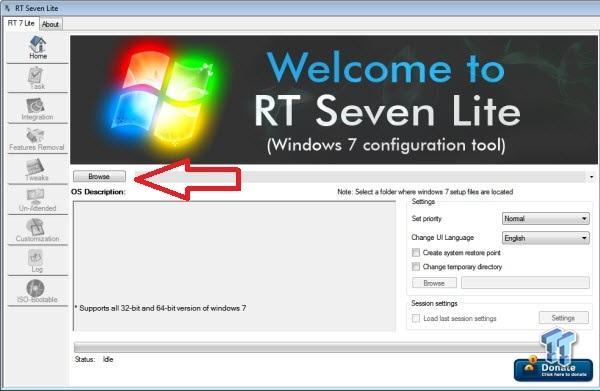
Once you open it up, you'll be greeted with the left side filled with things you can play around with, but we'll get to that soon. You'll see the Browse button, which will allow you to select either an ISO image, or a folder where your extracted installation sits.
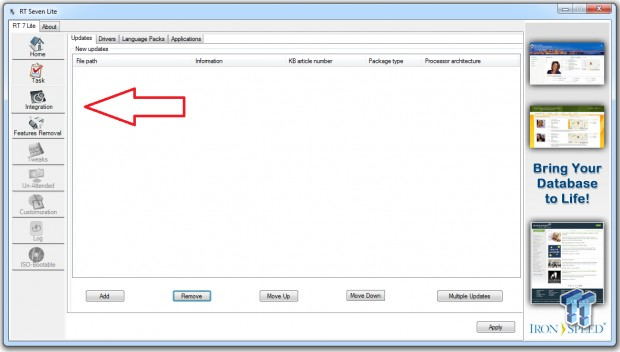
Once RT 7 Lite has started up, you'll be able to tick the things you want to do. You'll want to do Integration.
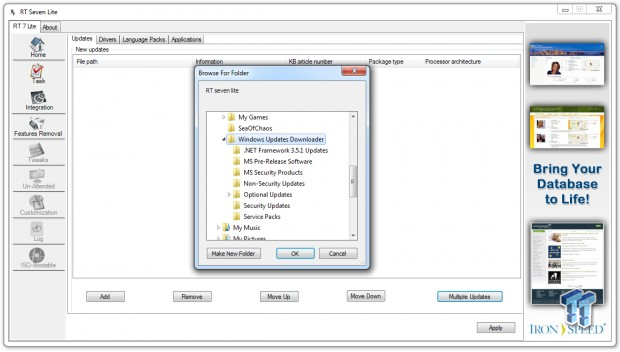
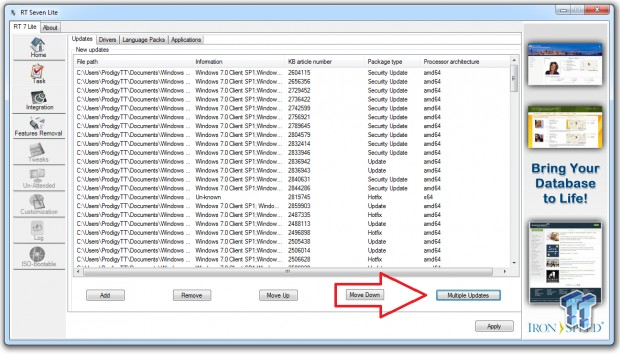
Next, you'll have to click 'Multiple Updates', and then choose the folder that your Windows Updates Downloader dumped all those Windows Update files into. Once you've done this, you'll be greeted with the countless Windows Updates that will be slipstreamed into your Windows ISO. Once you've finished, click 'Apply.'
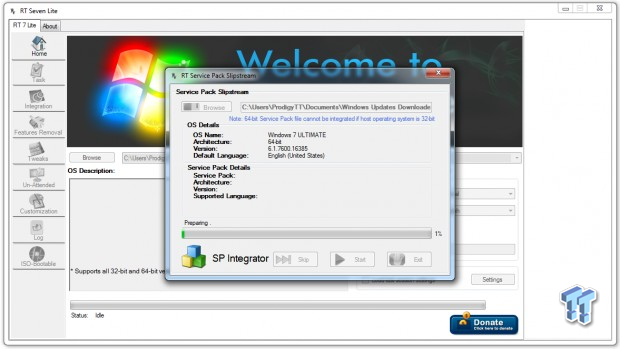
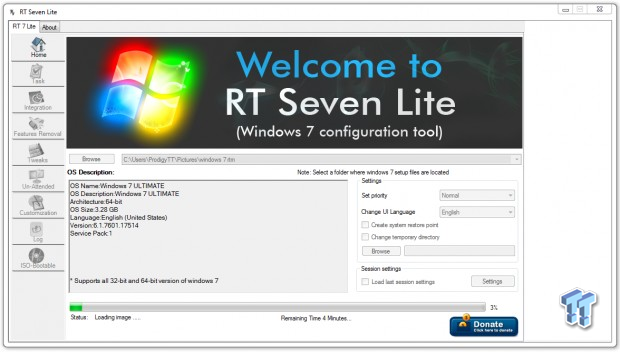
Once you've selected to add-on your Windows Updates, it'll begin the process of slipstreaming your Windows Updates into your Windows ISO.
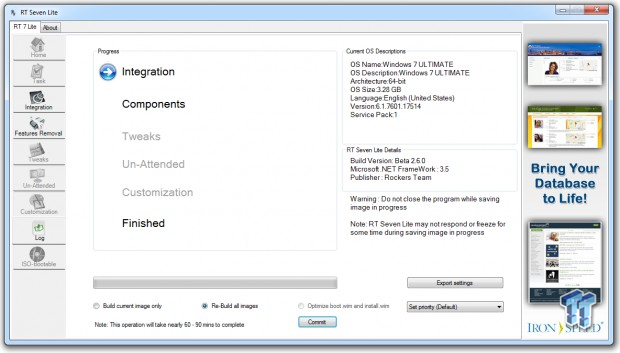
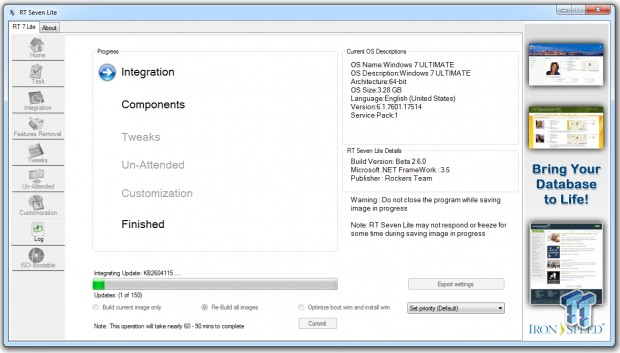
You'll need to go back to the home screen and click 'Commit' and then you'll have to wait for the process to do its thing, but it does warn you that it might take 60-90 minutes. Thanks to Corsair and its support, our Neutron GTX drives did it in much less time than that.
You're done!
Now you can burn this ISO file to a disc, or you could use another Tweakipedia guide and install Windows from a USB stick, which is what we'll be doing. It's multitudes faster than using an optical disc drive, which is something I don't like to use anymore.
Last updated: Nov 3, 2020 at 07:12 pm CST


