Introduction
Monitor stands are a small market. First you look at how many people use more than one monitor and then have a look how many of those people are interested in getting a new stand for their setup.
Since the release of Eyefinity, though, we've seen a larger push for multi screen setups. Sure, the technology has been around for years and years; I was using a dual 17" CRT setup back in the day myself which was always fun. But what ATI have done is make the technology a bit more mainstream. Sure, Matrox did it a few years ago with the TripleHead2Go, but they don't have the same weight as a company like ATI.
Eyefinity has brought with it a more mainstream push for multi screen setups. What we're seeing is companies working on getting bezels thinner and other ways to make the technology simply better. Something that was lacking was high quality monitor stands for three-monitor setups. Having a look around eBay we found some cheap ones that promised support for 24" monitors, but didn't actually support them. You can find a few floating around the U.S. market, but they're extremely expensive and it doesn't help people in other parts of the world.
Today we've found a local one in Australia. The price doesn't look bad, the quality looks impressive and so does the support. Looks can be deceiving, though, so let's take the time to find out if it's as impressive as it looks and sounds.
The Package
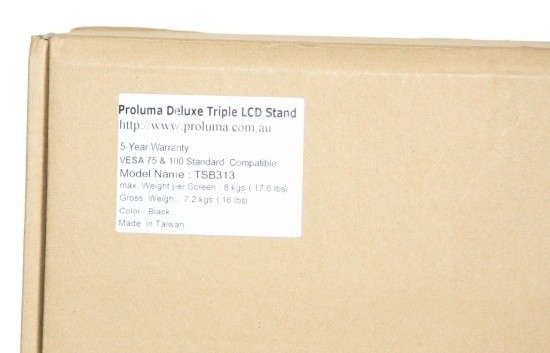
The box is really plain which I suppose keeps down on cost. Really, it doesn't matter about fancy packaging with this kind of product. It probably would've been nice to see a picture of the product in the event you were to buy it from a retail store who didn't have one on display.
The top left corner gives us a run down on some of the main features which includes the VESA compatibility and weight limits.
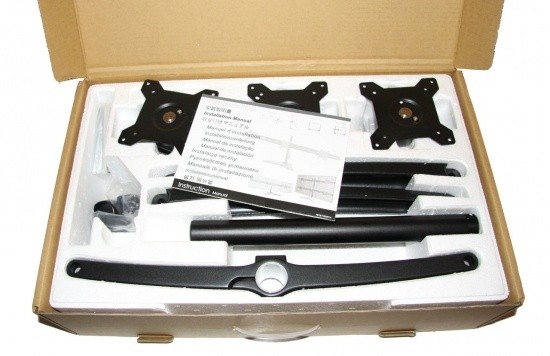
Once you open up the package you can see everything is really nicely packed and you can see most of the parts we'll be dealing with along with a setup manual sitting on top. Let's have a closer look at them on the next page.
The Parts
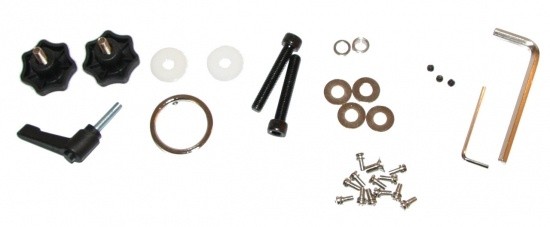
Pulling everything apart, you've got a fair bit going on. As far as the nuts and bolts go you can see everything that we have below which includes some washers, bolts, screws and a pair of allen keys.
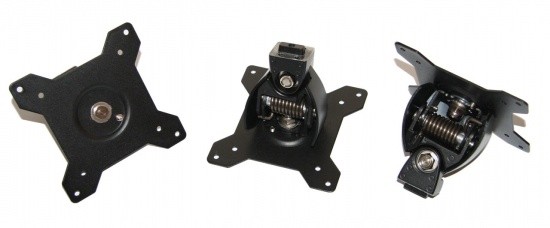
Going through some of the parts, you can see our three main mounts that go onto the back of our monitors and attach to the stand. You can see a couple of holes at each corner; which one you'll use will depend on if you're using a 75mm or 100mm VESA mount.
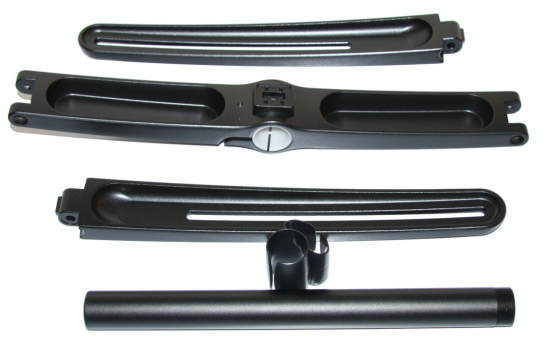
Looking above, you can see the main parts. The top and third items are our two arms while the one that sits between them is the main center piece. At the bottom we have a pole that goes into the middle and holds all pieces together.
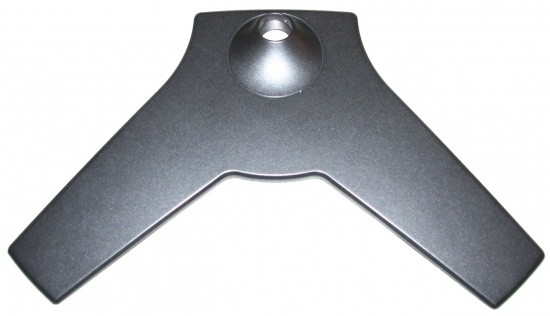
Here we can see the base of the stand; it's not small and does have a fairly large foot print, but this isn't really a surprise as it does have to do the job of what three stands would normally do.
What you need to know
Buying a monitor stand isn't a straight forward task. You need to make sure that the one you're buying supports your monitors or if you're going to buy a stand and monitors at the same time you want to make sure that the monitors will support the stand. As we mentioned on page two, there's a sticker in the top left corner which gives us a run down on some of the important information.
The important piece of information is the VESA mount. Unless your monitor supports a VESA mounting system you're going to be out of luck. The TSB313 from Proluma supports VESA 75 and VESA 100. You'll be able to find out if your monitor supports VESA mounting and what size it is under the specifications page of the monitor manufacturers website.
This particular model offers support for three monitors of up to 24" with a maximum weight of 8kg or 17.6 lbs per monitor. If you're looking at some 27" or even 30" monitors you'll probably have to wait till we see a stand that'll support a massive setup like this.
The specifications from Proluma are as follows:
Base dimensions (w x d): 517 X 312 mm
Max height from centre of VESA mount to table: 335 mm
Span from centre of outer mounts: 710 - 1185 mm
Max Total Screen width: 1750 mmm
Screw hole pitch: 100*100mm/75x*75mm.
Max Screen Size: 24"
Max Weight per Screen: 8kg (17.6 lbs).
Screw type: M4.
Material: Steel/Aluminium
Colour: Black
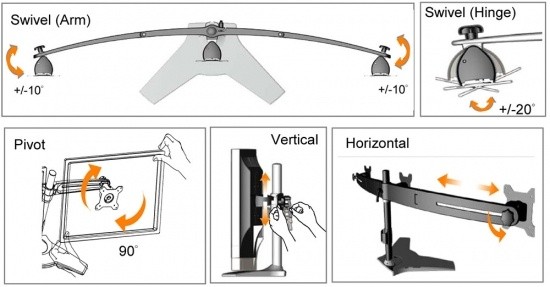
If you're interested in having a look at some more detail on the model you can have a closer look at the images below that give us all the dimensions you'll need to know.
With all that out of the way, let's see how the setup process went.
The Setup
When it comes to building anything, I'm hopeless. There's really no nice way of saying it. For me a nightmare consists of moving into a house in which everything is flat packed from IKEA and I have to build it myself. Since it's not economical in any shape, way or form to send the monitor stands pre-built, it comes as no surprise that it has to be built.
When you look at the main parts you don't feel too worried for the simple reason it doesn't feel like there's a whole lot. Looking at the screws, bolts and washers, though, and this paints a bit of a different picture. Thinking the worst, it was time to get stuck into it.
When you start handling the parts you quickly realize the quality of the Proluma stand which is excellent. Considering that you're going to strap anything from a $1000 to $1000's worth of monitors, you want to know it's going to be sturdy and I can honestly say I feel safe strapping my three Dell U2410s onto it.
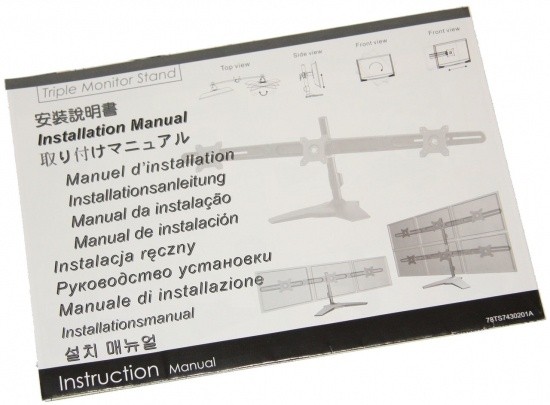
While the manual lacks any words, it's nice and colorful with plenty of pictures that do a good job of explaining what to do. To be honest, when you have the parts in front you'll probably have a fair idea of how everything goes together anyway. The manual just helps reaffirm everything while letting you know where some of the washers and bolts go.
While most of the setup can be done with just a single person, there's two points where an extra pair of hands will come in handy. The first is when it comes to where you have to attach the two side monitors. This is because as soon as you add one, the whole thing wants to fall over to one side due to the weight. You could probably do it yourself, but you'd have to have the monitors face down on a desk or whatever surface you're building on and the chances are you won't want to do that.
The only other time you're going to need help is when you place the stand and monitors on your desk. While the weight isn't too bad, the sheer size and the fact that the arms want to swing about make it a real pain to lift yourself.
As for the build time, it was reasonably quick. From the point I shut down my computer to turning it back on was just under an hour which included moving my monitors to another room, removing the stands from them, building the new stand, attaching the monitors to them, moving it to my desk, connecting the cables back up and getting back into Windows.
The Results
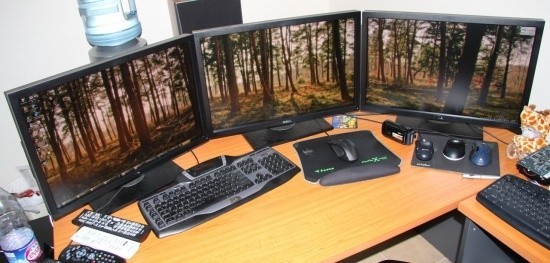
Having a look below, you can see the setup before hand which included the three stands for each individual monitor. While the setup itself wasn't all that bad, you can see you lose huge amounts of room due to the monitor stands.
What you also notice is that due to having all the stands, you're a bit limited in the way you can place the monitors due to not having as much wiggle room when it comes to the lay out.
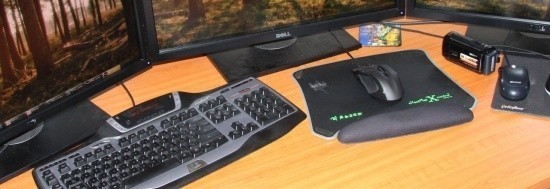
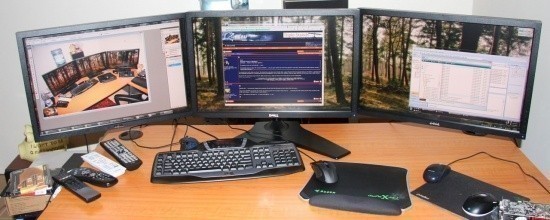
Straight away with the new stands you can see we've opened up a whole lot of new desk space thanks to the side monitor stands now being gone. What else we're also able to do is give ourselves some more options when it comes to placing the monitors; we can now move them to the left a bit more so they're more centered.
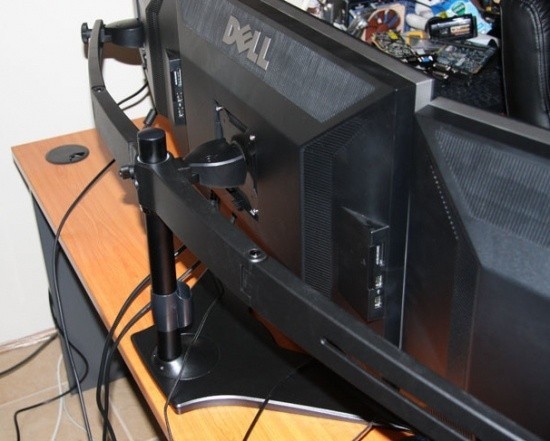
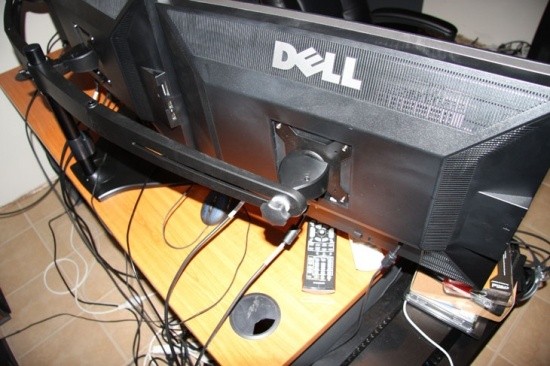
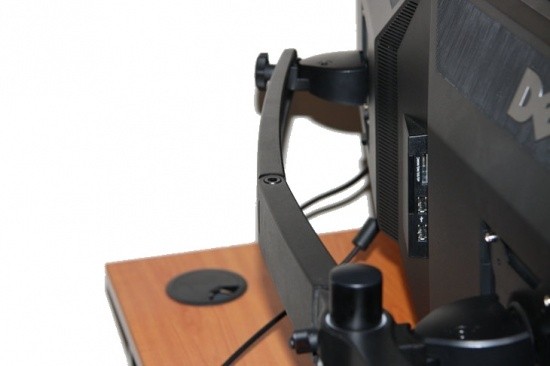
Due to the stand, I've also slightly adjusted the setup. What I've done is tuck the side monitors slightly behind the center one. What this has done is helped remove some of the bezel thickness. While initially I thought that the side monitors sitting slightly backwards would cause a bit of an issue, it does nothing of the sort.
What this also does is give me the ability to curve the monitors in more. Due to using the maximum sized monitors on stand, if you level them out the design feels a bit too flat and wide. If you're using smaller monitors like 22" ones you'll have the ability to angle the monitors in more while keeping them on the same level.
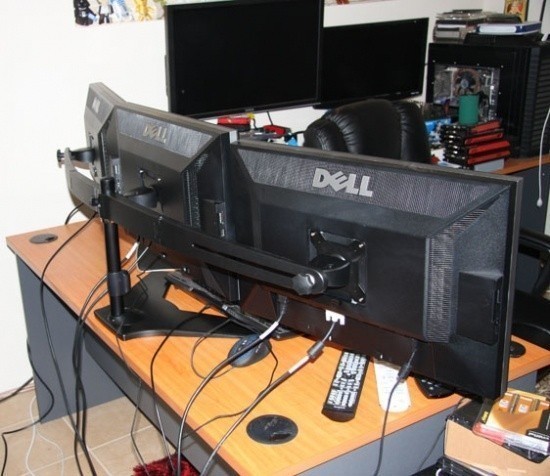
Below are some more pictures of the monitor stand setup to give you an idea of how everything looks.
Having a look above, you can see one of the only issues I ran into with the whole setup process was the left monitor dipping down slightly. In being slightly worried that something was wrong, it didn't take long to realize that I hadn't tightened the left arm bolt enough.
Final Thoughts
At $369 the monitor stands might feel a bit pricey, especially when you consider that they're not going to make your computer run any faster. What you really need to know is that a monitor stand is really just a cosmetic upgrade for the most part. With that said, it does improve the amount of desk space which doesn't just look better, but is great when it comes to placing stuff on your desk.
It's very difficult to fault the Proluma stand. You could talk about the price, but what you're seeing here today is evidence that you get what you pay for. Setup is extremely easy and the quality of the unit is simply fantastic. You can really feel comfortable installing what could be $1000s worth of monitors on this stand and you need to ask yourself what's that worth?
What else you have to remember is that this is something that shouldn't need to be upgraded unless you move to monitors bigger than 24". If you've outlaid the money for three monitors, the chances are you're not going to be in a hurry to upgrade any time soon.
While Proluma might be a new name to most people, it's clear that they know what they're doing and if you find yourself thinking that this monitor stand is all good and well but it doesn't help your dual 30" setup or any other dual setup, you're going to be happy to know that they do a number of other stands to suit different setups.
At the moment the stands are currently only available to Australia and New Zealand residents. Proluma have let us know that they're looking at distribution in the US; no doubt with the product they have it shouldn't be a drama and hopefully as time goes on we see them show up in other major markets.
Eyefinity is great technology and it's nice to see that a company like Proluma can give the technology and monitors a setup that it deserves. Throw in the fact that NVIDIA are going to offer us surround gaming soon with its Fermi based cards and the market for stands like these is only going to grow.
I only use the best for my system which includes a Lian Li case, X58 based motherboard and HD 5970 to name just a few items. Added to that list today is the Proluma Triple Monitor stand. The added desk space and cosmetic improvements the stand adds is perfect and the product is that great that I would spend the money buying one myself.

