Welcome to Part 2 of our new BitFenix Prodigy M build guide, if you're just coming into this now - you can go and check out Part 1, which was an Introduction of what we're planning to do with this slick new PC.
Now, onto the good stuff - we have a slew of videos showing off the inside of the Prodigy M, giving you a few tricks on how to build your PC inside of this case.
In the above video, we take a look at and around the BitFenix Prodigy M. We took out some of the fans and other parts of the case, something we give you an explanation of in the clip.
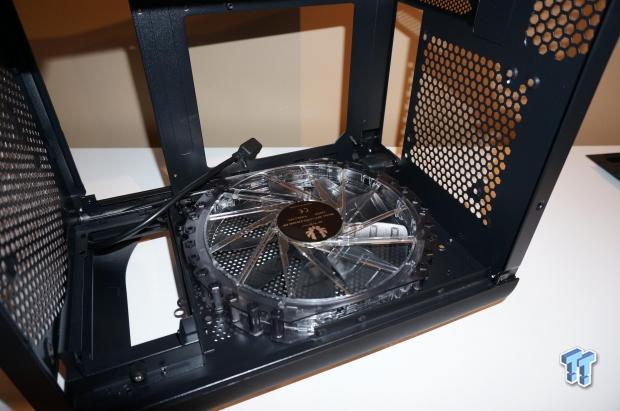
The 220mm fan is now installed!
Here we have the 220mm fan installed in the bottom of the Prodigy M.
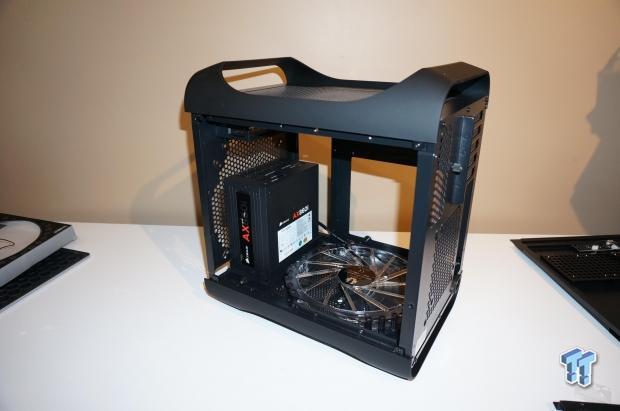
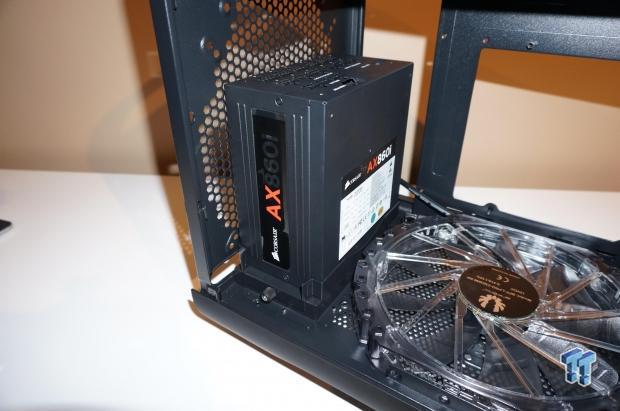
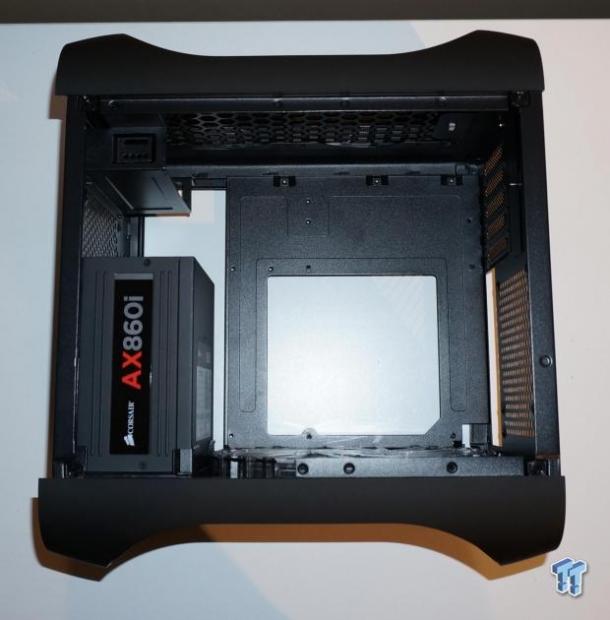
Next up, we have the Corsair AX860i installed into the Prodigy M, next to the massive Spectre Pro fan.
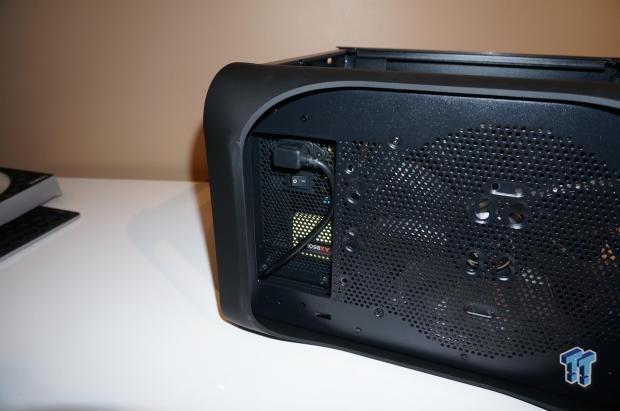
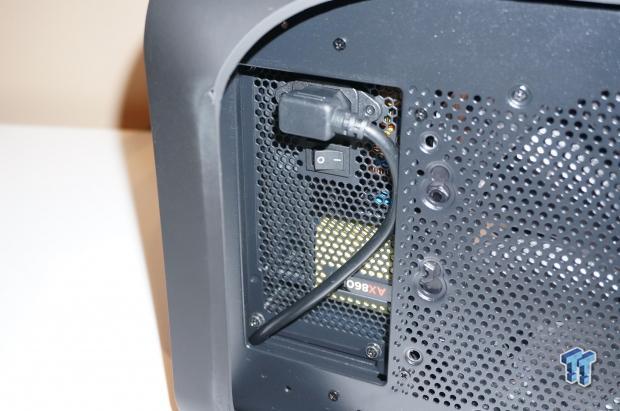
This is how the power cable words with the PSU installed, routing it to the rear of the case.
Let the building begin!!
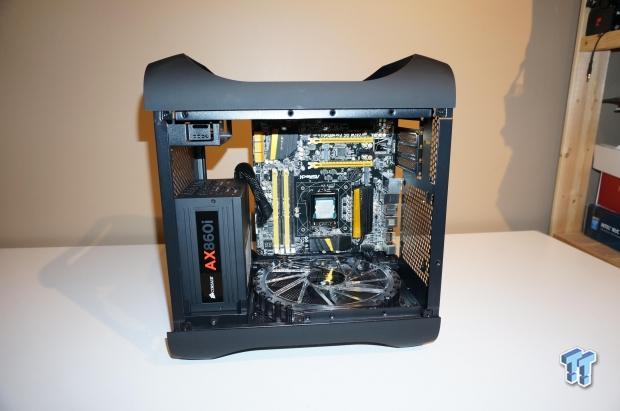
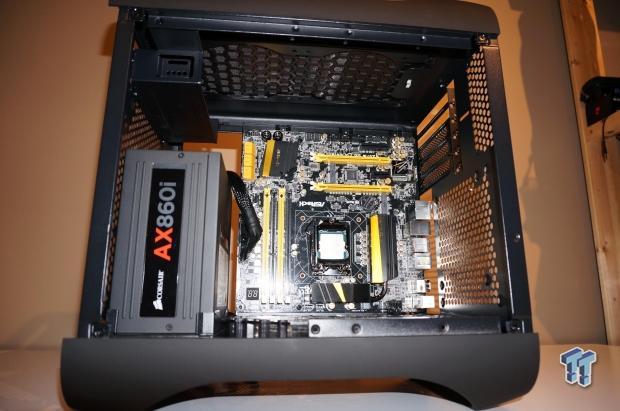
Now we have the ASRock Z87M OC Formula installed.
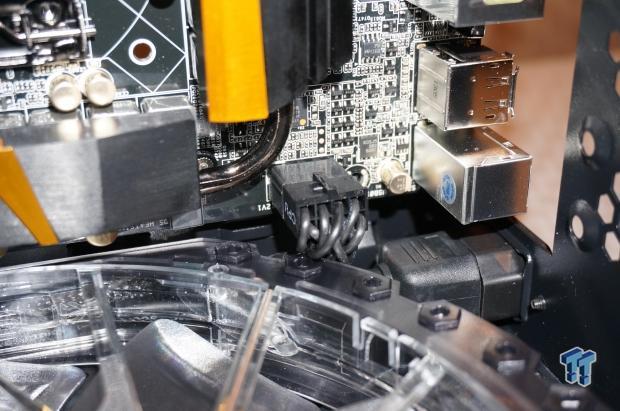
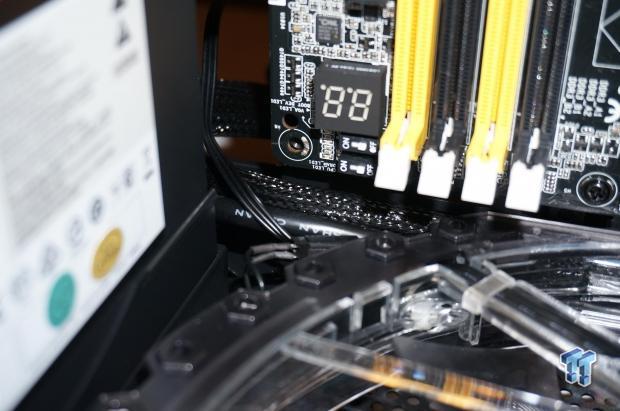
As you can see, the 8-pin CPU power barely makes it in. I actually have this cable tied behind the fan, between the chassis and the fan itself so that it is nice and tucked away - something you can see on the image on the right.
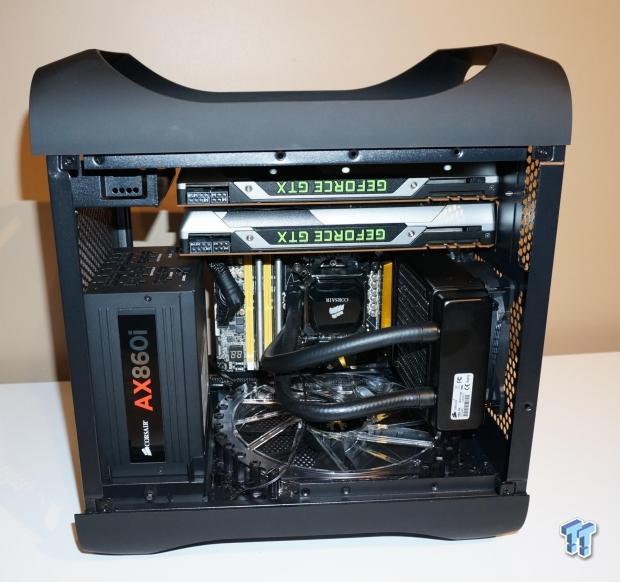
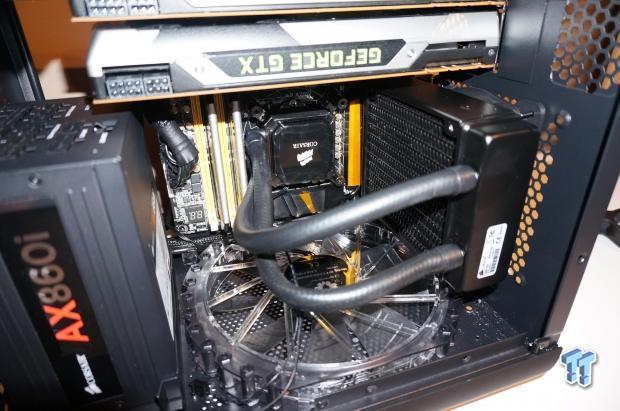
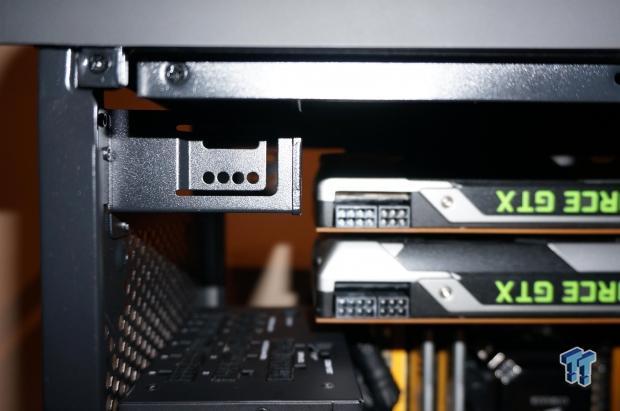
This is what it looks like with the Corsair H80i cooler installed, with some reference NVIDIA GeForce GTX 780s to see if we have enough room to install the 5.25-inch fan controller - which we don't.
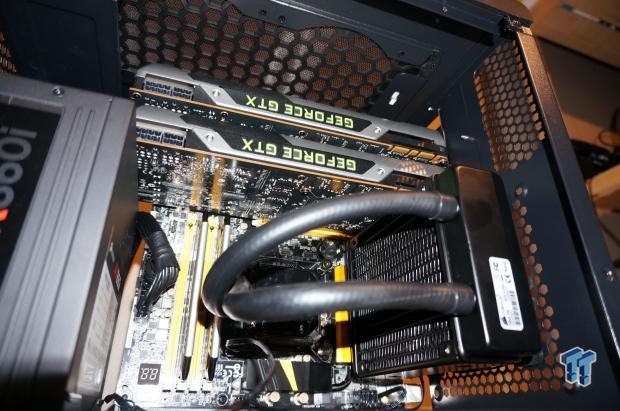
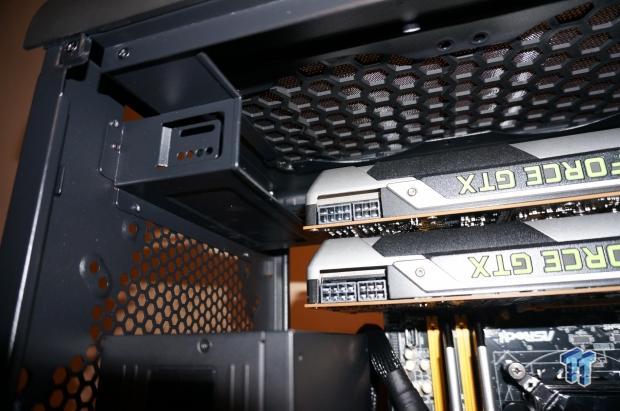
You can see here in more detail that the 5.25-inch bay has to go.
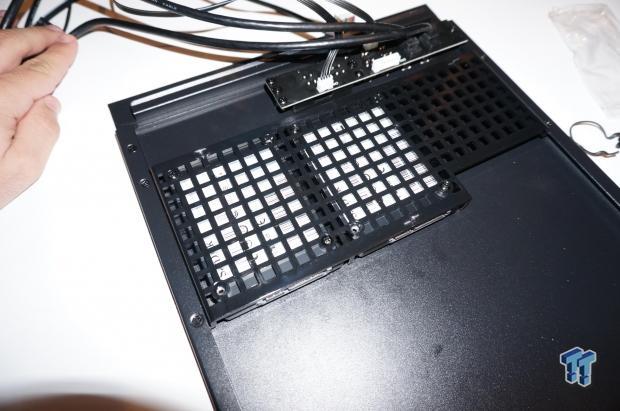
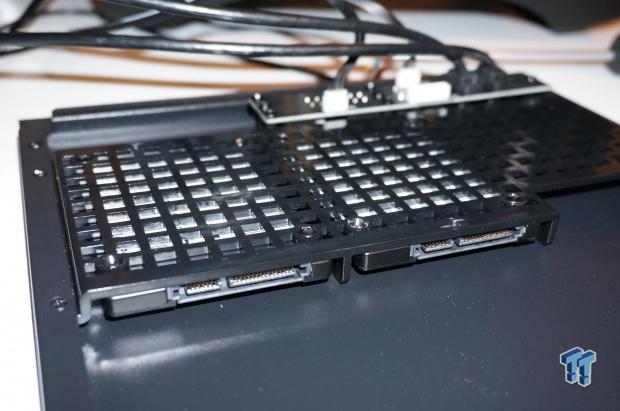
Here's a sneaky spot to install your SSDs!
Tiding up your cables is important when building a PC, even more so when you have a tight amount of space to work with. This is the front of the case, with the 24-pin ATX power cord cable tied to the front of the chassis.
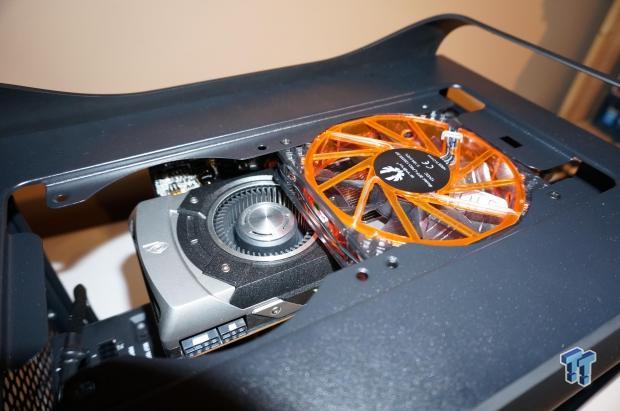
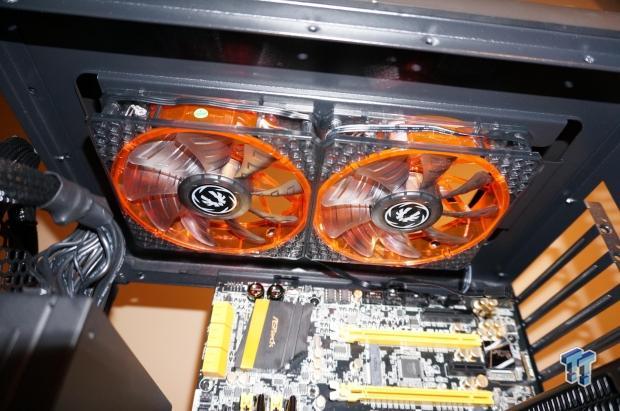
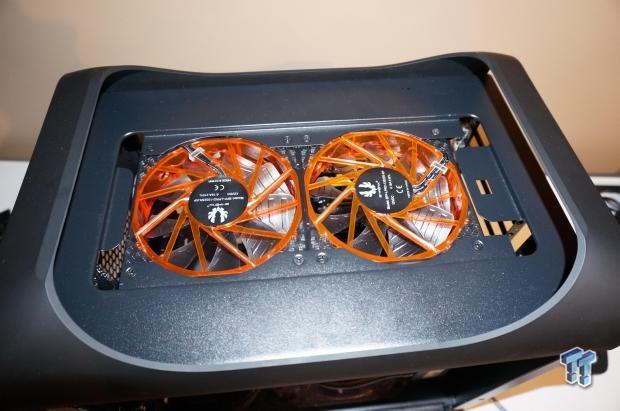
To finish up, we have installed our two 120mm Spectre Pro fans at the top of the Prodigy M, above our GeForce GTX 780s.
Part 3 should be up soon, with a few more videos to take a look at. Once we have this up, we'll get into powering it up and setting up those SSDs in RAID 0. From there, we'll do some performance numbers at 1080p, 1440p, 4K and triple 1440p monitors. Exciting times ahead! Stay tuned to TweakTown for more BitFenix Prodigy M articles!
Last updated: Nov 3, 2020 at 07:12 pm CST

