Introduction
When I used to LAN regularly, I was at a time in my life when I had multiple systems. I used to have one decent high-end system and a Shuttle system. The Shuttle system was great for portability, but hardware at the time could never compete with a full-ATX system. Those days are over.
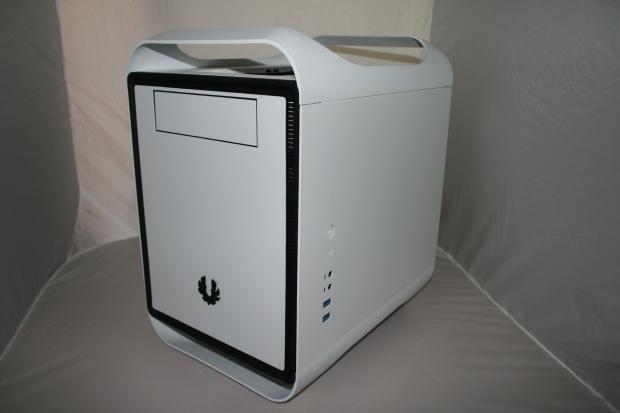
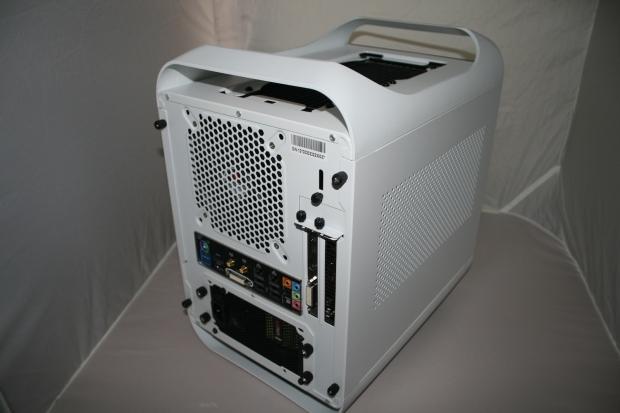
My love of building PCs has been somewhat watered down over the years, it feels like there's less and less time to tinker around with them. But then you get the opportunity to build an awesome PC like this, and it all rushes back to you in an instant. We talked to a bunch of our great friends at BitFenix, Corsair and GIGABYTE to provide us with some hardware to build one of the fastest PCs we could in BitFenix's awesome Mini-ITX Prodigy case.
For now, we'll get back to the build guide.
What We're Building With
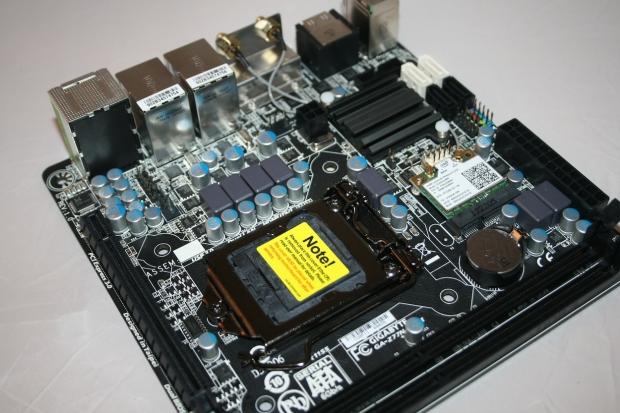
Our partners have been very generous, where we've received some of the best hardware a consumer can buy. So Christmas has come very early for me in my TweakTown lab. We received from GIGABYTE their Z77N-WiFi motherboard, as well as their Radeon HD 7950 WindForce video card. From Corsair, they lavished us in two of their Neutron GTX 240GB SSDs, the Hydro H100i cooler and their AX760i power supply. From BitFenix, we obviously have the impressive Prodigy Mini-ITX case. I've used my existing Intel Core i7 3770K and Corsair 8GB 1866MHz (DDR3CMZ8GX3M2A1866C9) RAM.
We'll have the two drives as separate SSDs, one filled with games and the other for the OS and data. You really need 240-480GB of space for your data these days thanks to games only getting bigger. Battlefield 3 and Crysis 3 take up nearly 50GB together, for example. I feel we should've asked Corsair for some 480GB drives, now that I'm looking at these mammoth game installs - but we'll wait for another weekend for that! So, Corsair, if you're reading, you know my address! Ha!
Here's what we're working with:
What You'll Need + Building the Prodigy
Tools you'll need: A screwdriver - one that isn't too long, as you'll need it to screw the motherboard in. Cable ties - in various sizes. Patience, and maybe a beer or three. The first thing you're going to want to do is take everything you have, out of their boxes. The second step would be to completely dissemble the Prodigy, bit-by-bit, screw-by-screw. This way, you can build from the ground up, the way you want or need it.
I won't be using, nor do I require an optical drive - as I'm going with just SSDs and will read everything else from the cloud, or my NAS (network attached storage). This also saves room that you can use for water-cooling, which we'll be doing with our build. Taking everything apart is as easy as you'd think, set a table aside and grab your screwdriver! Don't lose any of the parts, and keep the screws all together in one space, as you'll obviously need them as you re-build.
Let's get started - there's a metric ton of pictures, so prepare those eyes of yours! After you've taken the sides off, remove the HDD bays.
Removing this bay requires some screws on the bottom of the Prodigy to be removed, too.
OPTIONAL - This move is optional, but as I explained above, I don't use any optical media at all. So, I remove the optical drive, which gives me space to install the Corsair H100i cooler in its place.
There are a few steps to removing the optical drive; here are the screws you'll need to remove.
After you've removed everything out of the system, assemble your cooler - we're using Corsair's H100i cooler, so we've had to screw some fans onto the radiator, and have that all prepared. If you're using a traditional heatsink and fan, I'd suggest using this step as putting the CPU onto the motherboard, and then assembling the cooler on top.
We've chosen to install the H100i cooler at the top of the Prodigy, thanks to having the optical drive spot removed we have the room.
Now that we have the Corsair H100i installed, we'll install Corsair's Neutron GTX SSDs. The Prodigy has an awesome spot for them, too. With the HDD cages removed, the SSDs can be installed at the back of the PSUs rear point - as there are eight screw holes for them. You'll have to use your hand to push the SSD against the wall of the PSU mounting wall, or else it will fall.
Once you have one of the SSDs installed, this is what it will look like - with the space to the right ready to have its brother side-by-side.
One Corsair Neutron GTX 240GB SSD installed.
Two Corsair Neutron GTX 240GB SSDs installed - don't they look awesome?
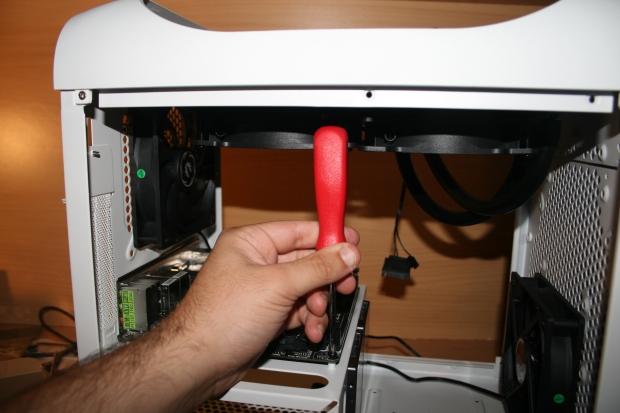
Next up, we'll get the motherboard screwed into place. This is where you'll need a smaller screwdriver, as there isn't much room to get a full-sized screwdriver in between the motherboard and the top of the case without going in on a really bad angle.
This is what it'll look like with the Corsair H100i installed - we're getting close to full assembly here, folks!
One thing I did to our GIGABYTE Radeon HD 7950 WindForce video card was cable tie the PCIe power cords. This saves some much needed room within the Prodigy, and keeps it looking a little neater.
There are some screw holes on the right of the card, where we could keep it even neater; so we used those, too.
Now we're down to the final steps, where we're getting everything nice and neat. The next step, SATA cables! We want to keep it as neat as possible, so use a little trick of sliding the cable underneath the motherboard and plugging it into the SSD.
Unscrew the screw closest to the SSD, lift the board up just a tiny bit and slide the cable underneath as you can see below.
After that, slot your video card in, plug your power supply unit up with all of its cables and slide it in. The Corsair AX760i we used was a very tight fit, so it will depend on the devices used as to how you will install that. I would suggest doing it a few times, in and out, to get a feel of how much room you'll need at the rear, but after 3-4 attempts, I had it installed very, very snug.
The Finished Product, To Be Continued...
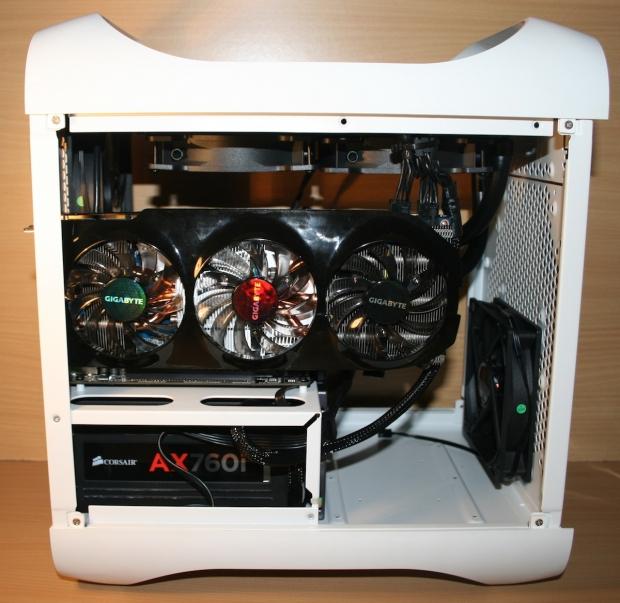
And here we have it folks, the Prodigy with all of our insane hardware inside. It took a few nights of meticulously building it, but we're here. The system powers on and works beautifully, and now the joyous task of installing Windows, drivers and running some tests.
We've got some interesting tests to come from this, where we'll run it through some of the latest games like Battlefield 3, Crysis 3, Tomb Raider and more. Single and multi-monitor charts will be aplenty. We'll take a look at the idle and load power consumption, and more.
The Prodigy was a great case to build with, and I'm happy I finally got to build a kick-ass system inside of one. Ever since I saw the Prodigy at Computex in 2012, I wanted one, so it feels a little like Christmas once again. The possibilities are endless with the Prodigy, you could use it as a low-power NAS build, as it can house many drives. Coupled with the fact that HDDs now come in 3TB-4TB, the possibilities truly are endless.
Another great fact is the room for a very long video card, sure we put a HD 7950 inside of the Prodigy, but it can house more. When we get some dual-GPU action in, like a HD 7990 or GTX 690, we'll be sure to write up another piece on the Prodigy. Until our next part in this adventure on the Prodigy, check out the gallery below, which is full of pictures!
Last updated: Nov 3, 2020 at 07:12 pm CST

