Introduction
While we were fans of the Naos 8200 and Avior 8200 mice that Mionix had sent over, there are a lot of gamers out there who would pass up on them for one simple reason: the laser sensor built into them. Most gamers (specifically those at more competitive levels) will tell you that an optical sensor in a mouse will offer better accuracy, and smoother movement than what most laser sensor based mice deliver. Also, it used to be that when looking into optical sensor based mice, the DPI, or the amount of movement the mouse translated to on the screen, capped out pretty low. With advances in the newer optical sensors on the market today, you can go all out and have the same levels of uncontrollability that laser sensors have offered for years.
This is what brings us together today. Mionix has taken the Naos 8200, and reworked things slightly, both inside and out. Internally, there are a couple of obvious changes like the PCB color, and the type of sensor used. Externally, the design has been somewhat streamlined, and this newest release lacks the DPI LEDs that are on the left of the Naos 8200.
Mionix has kept all of the best parts that made us like the Naos 8200 originally, things like comfort, the software, fully customizable LED coloration, and top end components, to give users a pleasurable time when using these Naos mice.
Today, we are getting in depth and personal with the Naos 7000 from Mionix. As we mentioned, the main advantage here is that movement is now tracked with a different Avago sensor, and as the name alludes to, there is up to 7000 DPI selectable for use. I say we just dig right in, and see if the new Naos 7000 is all that the 8200 was, and if there is any real discernible differences between the two.
Specifications, Availability and Pricing
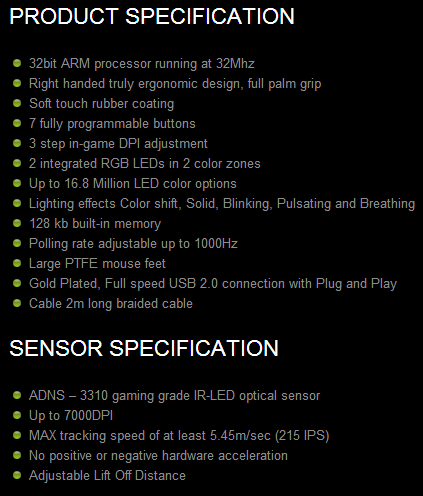
A quick glance at the specifications chart shows that Mionix is holding no secrets, and wants to deliver as much information to the customer as possible, so that they may make a very educated purchase with their products. Right out of the gate, there is mention of the 32MHz, 32-bit, ARM processor used inside. It then goes on to say that this is strictly for right handers, has a rubberized coating applied to the top, and offers seven programmable buttons. DPI is selectable in three levels via the software; from 50 to 7000 in 50DPI increments. There are also two LED zones, one on the heel, and one in the scroll wheel, and both can be set to one of 16.8 million choices. Moving on, the chart then covers the 128kb of onboard memory, the 1ms polling rate, the PTFE feet, and the two meter braided cable with a gold plated connection.
The real change in the Naos 7000 is the Avago ADNS3310 IR-LED optical sensor at the heart of the design. Of course, we covered the DPI, and the levels in which it can be adjusted. They also cover the tracking speeds of this sensor, where they say that this mouse is capable of tracking at 5.4 meters per second; for those of us on this side of the pond, that is almost eighteen feet per second. It also says there is no hardware acceleration, and shows that it offers an LOD setting.
There is a lot more information given on their web site. Here they show things like the software features, where they run through a list of the five profiles, X/Y axis controls, adjustable polling rate, macro manager, angle snapping, and angle tuning. They also make mention of the LOD calibration tool, and the SQAT, or Surface Quality Analyzer Tool. They also cover the 103 gram weight of this design, the 130mm of length, the 78mm width, and the 38mm height.
Even though this sample just arrived the other day, we are pleased to see that the Naos 7000 is easily obtainable. If you just shop via Google, you will find some eBay listings at $80, and venturing over to Newegg shows a $79.99 listing price. Considering that the previous design of the Naos was in the $80 price range, I would expect no less with the Naos 7000. At this point, relax, look at some images, and see if the new Naos 7000 is worthy of this price point, and if it is in fact the next mouse for your gaming enjoyment.
Packaging and Documentation
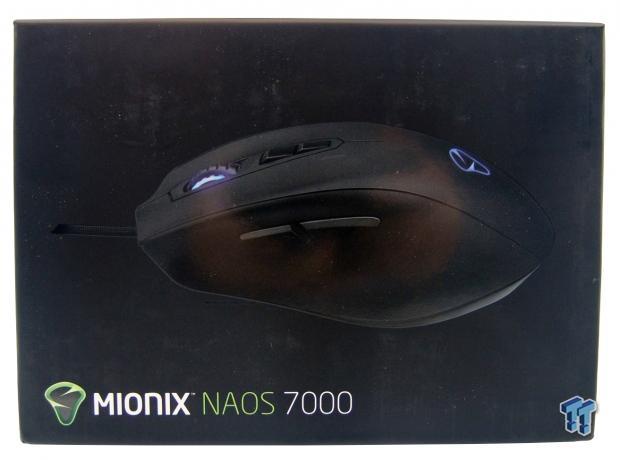
The front of the packaging is flat black like we have seen previously, and also includes a shiny image of the Naos 7000, front and center. At the bottom, you have the logo, the company name, and of course the product name.
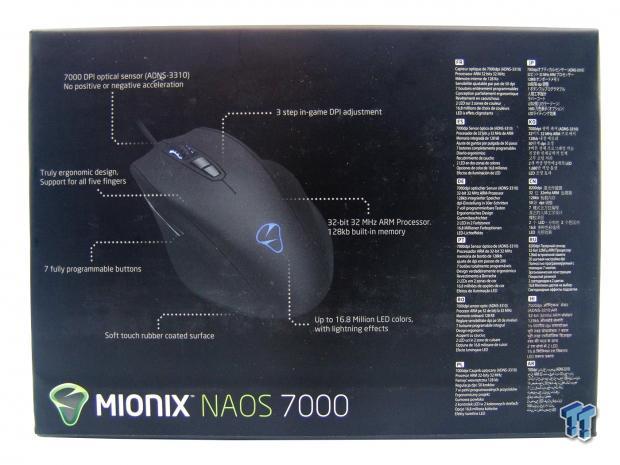
The back offers another view of the Naos 7000; this time with seven features being highlighted. To the right side, these features are repeated in twelve different languages.
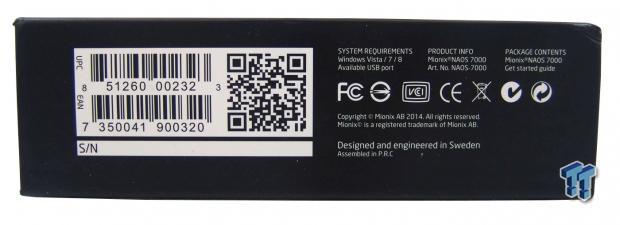
This is the only other panel to offer any form of information; the rest are just plain, and flat black. Here there is a QR Code to gain more information at the store, the system requirements, and we are told what is inside of the box.
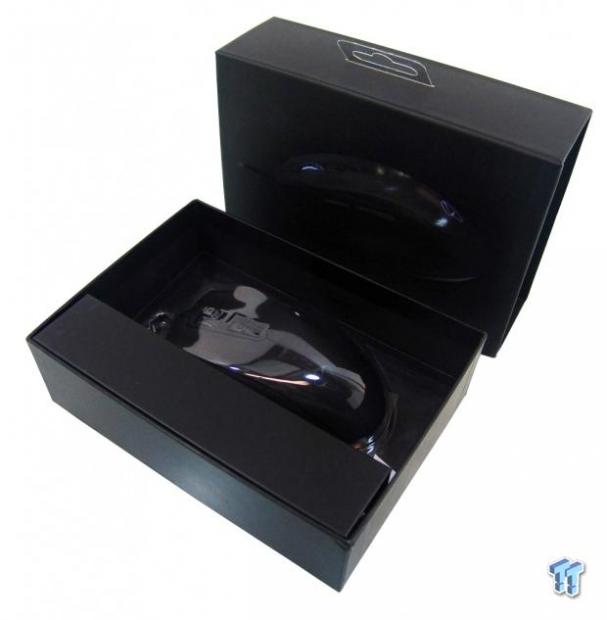
As we slide the inner box out of the sleeve, we find the Naos 7000 locked in under a layer of conformed plastic, to keep the mouse in one place while being delivered to the door. While simple in its packaging, the Naos 7000 did arrive in excellent condition.
At the bottom of the box you will find the black manual for the Naos 7000. You will also find a large sticker of the Mionix logo to put wherever you see fit.
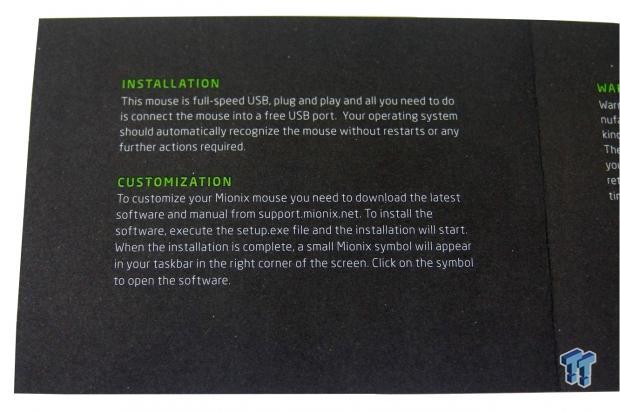
Things start off with the installation. It says to plug it in, wait for the OS to recognize it, and then the Naos 7000 delivers basic functionality. To fully access the customizability, you will need to visit the site to download the latest software.
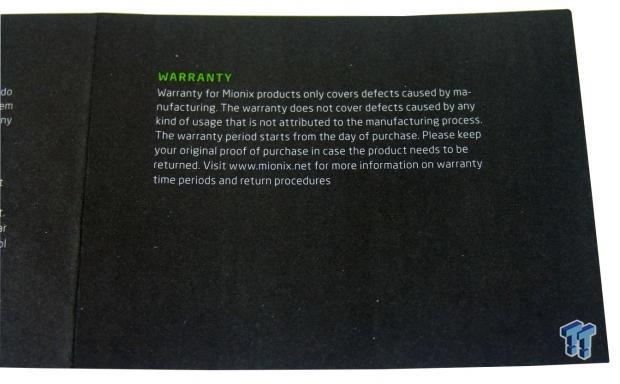
Here they cover some warranty information, and they suggest you keep the receipt. They also say to visit the site for any issues. As for as the length of the warranty, it is 2 years in the EU, but only a single year in the U.S..
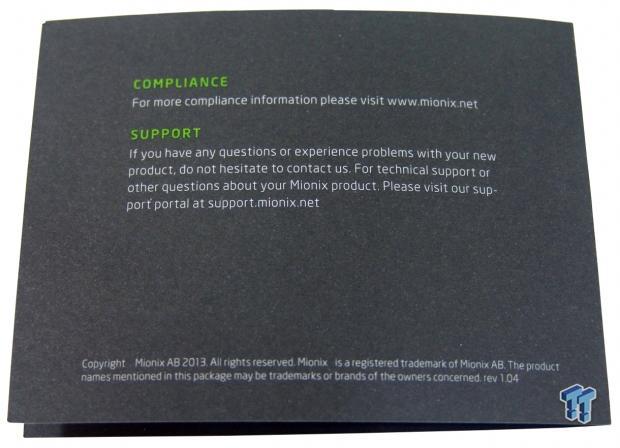
The back of the manual shows to visit the site for compliance information, and technical support.
Mionix Naos 7000 Mouse
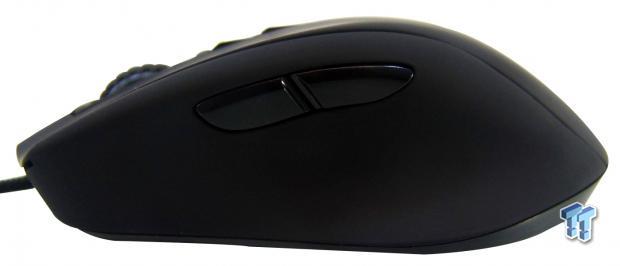
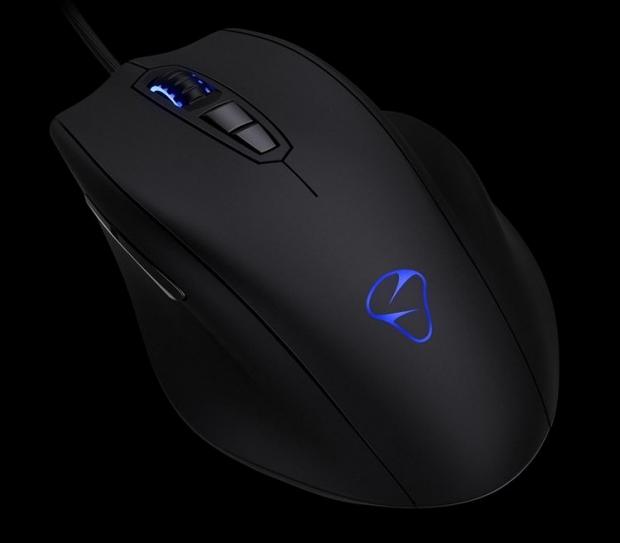
The left side of the Naos 7000 has a deep inset that allows the thumb to nestle into this side of the mouse. There is a pair of buttons found here within very easy reach, but the DPI LEDs of the Naos 8200 have been removed.
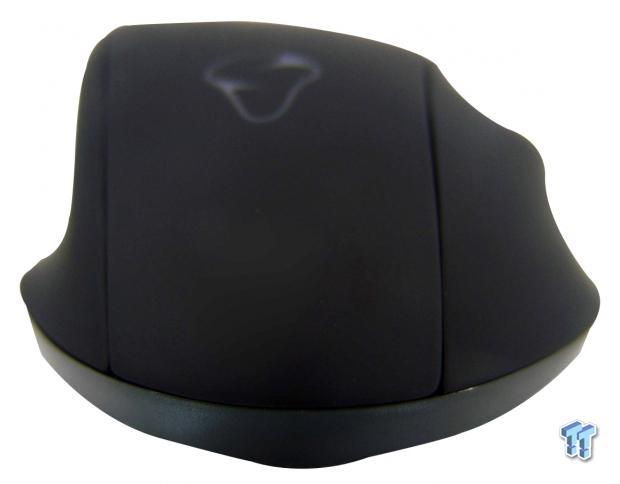
At the back, three sections of the rubberized top meet up with the regular plastic bottom section. The heel is extended as well, and supports the nerve tunnel in your wrist.
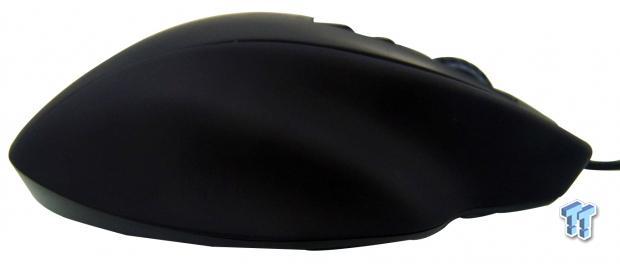
The right side of the Naos 7000 is rubberized, and offers two deep channels. This is to keep the ring finger and little fingers off of the mouse pad, and it also affords a much better grip to the mouse when you need to lift it.
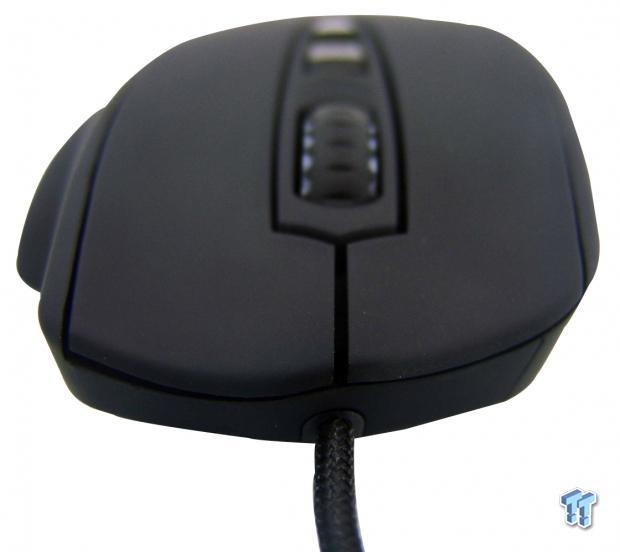
The front has on offset design that offers more length to support the middle finger, and is shorter under the pointer finger. You can also see the braided cable coming out of the center of the leading edge.
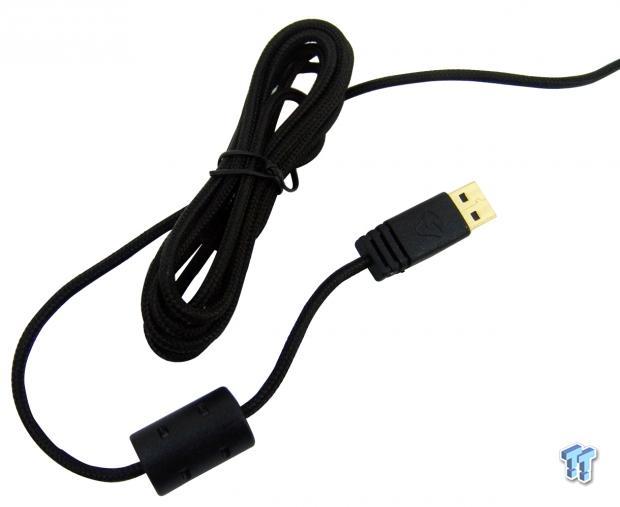
The cable continues away from the mouse, and is two meters in total length. At the end of the cable there is a large Ferrite choke to reduce noises in the cable, and it terminates in a gold plated USB 2.0 connection house in a plastic grip that has the Mionix logo.
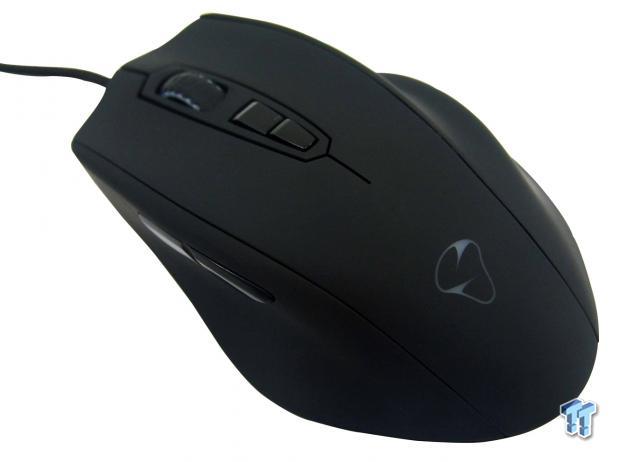
A view from above the Naos 7000 shows the DPI selection buttons and the scroll wheel with the rubber outer wheel to ensure good grip when rolling it forward, or back. Near the back heel of the mouse there is a Mionix logo; the logo and the scroll wheel are illuminated by LEDs.
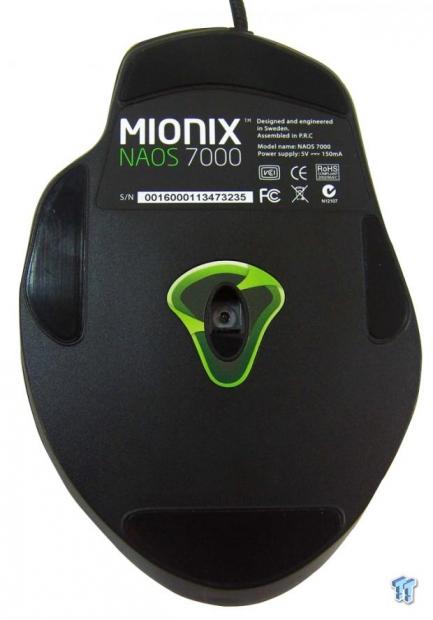
Under the Naos, we find there are four large PTFE feet used in this design to make this mouse glide on any surface. There is a larger sticker near the top that provides the serial number, and the sensor is surrounded with the Mionix logo sticker.
Inside the Naos 7000
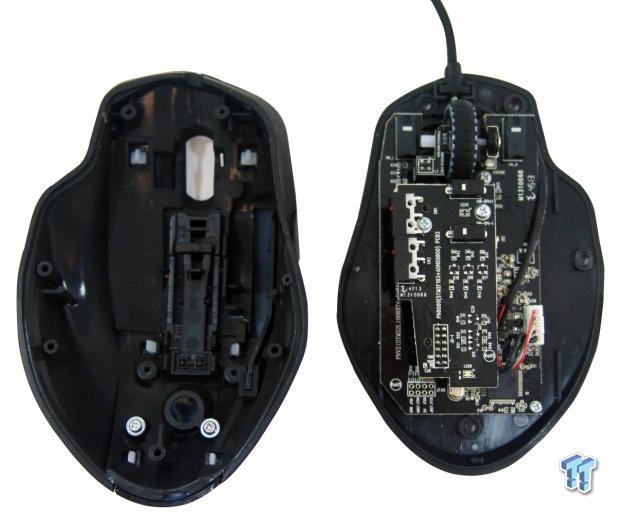
Pulling apart the Naos 7000, we find a layout that is almost spot-on to the Naos 8200. However, the PCB color has been changed, and under the top layer of PCB, there is a new sensor tracking the movements.
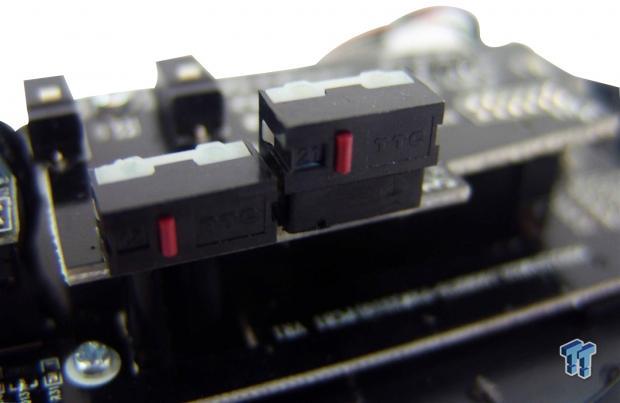
The pair of buttons on the left of the mouse are backed with TTC red switches. These require medium pressure to activate, and give off an audible click when pressed.
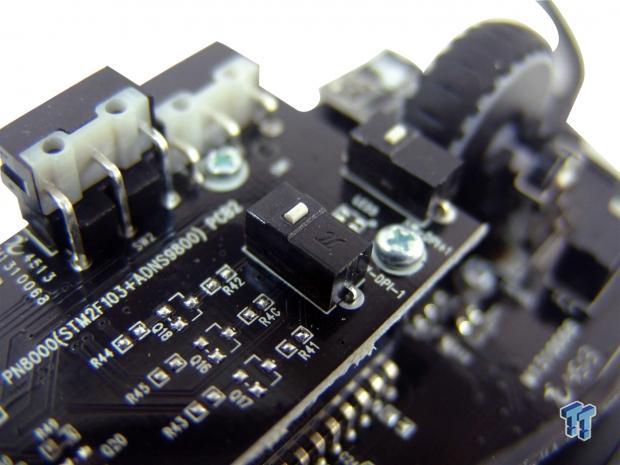
The DPI selector buttons are backed with Pi white switches. These take very little pressure to activate, but also offer an audible click when pressed.
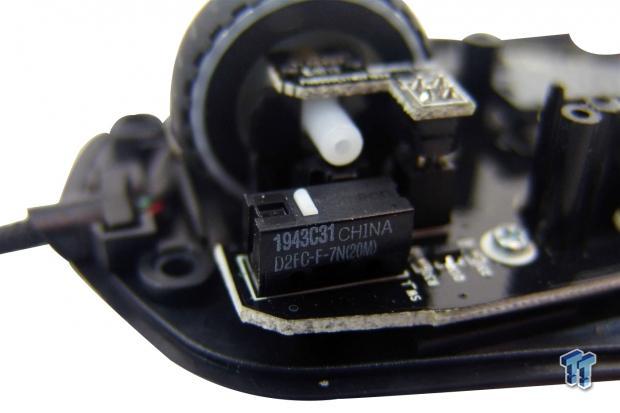
The left click button is backed with an Omron D2FC-F-7N; these have a twenty million click lifespan.
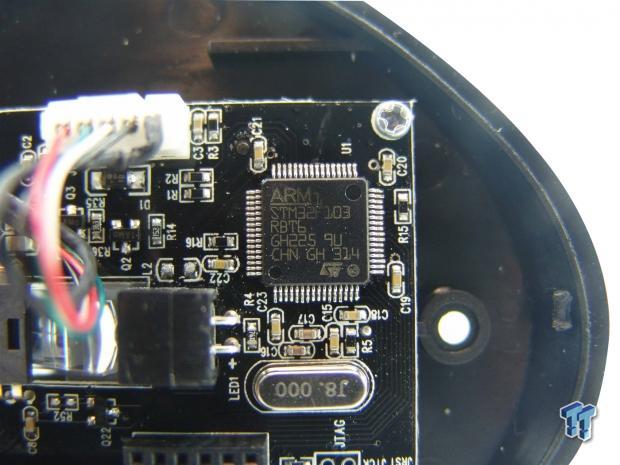
Moving down to the heel of the mouse, we find the ARM ST32F103 MCU that runs at 32MHz, is 32-bit, and is also where the 128kb of onboard memory is housed.
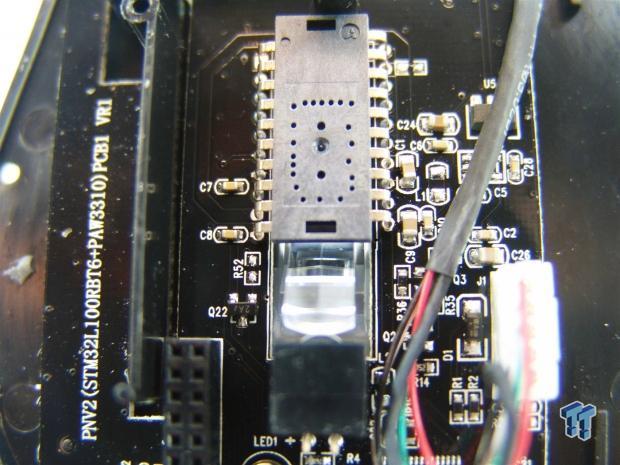
Here is the Avago ADNS3310 optical sensor. The lettering is on the right side, but due to the light gold color of the printing, it is tough to make out. This is what will be tracking all the movements, and translating them to the MCU.
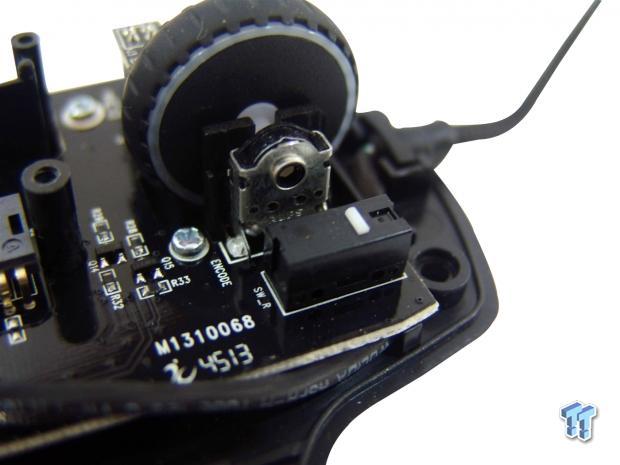
As we finish the tour inside of the Naos 7000, we find the same two million click lifespan Omron switch under the right click button.
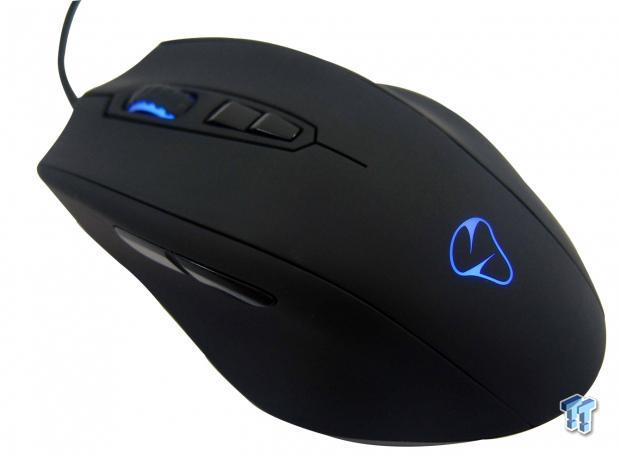
When powering things up to make sure we got everything back together right, and the mouse is fully functional, the LED lighting turns on, and the logo and scroll wheel are now backed with blue LEDs by default. If this isn't your first choice in colors, don't worry, there are 16,799,999 other choices to pick from.
Software
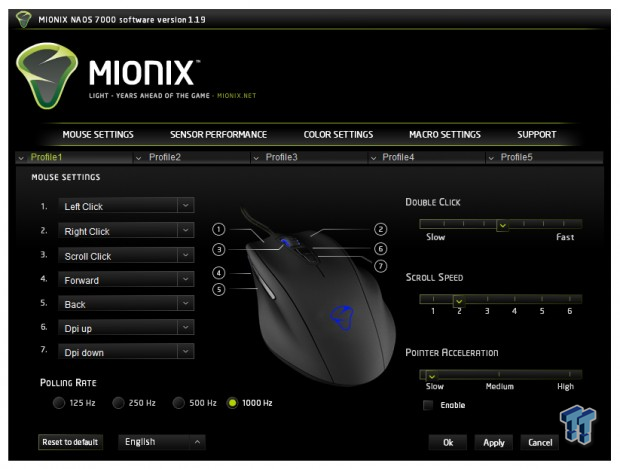
After downloading and installing the software, this is what we get. Under the mouse settings tab, the first things to notice are the five profiles across the top. Under this tab you can select the function of the seven buttons. The left side of this tab finishes with the polling rate. The right side offers double click speed, scroll speed, and pointer acceleration adjustment sliders.
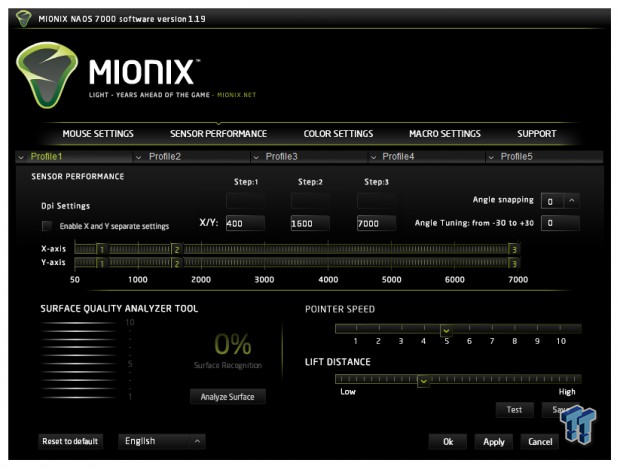
Clicking on sensor performance, we see that there are X/Y axis controls, three steps to set the DPI for the buttons, and at the right there are angle snapping and angle tuning settings. At the bottom there is the Surface Quality analyzer Tool, and to the right there are sliders for pointer speed, and LOD that offers a test button, so as not to disable the mouse when set too low.
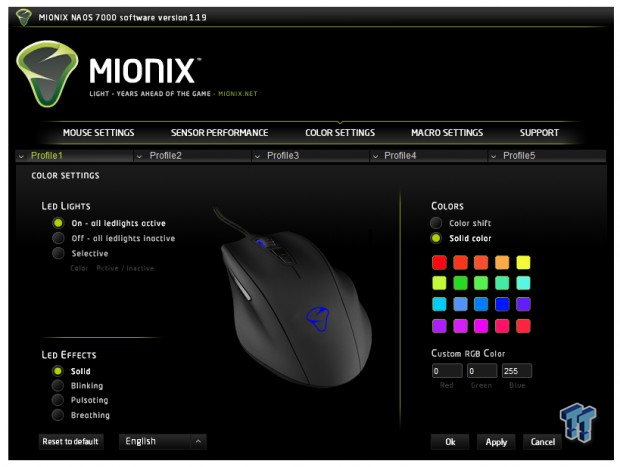
The color settings offer users the chance to pick whether the LEDs are on, off, or selective, which allows both lights to be independently color set. Below that, you can also pick a mode for the LEDs where they are illuminated in a solid fashion, blinking, pulsating, or in a breathing mode. At the right, you can select color shift, or a solid color. There are twenty preset colors, but you also have the RGB scale to input colors as well.
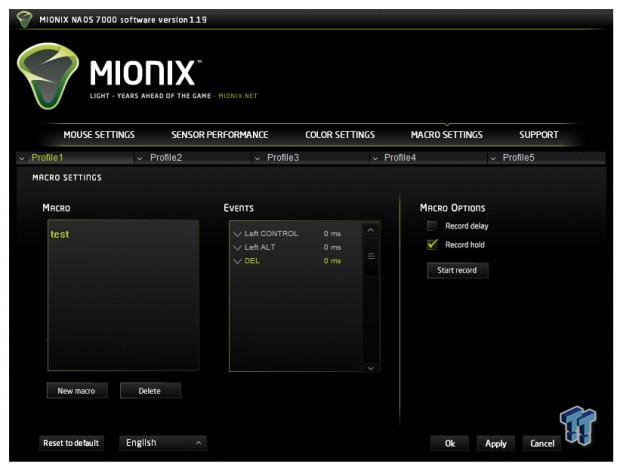
The Macro tab is pretty straight forward; this is where you program them. The left box is where you name Macros, and build a list. The middle window shows the actual commands set for that macro, and to the right, you have the option for a time delay. There are no advanced settings, but keeping this simple makes it accessible to more users.
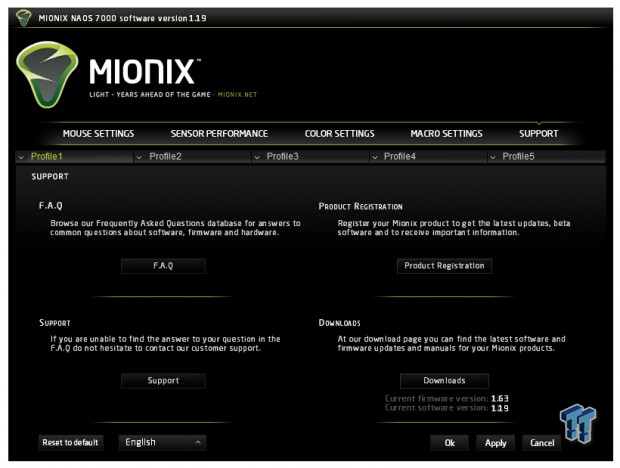
The support tab offers boxes to check, which are broken up into four sections. If you have a question, and want to see if it is already addressed, hit the FAQ section. If it isn't in there, and you still need help, visit the support section. This is also where you can register the new mouse, and at the bottom, there is a spot to click to see if there are firmware or software updates.
Final Thoughts
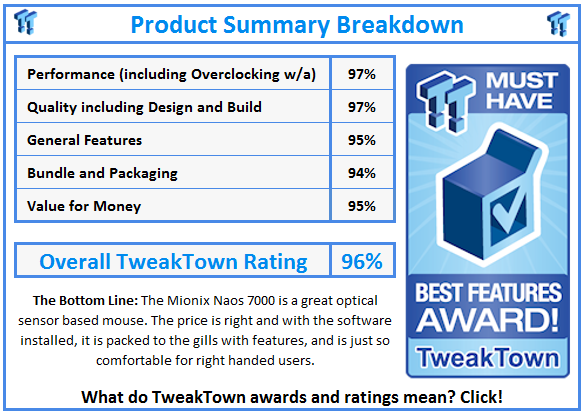
There is a lot to like with the Naos 7000. It is super lightweight, and effortlessly moves around the desk top. The design is also so form fitting that the mouse becomes more of an extension of the hand, rather than a mouse; it fits every nook and cranny, and supports your hand from the finger tips, all the way through the wrist. With the newer optical sensor onboard, we also don't see any performance loss for those who like to have the DPI set to insane levels. At 7000 DPI, the Naos is just as uncontrollable as any laser mouse at 8200 DPI. As we were testing the Naos 7000, we spent most of our gaming time in the 3500 DPI range, which is a good combination of full screen movement, without much effort from the right hand. This range also still has some accuracy for things like photo editing. All in all, the Naos 7000 has been a real pleasure to test and use.
The Naos 7000 does also offer basic plug and play capabilities, so you can just plug in the connection and go on any system, and the LEDs will even illuminate. However, to gain full control of what Mionix has to offer, you have to get the software and install it. Once the software was in, we found some of the best controls on the market. Of course, there are all the basics like DPI, polling rate, pointer speeds and things like that, but not many companies offer angle snapping controls, nor do they even attempt to offer angle adjustments. What this does is allow user to actually offset the optical sensor in the way it reads.
So, if you tend to game with the mouse cocked slightly off angle from center, you can change it in the software to compensate for your comfort, rather than having to fight the mouse all the time. Even if it is a more basic version, the Macros sure come in handy for many games, and can even make desktop level work quicker and easier; they allow five profiles, and all seven buttons can be reprogrammed.
While many may consider the near $80 pricing to be a bit steep for a mouse, you really are getting a fully loaded device with the Mionix Naos 7000. They may have eliminated the side DPI lighting, but to be honest, I don't miss it. I can just move the mouse to know what level I have set; I don't need the light to tell me. The entire time we have spent with the Naos 7000 has been a great experience, with no issues with any part of it. It just works, feels great in the hand, and even if a bit pricey compared to many other offerings on the market, I still think the Naos 7000 is well worth the investment for something that gets used for hours upon hours, every day of your life.


