Backing your system is an important part of your weekly or monthly routine, but most of us don't do it as often as we should. This leaks to serious data losses if a HDD catastrophically fails (which isn't that often - but it happens). I personally don't do it too often as I have a NAS for backup, which we'll get into later in our Tweakipedia posts.
For now, we have a guide coming up shortly on upgrading the storage on your Apple MacBook Air with a new SSD from Other World Computing, before this can come I have to back up my Mac - this is where the guide on how to do that comes in.
Using Apple's Time Machine is not hard at all, with even a novice user capable of doing this. We'll take the stand point of someone using a hard drive that needs to be formatted to work with a Mac first, but most of you won't need to do this.
The first step is to decide on what sized HDD you need for your backup - our MacBook Air we're using has a 250GB SSD, so we're using a 320GB drive as a backup. The SSD in my MBA isn't completely full, but this is a spare WD HDD I had laying around to use. Plug whichever drive you've decided to use in, and continue to the next step.
Up the top of OS X, next to your Wi-Fi and Bluetooth icons, will be the Time Machine icon - click this, as shown below.
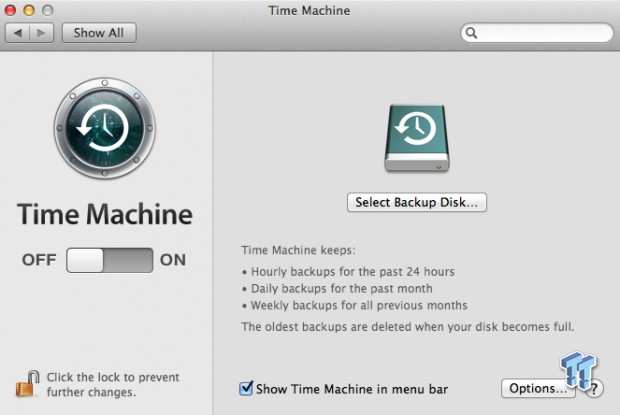
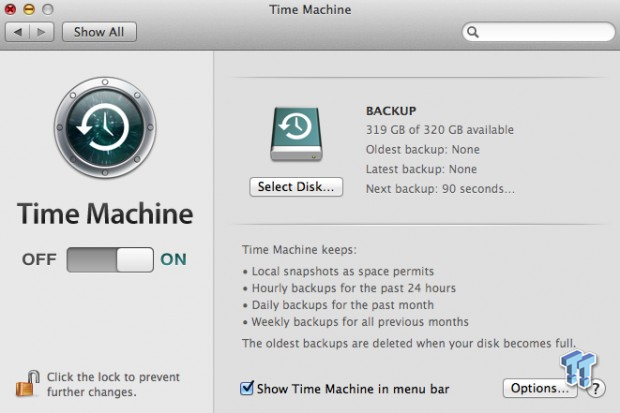
You'll then be presented with Time Machine, where it'll tell you the abilities of the back-up app. Time Machine (if your HDD is connected 24/7) will do 'hourly backups for the past 24 hours', 'daily backups for the past month', and 'weekly backups for all previous months'. Time Machine will then delete the oldest backups when your disk becomes full.
Click the 'Select Backup Disk' option to begin your Time Machine backup.
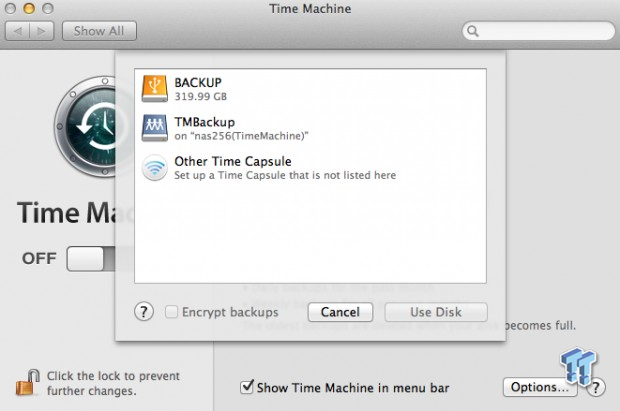
You'll then need to select your backup drive, which should be up the top, colored in orange with the USB logo on top. You'll also be given the option to encrypt your backup here, which would be a good option if you've got some sensitive data on the system being backed up.
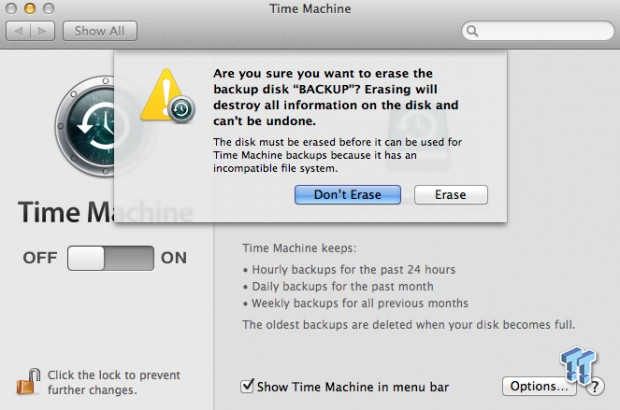
You'll be prompted to erase your drive if it's not formatted in the correct format for Time Machine, so ensure that the drive is indeed prepared to be erased (which I'm sure it is because this is a backup drive). Once you're sure, click 'Erase.'
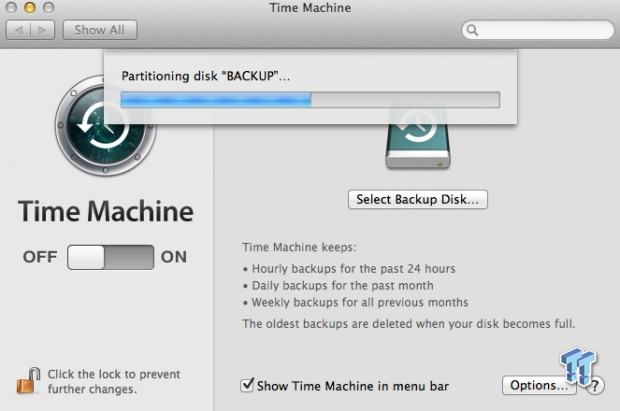
Time Machine will then erase, and prepare your drive for the backup.
Once this is done, it'll tell you that you have 120 seconds until your next backup before it begins backing your Mac up.
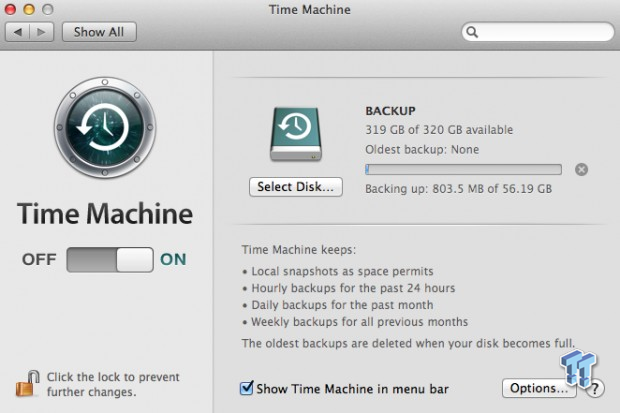
And so the backup begins! As you can see, we have just 56GB of data on the system, so it shouldn't take too long to back it up.
You'll also see the Time Machine icon going nuts too, displaying that it is backing up your Mac.
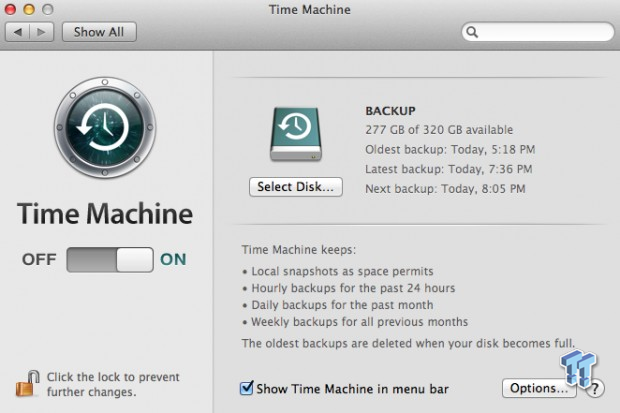
Time Machine will take its time doing your backup, with the time varying depending on the amount of data required for the backup. Once it's done, it'll flick you back to the Time Machine screen telling you the oldest backup, when the latest backup was completed, and when the next backup is due to start.
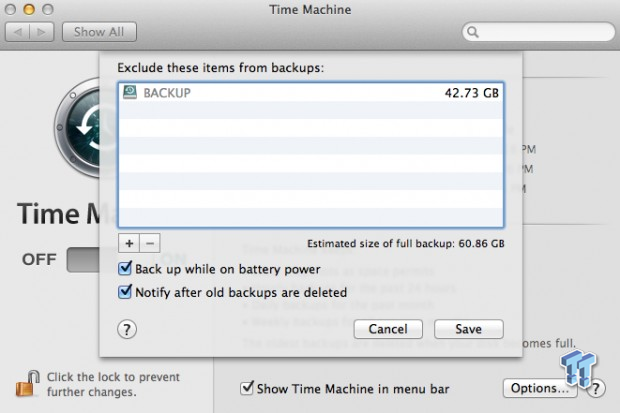
Once you're done with the backup, you can play around with some of the options that Time Machine has to offer. In Options, you can see the latest backup, with an estimated size of a full backup displayed. Then there's two options you can choose to have on or off, 'Back up while on battery power,' and 'Notify after old backups are deleted.' It's up to you whether you need, or want these options enabled or disabled. By default, they're both enabled.
And there we have it, a guide on how to get your Apple Mac backed up through Time Machine.
We'll do a follow up guide in the near future of how to restore your Mac with Time Machine. I have an OWC 480GB Aura Pro Solid State Drive that I'm going to install into my MacBook Air this week, with a guide on how to install it, with a guide on how to restore your Mac from your Time Machine backup.
Keep checking back for more content on Tweakipedia!
Last updated: Nov 3, 2020 at 07:12 pm CST

