Keeping the parts in your 3D Printer cool

The electronics that control a 3D printer are not that much different than those that are inside a modern PC, and as such, keeping those components cool is paramount to keeping the 3D printer running efficiently. In this installment of 3D Printing Tips and Tricks, I am going to show you a quick and easy way to keep your printer's electronics cool.
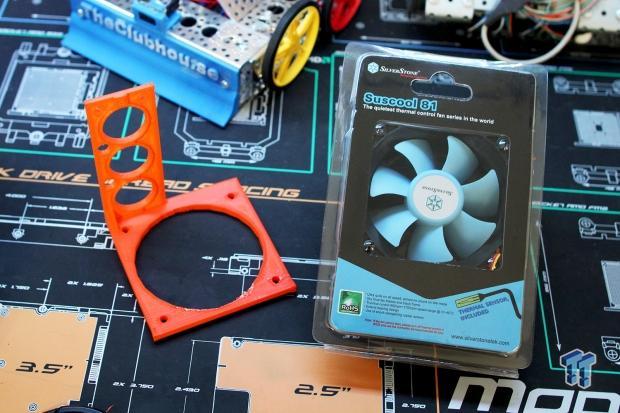
Before I begin, I would like to thank Silverstone and Lulzbot for providing the hardware for this installment of 3D Printing Tips and Tricks. Lulzbot donated the printer used in this tutorial, and Silverstone donated the cooling fan. I have uploaded the design file for the mount used in this tutorial to my Thingiverse profile for anyone interested in printing it themselves.
Parts Needed
- One 80mm PC Fan
- One Custom Mounting Bracket
Tools Needed
- One Phillips Screwdriver
Before we begin, let's take a moment to discuss what components get the hottest and what happens when your 3D printer's electronics overheat. Most of the 3D printers on the market today run a version of the RAMPS electronics, but a few run custom solutions such as RAMBO or SANGUINOLOLU boards. Depending on your printer's age and manufacturer, it could be running one of about 30 different controller boards, but fortunately, all of these boards have one piece of hardware in common. I am talking about the stepper motor driver chips, and these little black squares are the culprit of most of the heat produced on the board.
If the stepper motor drivers are not kept within their operating temperature range, they can cause missed steps, dodgy movement, or even burn out altogether. For boards such as RAMPS, this is not a major issue as replacing the burnt out driver is cheap and easy. For other boards, it could mean replacing the entire piece of hardware. This is why cooling is so important on every board.
Take for example the AO-100 from Lulzbot. In my opinion, this printer is one of the best ever made (after some tweaking), but its RAMPS electronics are only passively cooled. With the massive ball of wires covering the top of the board, hardly any ambient airflow makes it to the driver chips. To combat this, I have designed an easy-to-print fan mount that utilizes a common 80mm PC fan as the cooling solution. The video below showcases this mount being printed on my new Lulzbot Taz 3.
I printed the fan mount at about 80mm/sec, which seems to be the perfect balance between perfect layers and speed for my Taz 3. Unfortunately, I still need to dial in the retraction settings as I did notice a few blobs occurring during the print. The screw holes were right on their specified dimensions, though, which means that the Taz 3 is dialed in very well.
With the fan's mount now printed, we can get started mounting it to the fan and then mounting the assembly to the AO-100's chassis. To do this, I will utilize one of the AO-100's existing screws. The fan I am using is the Suscool 81 from Silverstone Technology. The fan includes a thermal probe that adjusts the fan's speed based on temperature. I am going to be placing this probe on top of one of the driver chips.
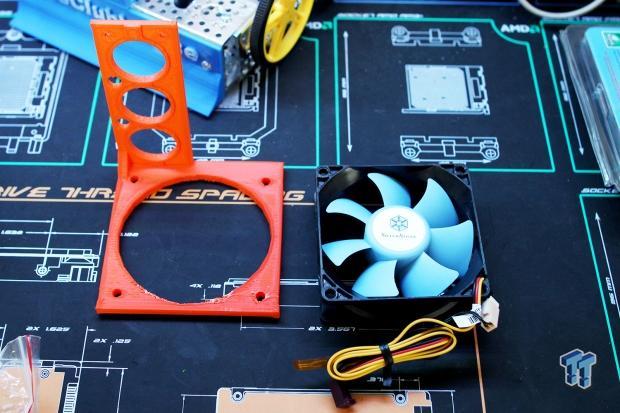
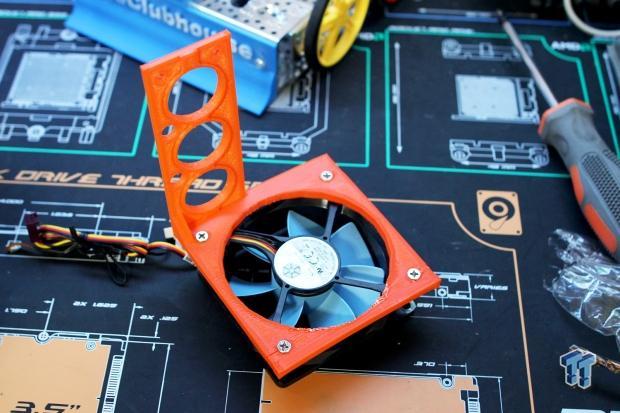
First, we simply need to mount the fan to the mount using the supplied mounting screws. This can be a little tricky as the fan screws will need to cut threads into the fan's housing. Take this step slowly and use a properly sized screwdriver to avoid damage to the screw heads.
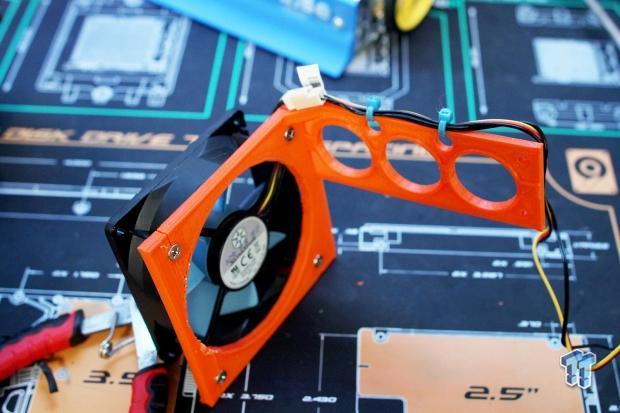
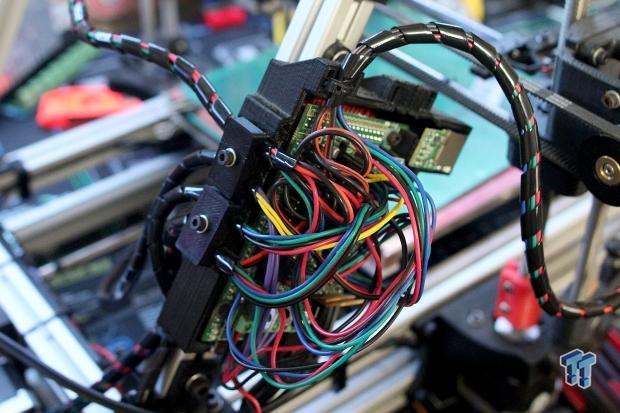
With the fan and the mount now one solid piece, let's unscrew one of the wire hold-down screws and add in the mounting bracket for the fan. This turned out to be a good spot to mate the mount to the chassis, but if you happen to have some spare t-slot nuts around, it may be better to attach the mount to the printer's chassis.
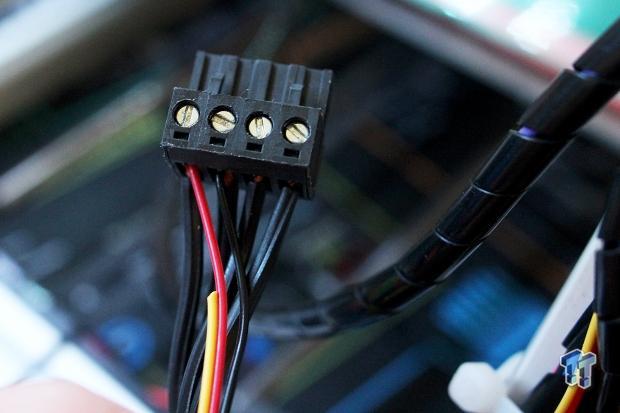
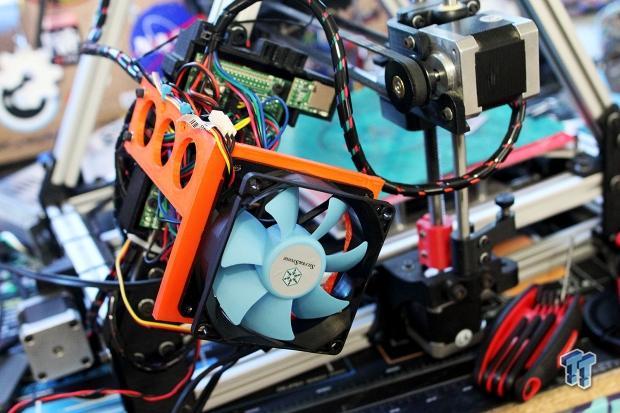
With everything wired up, we connect the fan to the 12V line leading into RAMPS from the PSU. This causes the fan to run anytime power is connected to the printer, but I find this not to be an issue since I always turn the surge protector the PSU is connected to off when I am finished printing. There are a few other options for connecting the fan, but this would require a lower voltage fan and some custom G-Code. If there is enough demand, I will write a separate tutorial on that later.
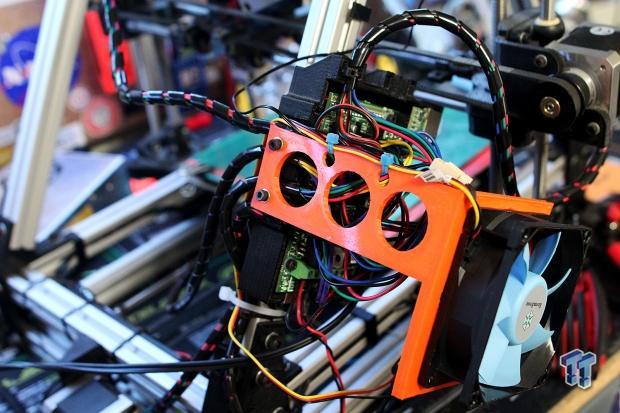
With the fan now installed, overheating issues will be a thing of the past. While your 3D printer may never actually overheat without a cooling fan, having one installed gives you peace of mind that everything will stay within its operating temperature. I recently had a print go bad that caused the X-Axis to bind. This caused the stepper motor to stall, and the result was a burnt out Pololu stepper driver. I had a few extra on hand, but it still caused unnecessary downtime.
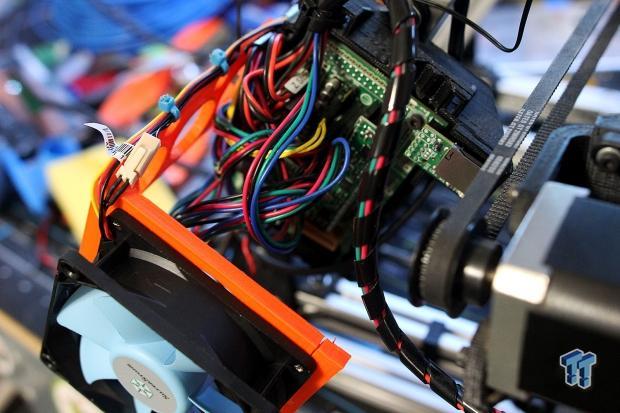
For those of you who are worried about additional noise, the Suscool 81 only emits about 18db at 60C, and just over 19db at full speed. In my testing, this fan is inaudible over the printer's ambient noise during printing. Silverstone's Suscool line of PC fans is one of the quietest PC fan lines on the market today, and I use them exclusively in my file server because of this.
During the next installment of 3D Printing Tips and Tricks, we are going to talk about portable tool kits and what are the necessities when you want to take your 3D printer on the road. I have perfected this kit over the past several months while moving my AO-100 to my Makerspace and back every weekend. Stay tuned for that and much more here at TweakTown!

 United
States: Find other tech and computer products like this
over at
  United
Kingdom: Find other tech and computer products like this
over at
  Australia:
Find other tech and computer products like this over at
  Canada:
Find other tech and computer products like this over at
  Deutschland:
Finde andere Technik- und Computerprodukte wie dieses auf