Introduction
On Dec. 20th 2014, QNAP released an update to its award winning QTS 4.0 operating system. The new version, QTS 4.1, adds new features to the Storage Manager, and fixes a handful of issues introduced with QTS 4.0, a new operating system for the companies.
Unlike years past, QNAP's new software layer divides enterprise / SMB NAS, and consumer / SOHO products a bit. The Storage Manager is more business focused with the upper tier models; more like the SAN products we're reviewing in the lab. A number of enterprise features now come only on the enterprise / SMB products, like SSD cache, and storage pools.
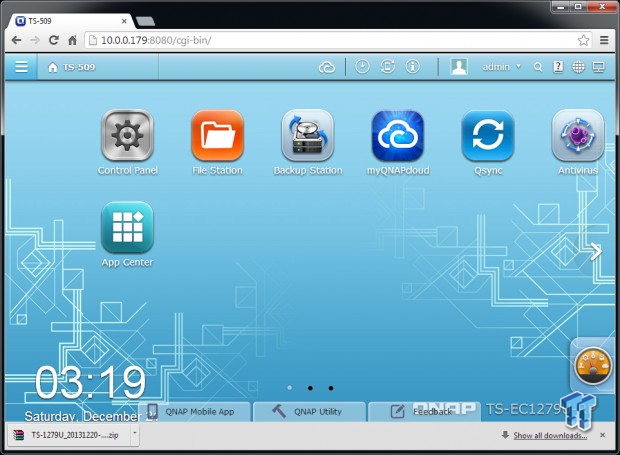
The base software is still the same as you can see above, but the storage manager is quite a bit different. The move is good for both enterprise, and consumers. While building arrays and storage pools made up of separate arrays would be out of place for most consumers, pooling resources has become the new "it" thing to do. On the consumer side, keeping the array building process simple is a concern for any NAS manufacturer. Not everyone is a technology enthusiast, so out teaching the person in a small office who casually maintains the office server while doubling as a fact checker, mail delivery, and any number of other tasks, just doesn't make for an ideal situation.
Today we're walking through the new QNAP QTS 4.1 SMB Storage Manager update.
QTS 4.1 SMB Storage Manager
QTS 4.1 Update
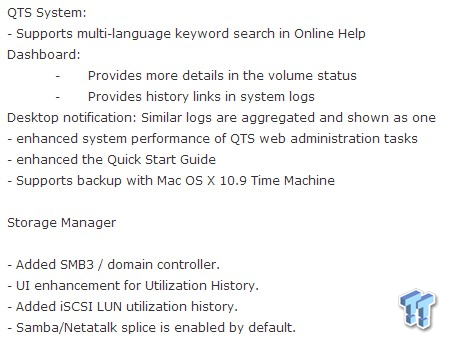
The short list shown above has four new items added to the Storage Manager. QNAP's website has a longer list that shows the bug fixes since QTS 4.0. For our reviews, SMB 3 is of interest, since it adds SMB Direct Protocol, and SMB Multichannel for improved performance, especially in virtualized environments. Microsoft added SMB 3 to Windows 8, and Windows Server 2012.
Building a Pool in QTS 4.1
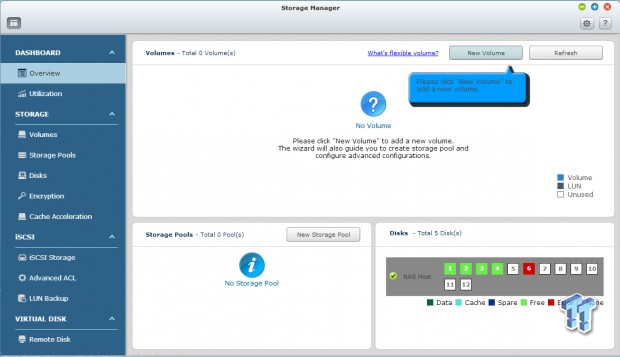
Here, we have a fresh install of QTS 4.1 on a TS-EC-1279U-RP. The software prompts you to where to start, with a highlight next to the New Volume button.
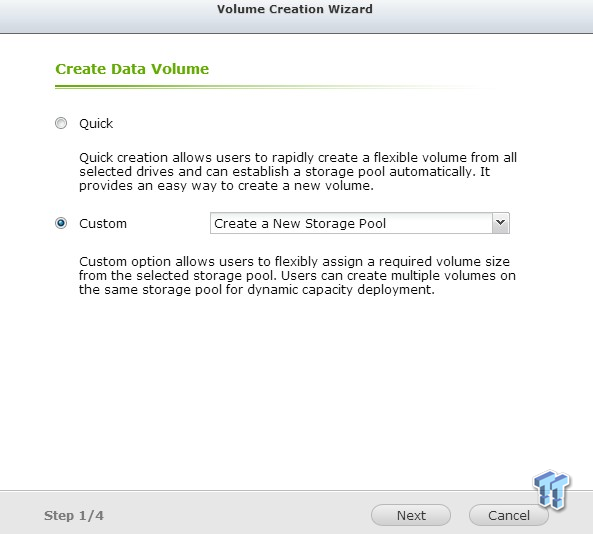
The quick option takes control, and makes a pool in just a few clicks. We're taking the path less traveled by going custom.
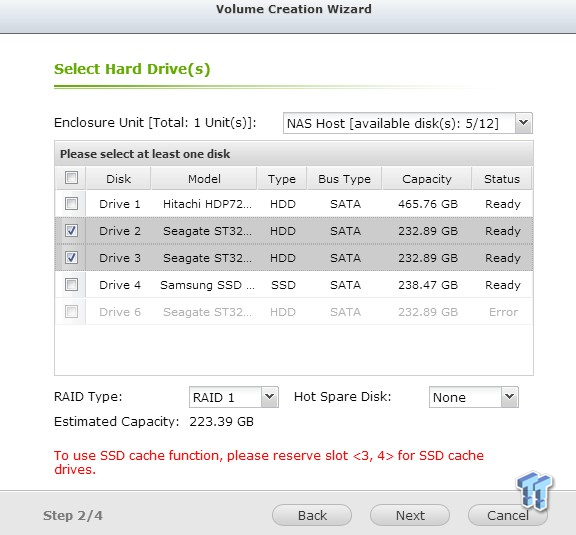
We installed a couple of drives to make a pool, and an SSD to add cache later in this article. We've selected RAID 1 with a pair of drives.
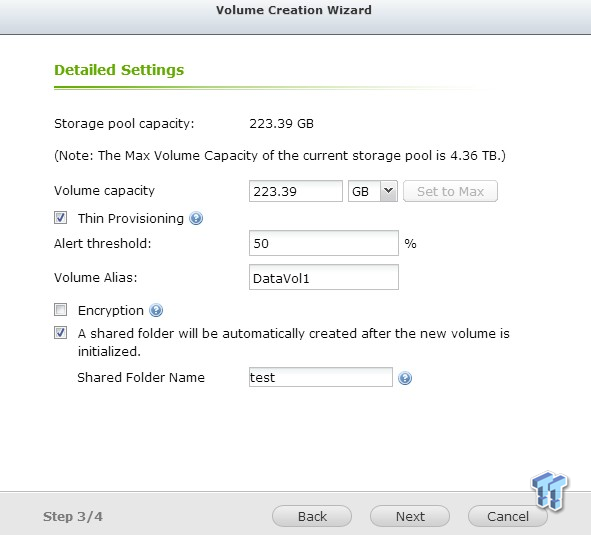
With QTS 4, we can use thin provisioning on the array. We can also set an alert level that tells us when we've stored enough data to trip the user defined alarm. At this stage, we can also make a shared folder. This saves us from navigating to the shared folder page.
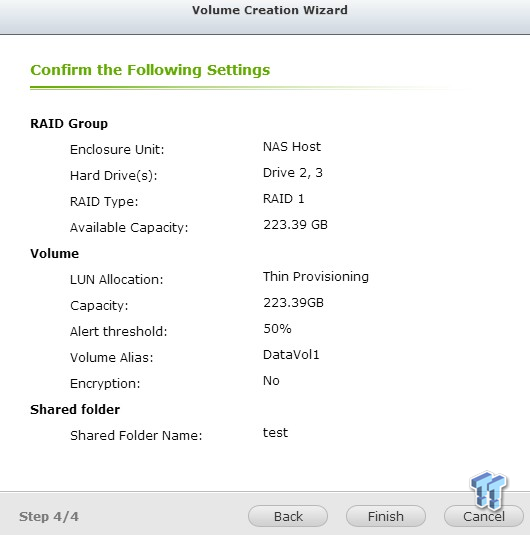
The final step is just a confirmation page that shows our settings.
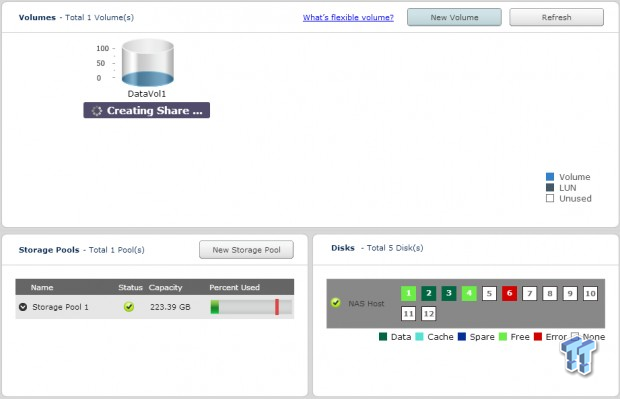
Finally, the system takes us back to the storage manager where we watch the creation of the pool.
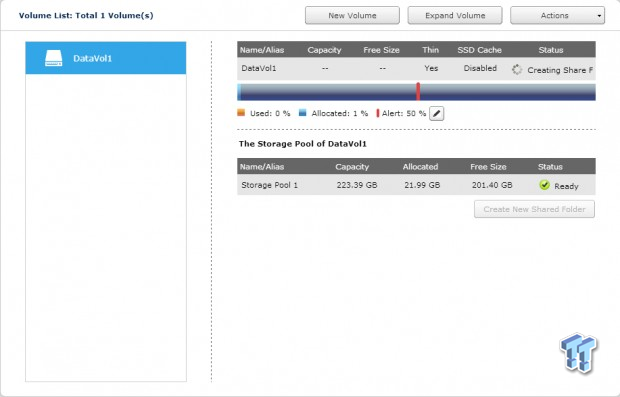
Once finished, we have a working storage pool.
Encrypted Pools
Creating an Encrypted Pool
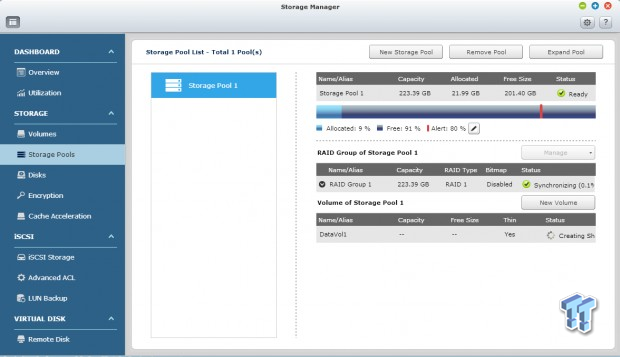
When we built the pool, we only used a small portion of the RAID 1 mirrored array. That left us with room to build a separate pool. This time we're building an encrypted pool using the same drives, while the first pool is still on the drives.
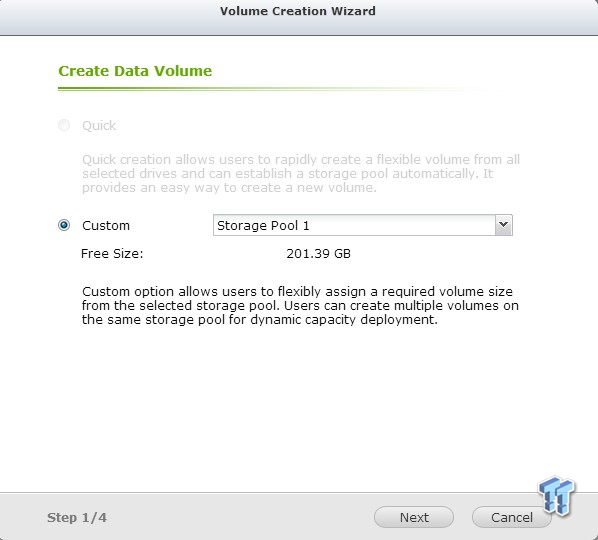
The process is very similar to building the initial pool on the previous page.
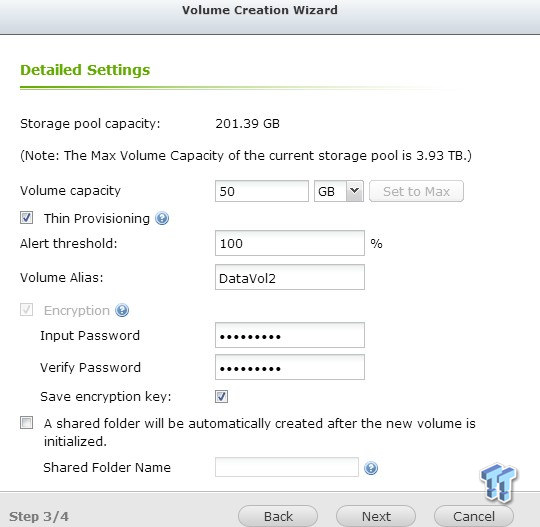
This time we need to add a password to our creation.
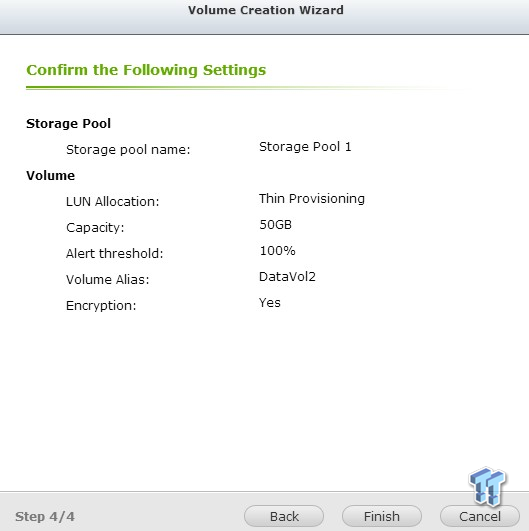
Again, we used thin provisioning, so we're only using the space we need at the time.

Caching in with SSDs
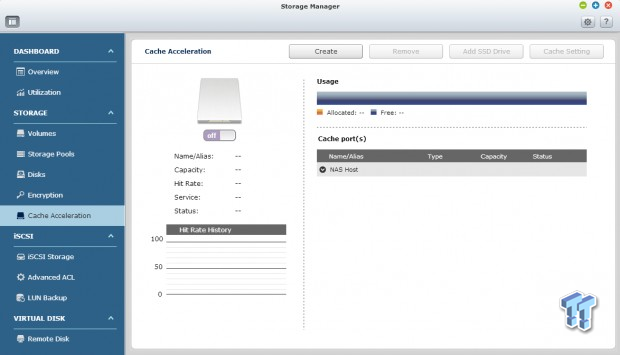
One of the most exciting features in QTS 4.x is the new SSD cache feature. This feature is not found on the Home / SOHO products, but I know many would love to see it ported over.
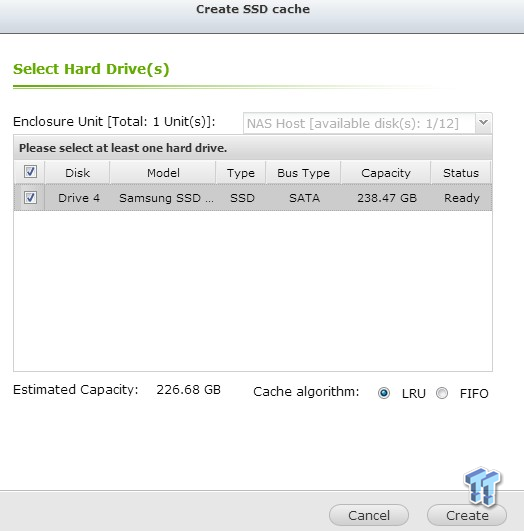
After selecting the Create button, we click on an SSD from the menu. The NAS that have this feature can only use preselected slots. In the TS-EC1279U-RP, it's ports four and five. There are two algorithm options, LRU, and FIFO.
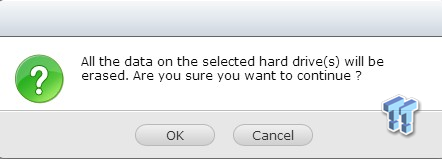
The data on your cache SSD gets deleted, so be sure to clear it first.
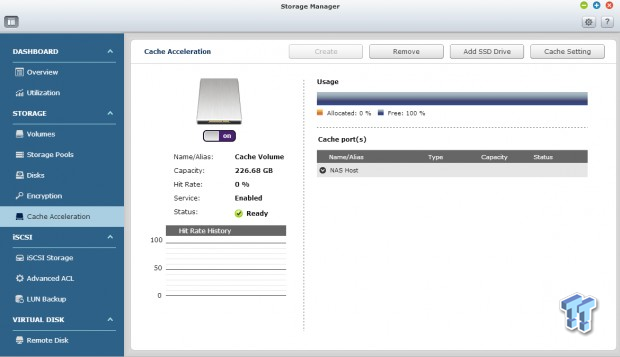
After accepting, we return back to the Cache Acceleration page, and the cache option is new enabled. At this point, we are not caching any volumes though. The Cache Settings tab at the top lets us choose volumes to cache.
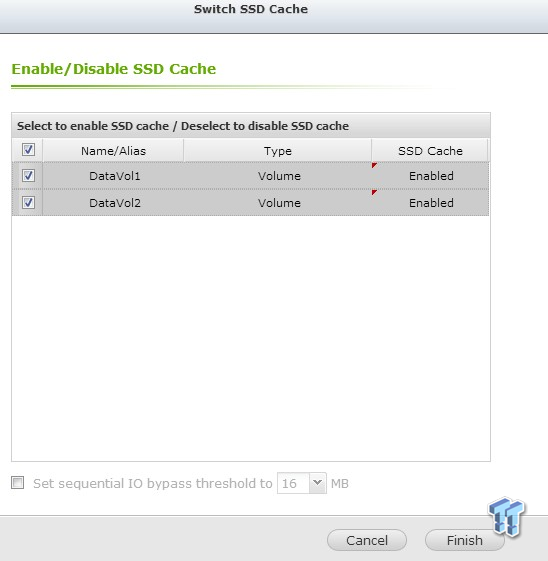
Here we see the two volumes we've created, and now we can choose to accelerate them.
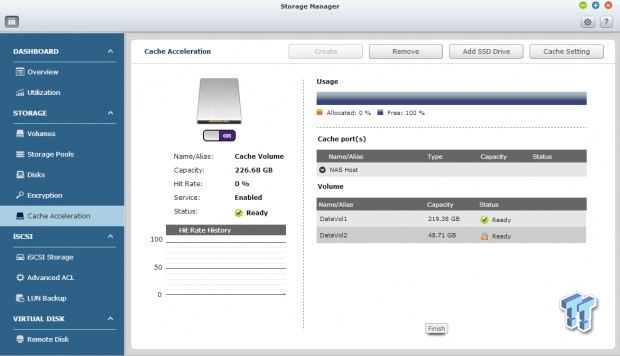
The volumes are now listed on the page.
Easy iSCSI Implementation
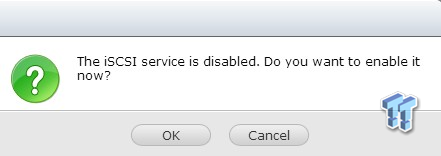
iSCSI is not a new feature in QTS 4.x, but it's now easier than ever to build.

As soon as you click to access the iSCSI area in the menu, it starts a wizard to get your volume setup.

The easiest way to get started is to build everything at once using the wizard.
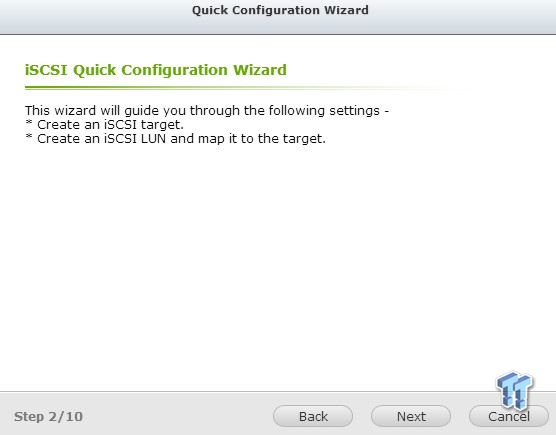
Since iSCSI is not an entirely new feature for QNAP, we're just going to walk through the steps without commenting on the images.
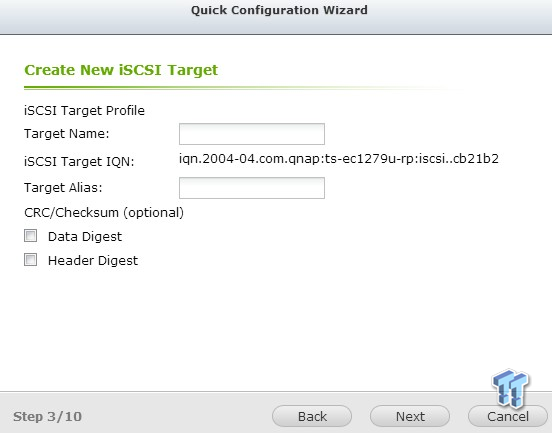
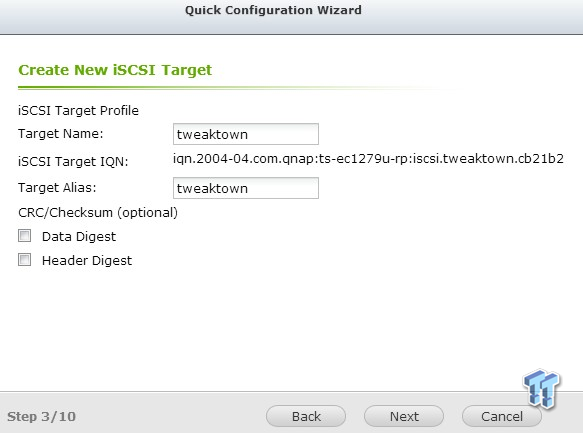
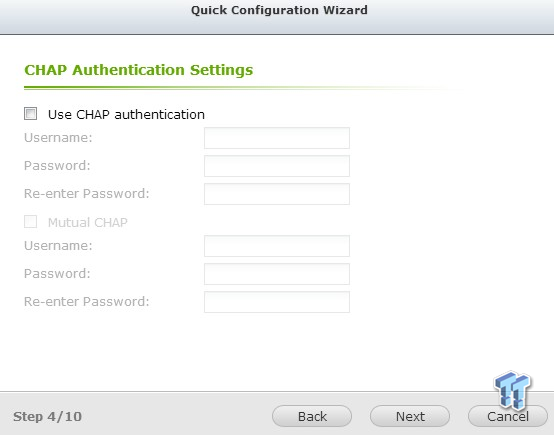
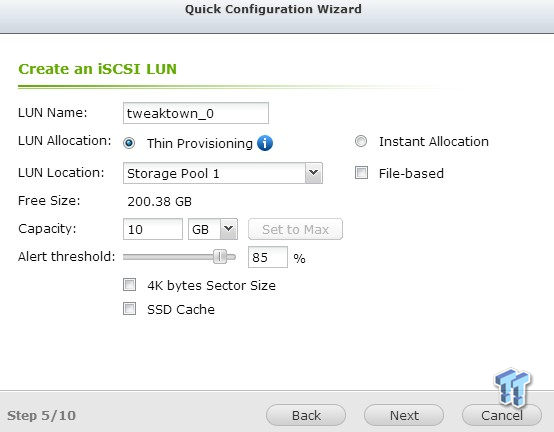
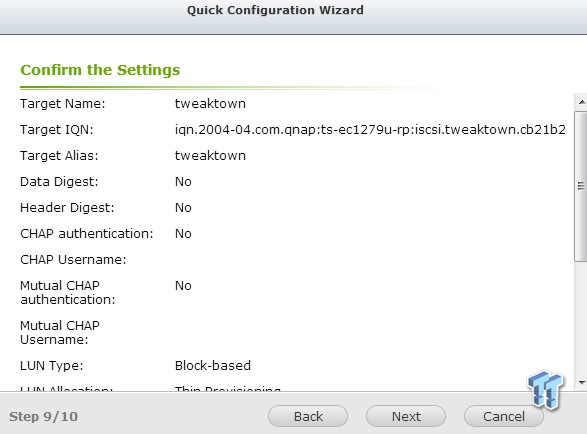
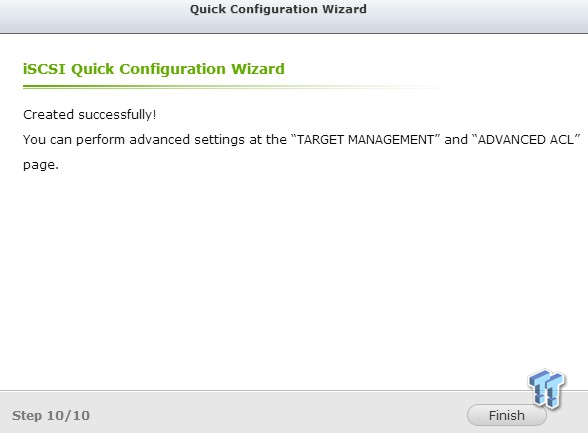
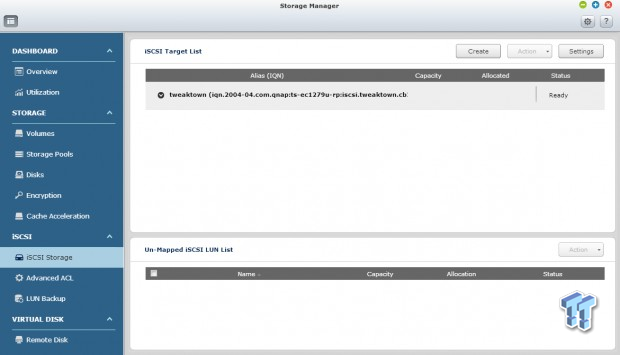
Setting up an iSCSI volume has never been so easy.
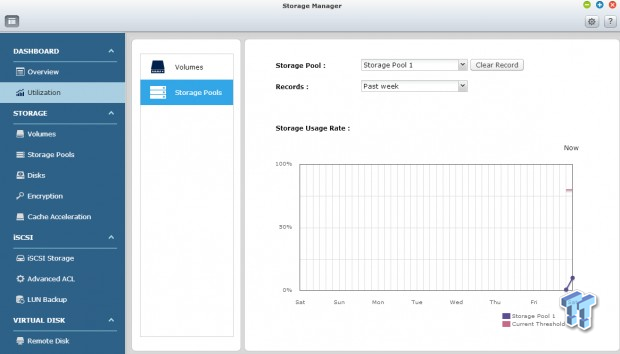
When we are finished, we can go in and look at the storage pools, and see how much of the volume we've used.
Final Thoughts
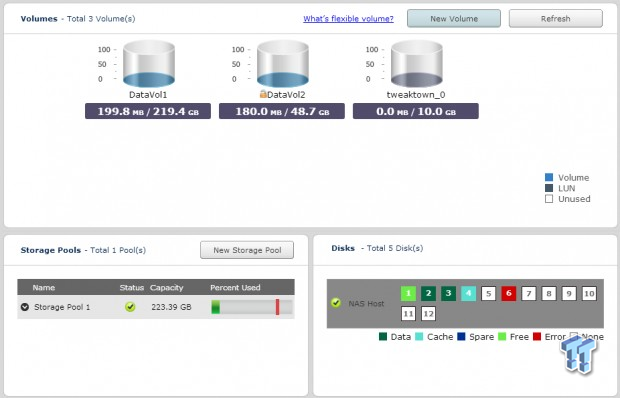
QNAP continues its progression with QTS 4.x. The new SMB Storage Manager brings features we're used to seeing on enterprise SANs, down to SMB price levels. At the same time, the new rackmount expansion enclosures that increase the number of disks a system can utilize, gives customers a scale up strategy. It is very easy, and more cost effective to add disks via the expansion system than, it is to purchase and configure a new NAS.
QNAP offers two expansion options, the first is a 16 bay and the second is a 12 bay. The NAS units we looked at can take up to eight expansion enclosures. On the TS-EC2480U-RP, that means up to 152 hard drives for a raw capacity of 608 TB. You just can't beat the system when it comes to density verses value.
Adding to the overall value are the new options we looked at today. Storage pools, cache acceleration, encrypted volumes, and an easier than ever iSCSI configuration increase performance while reducing costs associated with learning complex software, and setup time.
Along with QNAP's new QTS 4.x software launch, the company also released five new enterprise products. These five units make up QNAP's first enterprise specific product line. The new units feature Intel Xeon processors, and deliver over 3.7GB/s of throughput via 4x 10GbE ports. Read IOPs performance tops 400K at 512 Bytes, using solid state drives in RAID 5.
CES is here, so stay tuned for more QNAP news, and product reviews.
