Introduction
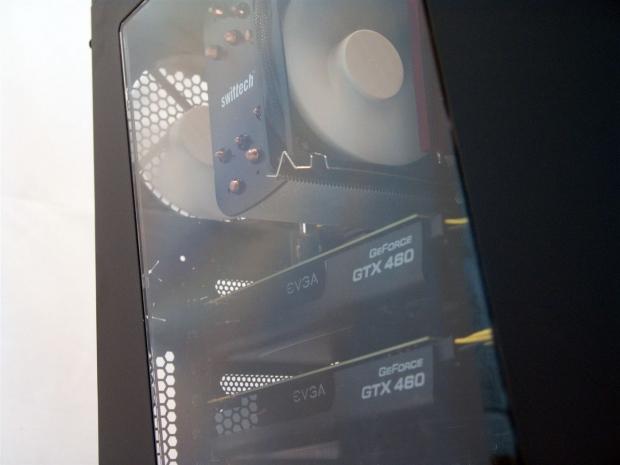
Just when I was really thinking it was going to be tough to write the fourth part of this NZXT saga, I found the way I ran through the numbers has in fact left me with plenty to write about. Here I really thought that I was going to be having a look at yet the same exact chassis design with another pretty face applied to the front. That simply isn't the design this time around, but I am pretty sure I have seen this design before as well. Going back through my archives, I was right - this is very similar to the H2 we looked at in June.
Of course, changes have been made, both inside and out, but the basic internal structure and layout remains the same. The H2 was a sleek little mid tower with simple lines that didn't create much of a presence for itself. That combined with the NZXT's attack on noise levels, the H2 wasn't really meant to make its presence known from the beginning. This is a whole different spin on the outside of the chassis, offering things that I have yet to see taken to this extreme with NZXT.
Just to confuse you a little more at this point, NZXT offers a Tempest 410 (non Elite) as well. But separating both 410's apart is simply rubber grommets in the wire management holes and that the Elite offers a windowed side panel where the 410 does not. There is so much going on outside of these two chassis' around the outside that I actually had to break that section into two pages just to fit it all.
As the title and the last paragraph allude to, today we are looking at the Crafted Series Tempest 410 Elite mid tower chassis from NZXT. With all the new tricks going on around the chassis, there is a bit of a price hike from the last three contenders we have just seen. It isn't going to be as much as you would expect, though. With everything you are about to see from NZXT in the Tempest 410 Elite, keep in mind that this is still selling in the sub-$100 price segment. It seems many companies are bringing their beat to the table at this point in the game with this price point; it seems finally the manufacturers are listing to the average Joe shopper. If you are one of those that will never spend more than $150 on a case, this is a must see in mid tower cases. Even if you are more experienced and need a good case with options, hang in there, we are about to get to the images so I can show you what is going on inside of the Tempest 410 Elite, and it's quite a lot!
Specifications, Availability and Pricing
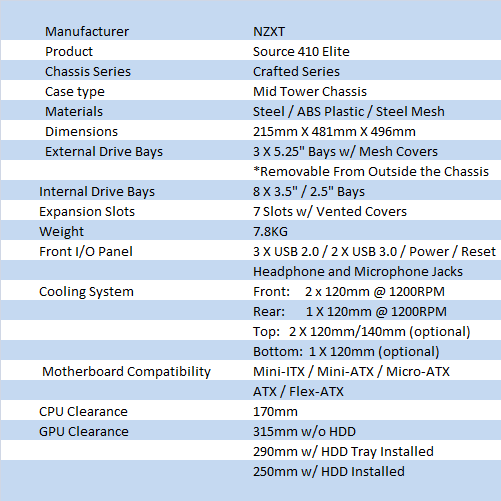
Back to the Crafted Series we go for this new entry to the Tempest Lineup. The 410 Elite does have a little brother in the Tempest 410, but separating the pair of Tempest 410 cases is a window and rubber grommets in the wire management holes; that's it really. Around the outside both use the same protruding front bezel that offers three optical bay drive covers that are removable from the outside of the chassis. The bay covers and the pair of removable fans are covered with steel mesh to allow for improved airflow. There is a cool trick to the removable fans, but I will show that later. The rest of the exterior as well as the bezel are textured and black in color.
On the inside there is the rack for the tool-less optical drive bays at the top with a rack housing up to eight drives below it. These eight bays use plastic trays that will accept both 3.5" drives as well as 2.5" drives. Moving left, you get a well laid out motherboard tray with even more holes and options for wiring than any of the previous three cases had, plus the large visible holes in the tray receive rubber grommets this time! Above the tray you can install either one or two of either 120mm or 140mm sized fans with room for a radiator in the plastic top of the case. Below the tray there is a dust cover now for the PSU and an optional fan placement between the PSU and hard drive racks on the floor. In the back you get seven expansion slots and the third fan installed, which is a 120mm as an exhaust fan. Finishing off the exterior, the left panel gets a large angled window that leans to the left, where the right panel is again left flat and plain.
The fans in the chassis are all 120mm and there are three. Two fans in the front, which are replaceable and removable with relative ease to deliver a steady flow of fresh air into the chassis, and the 120mm exhaust fan in the back. This leaves you with options for the radiator in the top or just a pair of fans, and of course if the PSU is short enough you can also add a fan to the floor. There are some things I missed, like the 410 Elite having an internal USB 3.0 connection; there is a covered tray in the front and the removable mesh top, but I will cover the Tempest 410 Elite in fine detail soon enough.
Looking to buy the Tempest 410 Elite, I was able to locate two e-tailers showing stock of this new chassis. Provantage has a listing for $81.73 before shipping, but the image of the chassis is not right at all. The other place I was able to locate this chassis was at Newegg.com for $99.99 plus $5.99 shipping as I type this. I'm not completely ruling out Provantage.com as the better deal, but I would want confirmation that we are talking about the right case. Now, depending on how frugal you are, for $88, this is a lot of case. For $99.99 I still think the Tempest 410 Elite has plenty to give to at least gain your respect and make you think twice about some of the other current choices for this price.
The Packaging
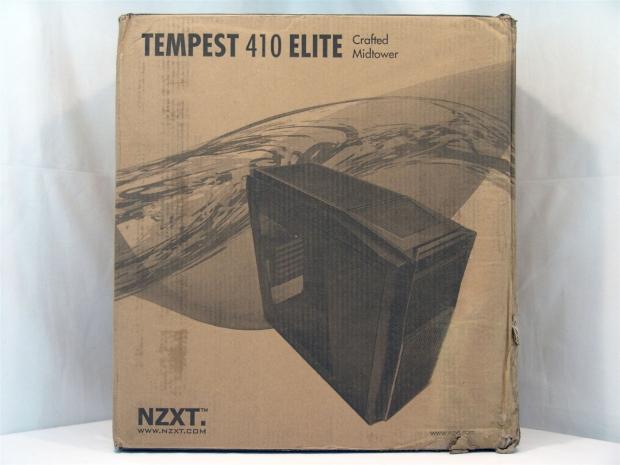
The front of the box offers a wave of water behind an image of the chassis with the Tempest 410 Elite Crafted mid tower at the top.
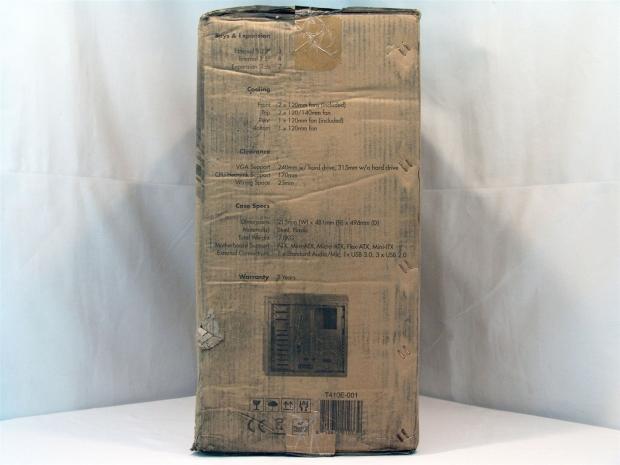
I would like to say you can see the specifications chart of the shot of the case behind the motherboard tray, but with the condition I received this case in, it is really rough to see anything here really.
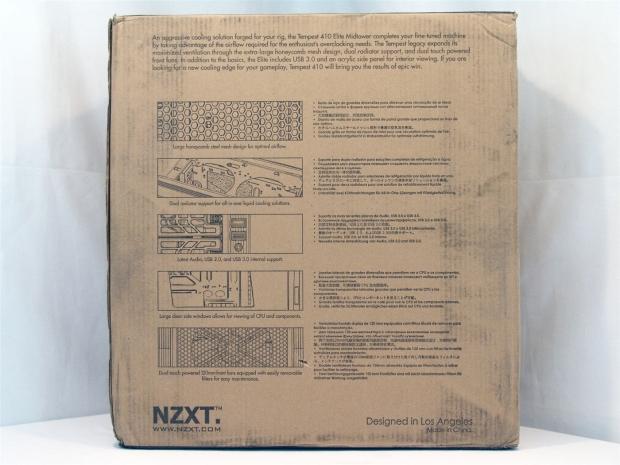
At least the front and the back panels are visible. Here NZXT covers the mesh, the top of the chassis, the front I/O, window and clip-in fans they add to this chassis.
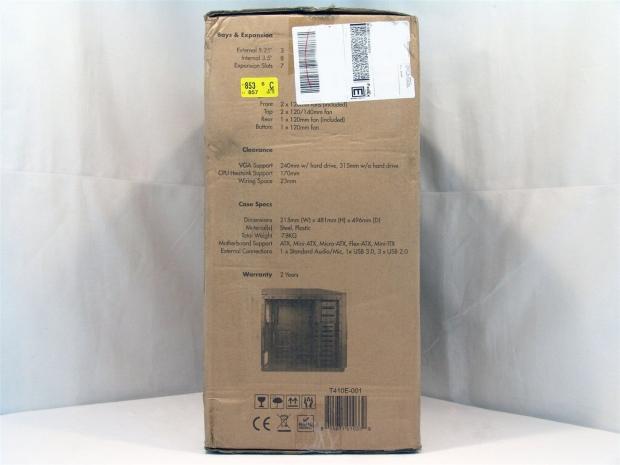
Good thing the specifications chart gets repeated on both sides; at least now you can actually make out what is listed on this chart and the image at the bottom is much more discernable.
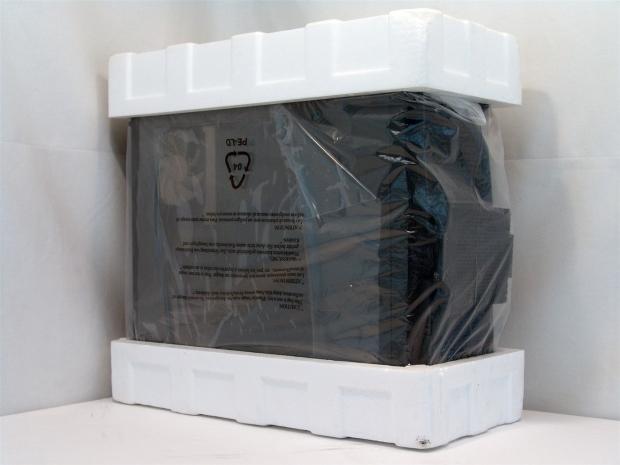
Styrofoam end caps protect the chassis from hard knocks and typically the plastic liner is to keep abrasions at bay. Here it has done double duty and actually held one of the removable fans sort of in place enough not to have done any damage to the chassis or the fan.
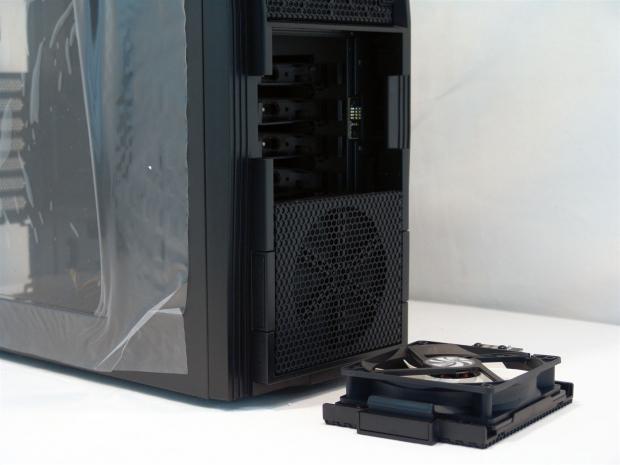
Just so you can see exactly what I mean, the fan on the table is what was being held in by the liner. It is supposed to be clipped into the face, but at least nothing is broken or damaged.
The NZXT Tempest 410 Elite Mid Tower Case
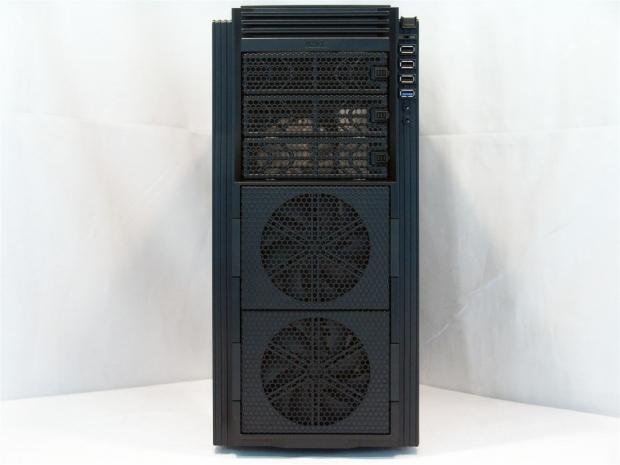
The front of the Tempest 410 and 410 Elite are topped with a few horizontal bars with the name NZXT just below them. You ten see the mesh running down the front covering the three drive covers and the two fan sections at the bottom.
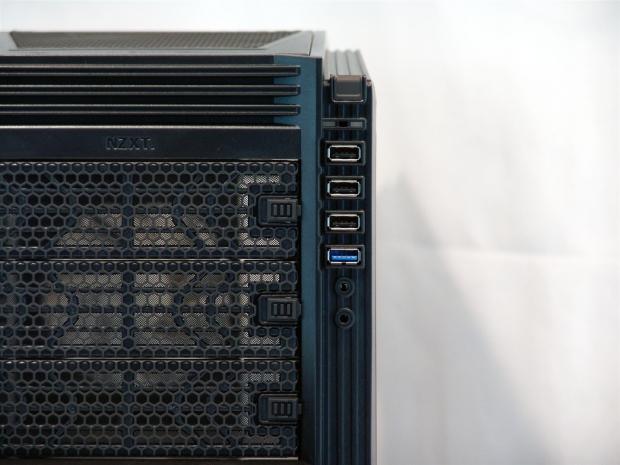
Off to the right near the top of the chassis is where the front I/O connectivity is. Supplied is a pair of 3.5mm HD Audio jacks under a USB 3.0 port and three USB 2.0 ports. A pair of activity LEDs separates the I/O from the rubber coated power button at the top.
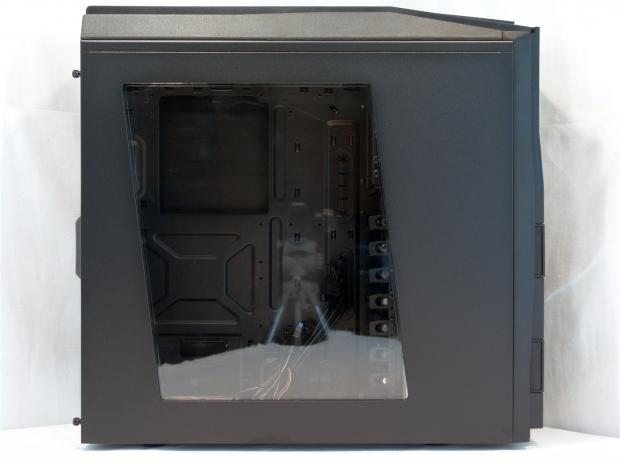
The left side of this Tempest offers nothing along the lines of ventilation, but rather it gets replaced with this very large window that maybe should have had a V8. Even with this left handed lean, you will soon see it offers a great view of the hardware later on.
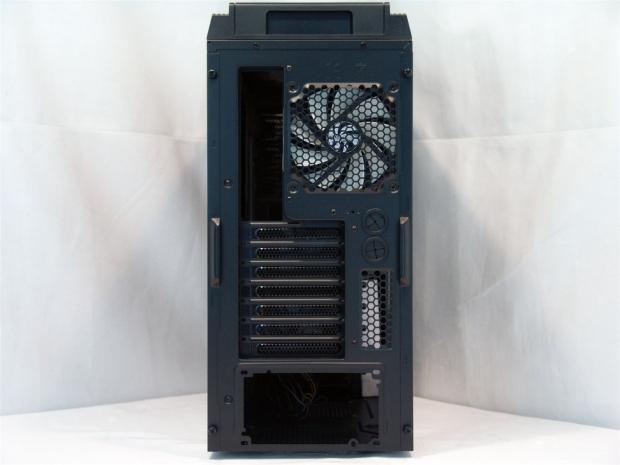
Around back there is a thick plastic top above the rear I/O and exhaust fan. Below these are the seven vented expansions slots, a pair of holes for tubing with grommets already installed, and the rest is left to breathe via honeycomb shaped mesh. This leaves the hole at the bottom for the PSU.
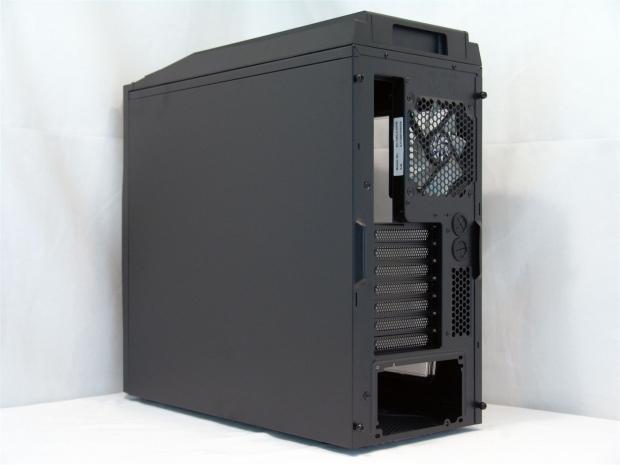
As with all the others, the right side panel of this case is plain as well. Just a coating of the textured black paint and a place to grab the panel with your fingers in the back is all she wrote.
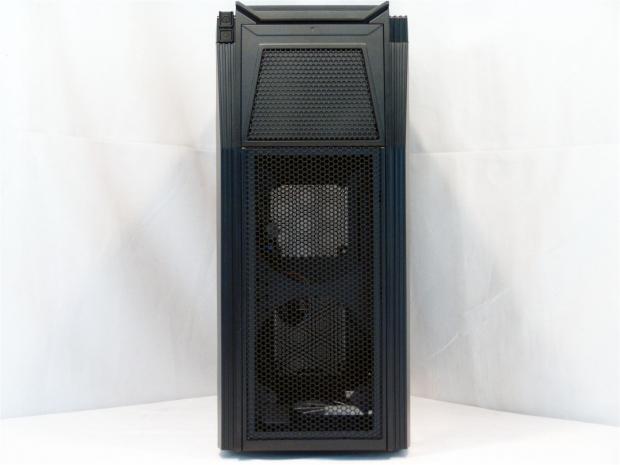
Just to orient what you are looking at there, the front of the case is at the top, and you are looking into the top of the Tempest 410 Elite.
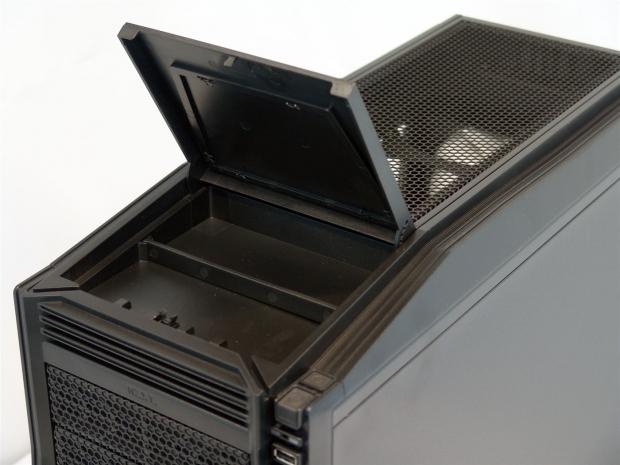
That large cover at the front that was locked in the last image just takes a gentle push and it will open to allow for storage of anything that fits. It also offers a wire trail on both sides to allow you to lock in a cable to keep it out of the way of the drive bays.
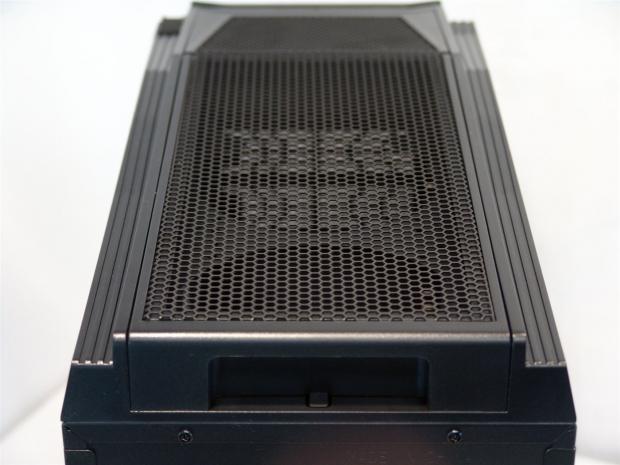
It didn't turn out so well, but barely visible is a latch in the middle, under the cut out. Once this tab is pressed, this mesh will slide back a bit, and then it needs lifted to be removed.
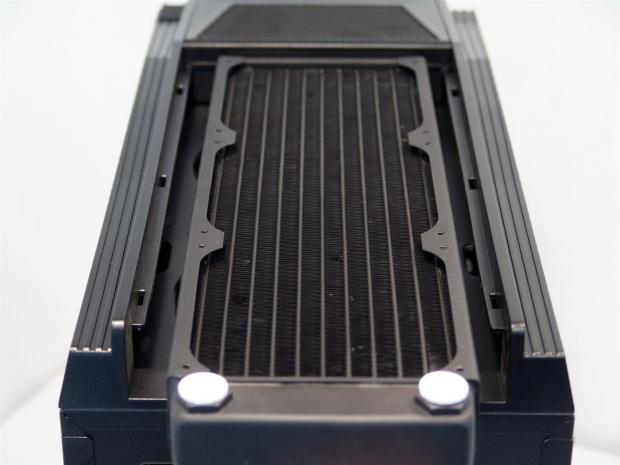
While the case only fits a double radiator, I didn't have one handy, but the intent was to show that you can slide a dual radiator in here, and you can see there is room to slide the mesh panel back over it.
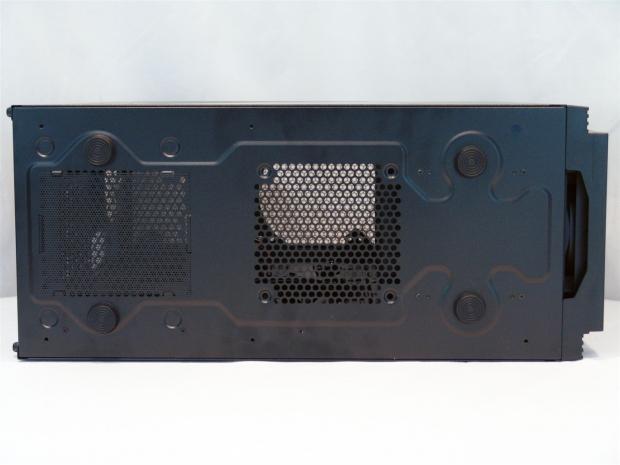
The underside of the Tempest 410 elite uses the same rubber feet we have been looking at, but this time around the PSU gets a dust filter. Finally!
Inside the NZXT Tempest 410 Elite Mid Tower Case
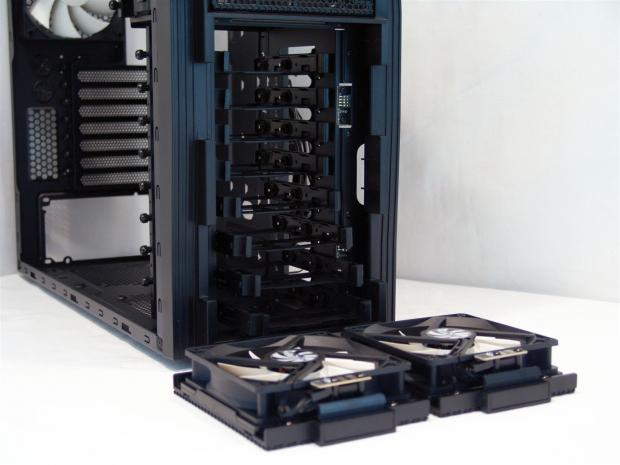
Digging right into the Tempest, the front offers everything to be removed from the outside for access. By pressing on a pair of clips on each fan they come out wirelessly and allow access to all eight trays for hard drives.
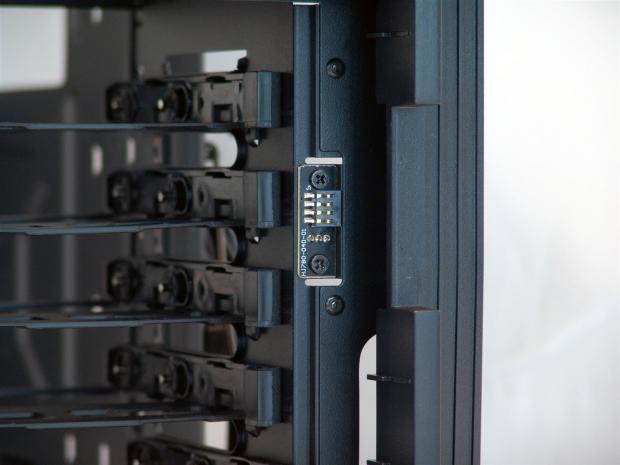
The fans version of this panel is flat to accept the pins on the right side of both fan openings. This is what allows the fans to come off so easily to be cleaned, or to replace or add another hard drive.
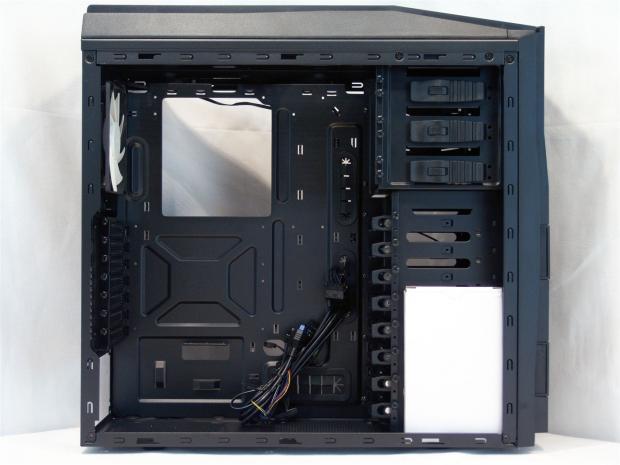
Inside the chassis with the panels off, we get a look at the hardware box shipped next to the hard drive rack with the cables tied neatly and run through holes in the tray to keep them from scratching anything or breaking their own ends.
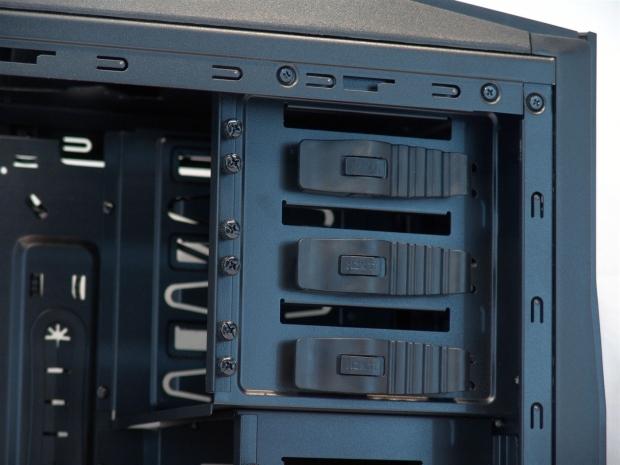
The three optical bay drives offer a flexible mechanism on this side to hold the drives in place. If you want to secure it for transit, use the thumbscrews in the rail to the left for that exact purpose. This way you know where they are, and will never lose them.
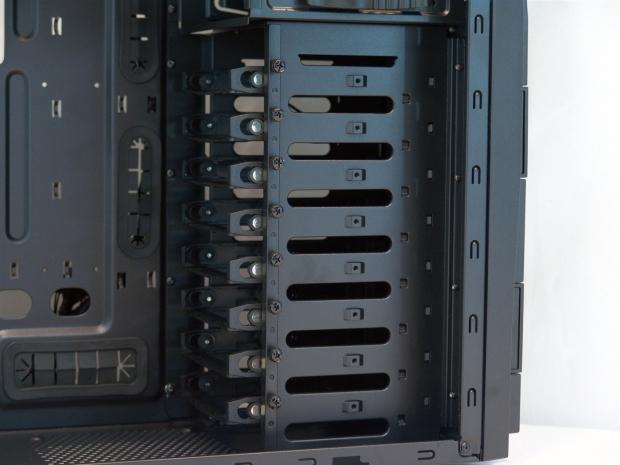
The eight hard drive bays we already know use the trays that slide in and out. If you need to lock the tray into place, the thumbscrews on the left go in the hole in the middle of the trays side through the raised metal bump with the threaded hole.
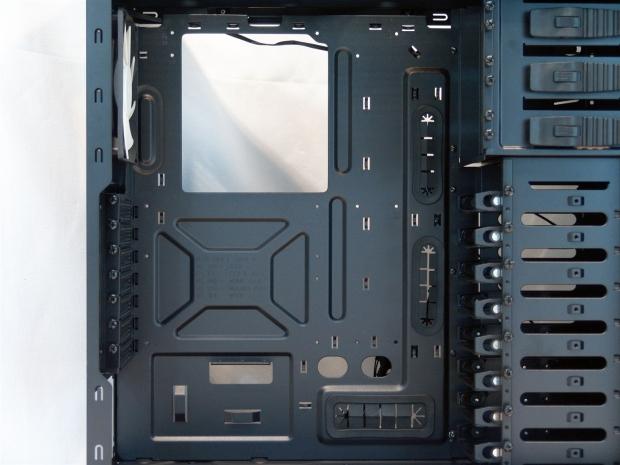
The 410 Elite also has a different motherboard tray than the other three. Here is twenty-one tie points, eleven holes to run wiring through, and the largest three of them get rubber grommets installed.
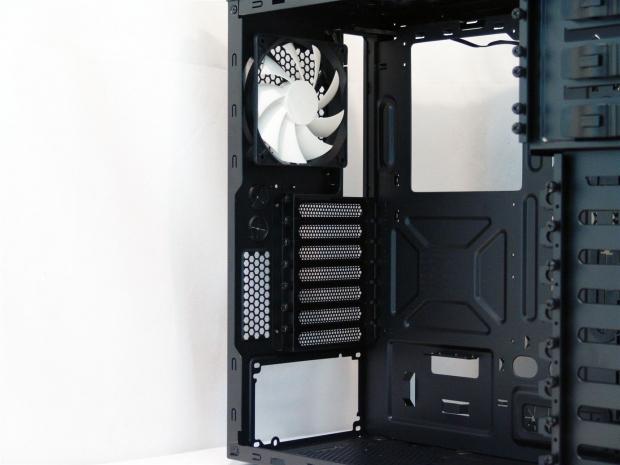
The back of the case has the seven vented covers held in by thumbscrews this time! I cannot tell you how happy I am not to have to fumble with those tiny screws anymore.
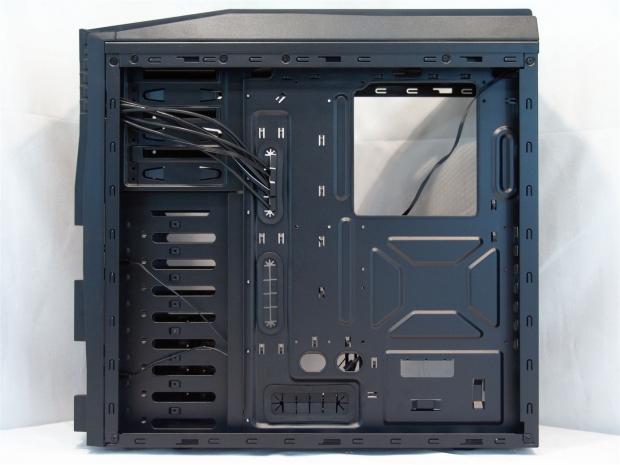
All of the wiring in the case from the I/O starts behind the tray and makes it easier to plan out the wiring. There is 20mm of room behind the tray, and almost triple that room next to the drive bays at the left side.
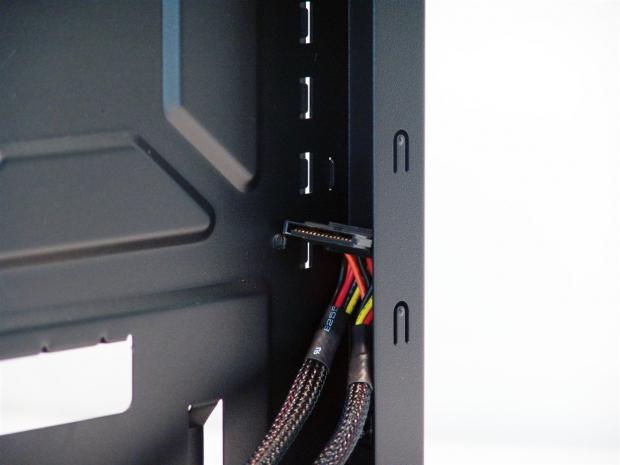
Instead of just saying 20mm of room, or sowing a tape measure, I figured I would show this easily relatable SATA power connection sitting in here sideways with room to spare!
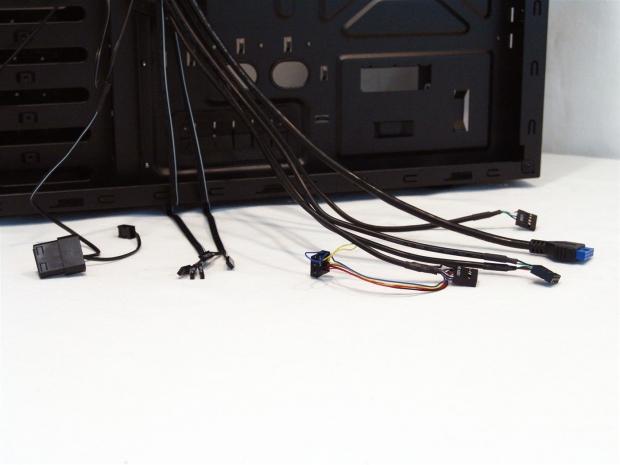
The wiring in the chassis is all black and includes 3-pin or 4-pin Molex fan connections, one for the front pair, and one from the rear fan. The motherboard connections follow and then the thicker wired HD Audio, two USB 2.0 plugs, and the internal USB 3.0 connection.
Accessories and Documentation
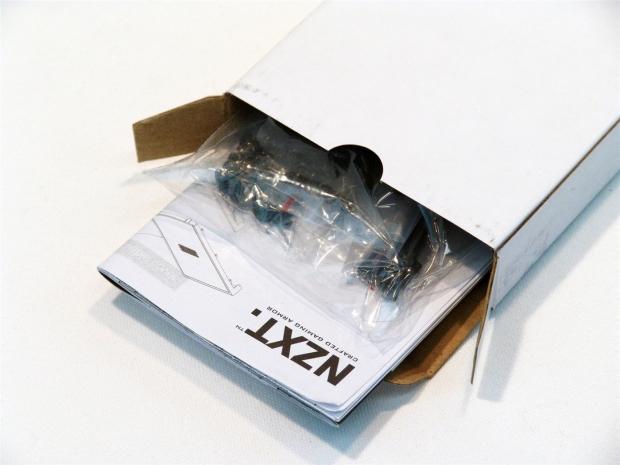
Opening the hardware box that was sent packed next to the hard drive cage is where you will find the manual and a bag with assorted hardware.
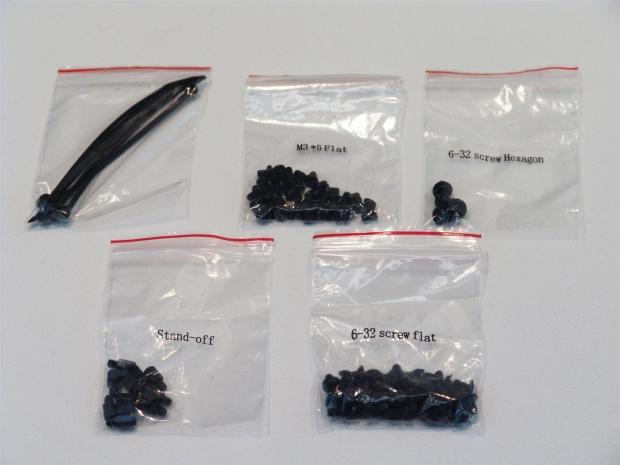
In this kit all of the hardware is bagged and labeled except for the tie straps, but I'm sure you know what to use them for. The top two bags offer 2.5" drive screws on the left and PSU screws on the right. The bottom pair of bags contains the risers with a socket for them and the load of motherboard and optical drive screws on the right.
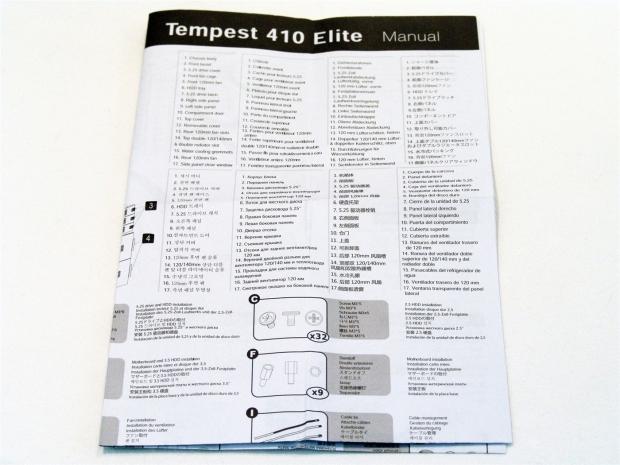
The Manual is well written and covers eight languages all the way through. The inside includes images and well as descriptions of everything you need to know about the Tempest 410 Elite including a full parts list to be sure you have everything you paid for when you start.

I also wanted to show the front fan assembly here. If you notice, the pad that takes power from the side of the chassis has a standard fan clip behind it. This means if you want to add more airflow or LEDs here, there is an easy way to do it with no soldering required.
The Build and Finished Product
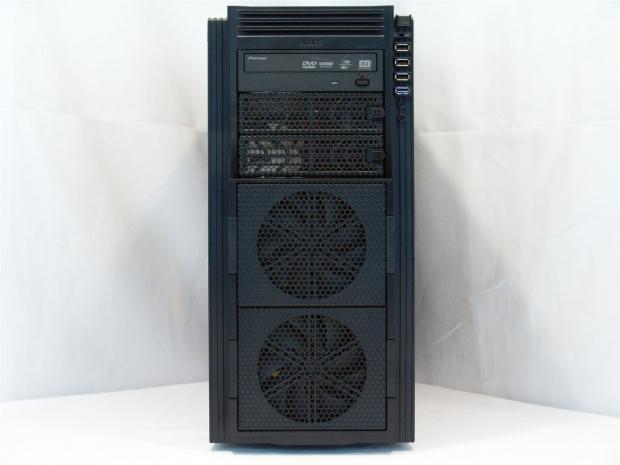
The drive was easy to install. Just slide the rubber tab on the right side to the left and peel the cover off. Then all you do is slide in the drive and set the flexible clip on the left side. It hold the drive plenty secure enough to move the PC, but to travel with it I would add a screw or two.
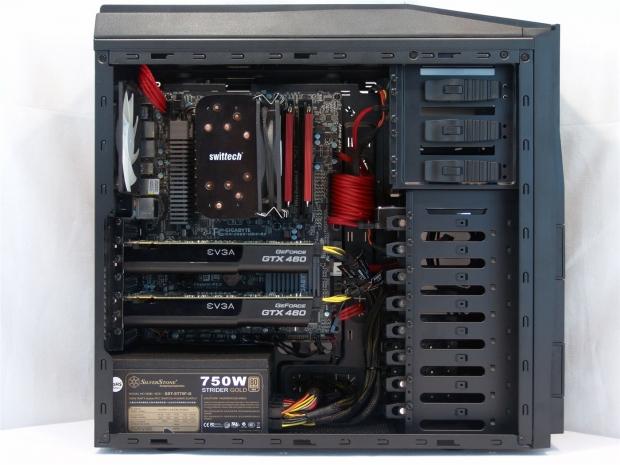
NZXT should send a thank you letter to BitFenix for supplying me with the NZXT cables to spice up the build and make those red RAM coolers feel a little more at home with other splashes of red. I did this not only to look good, but to help express the room behind the scenes.
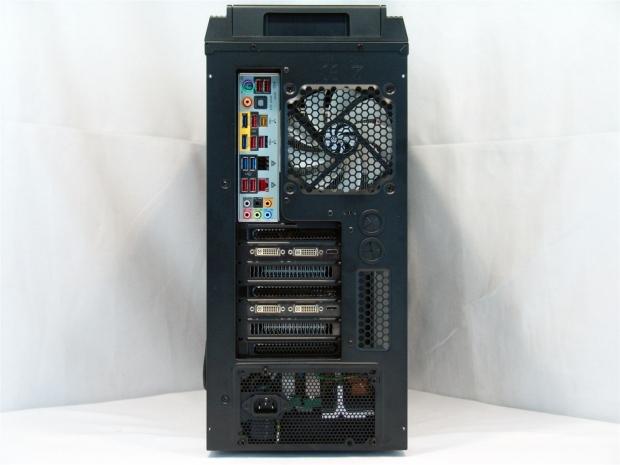
The back of the Tempest filled out as one would expect. Everything seemed to line up and fit with no issue at all. Did I mention I loved having thumbscrews to mount those graphics cards?
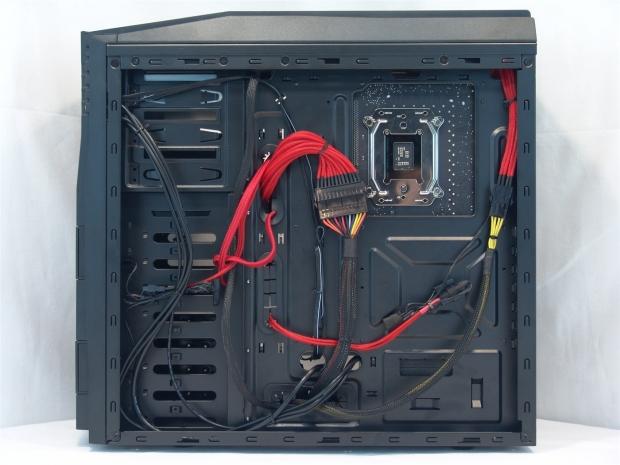
Leaving all sorts of thick clips for the 24-pin and 8-pin behind the tray is not an issue. The room left here will allow you to set all the wires you need to back here, and for the fourth time with a similar setup, I came up with something completely different lending to the never ending wiring options found in these NZXT cases.
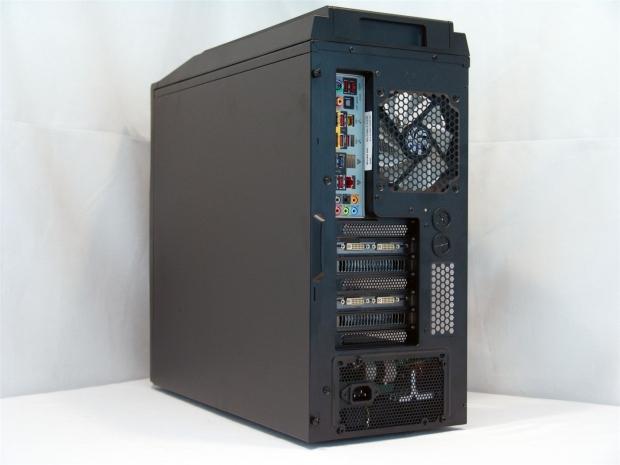
With the panels going back on I thought I should take the time and show the chassis from all angles in its finished for as well.
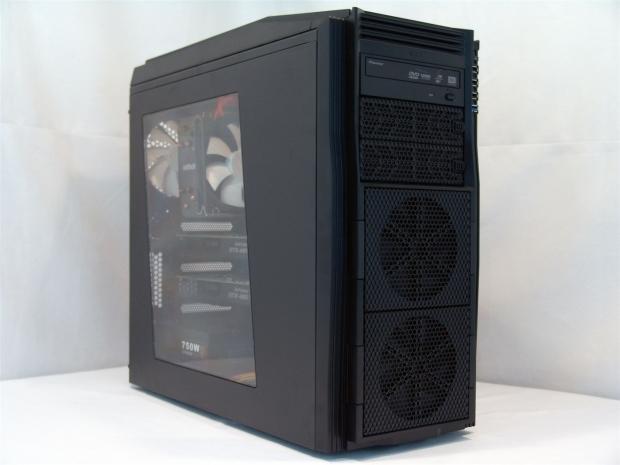
I didn't want to end with you looking at the back of the case, so I took this to leave the impression of just how the Tempest 410 Elite will look on your desk.
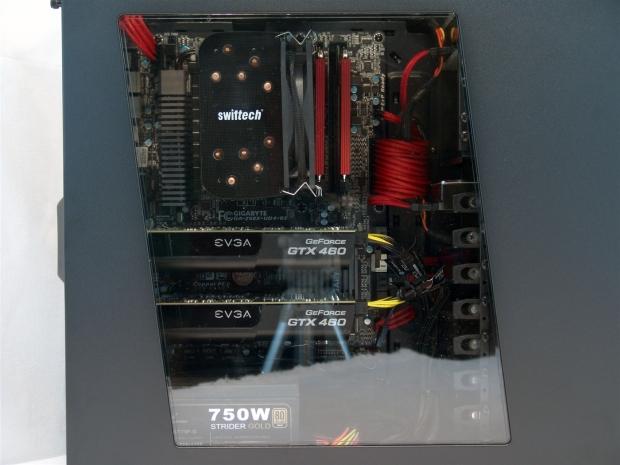
I mentioned this window offered a great view and I wasn't joking. While just showing the drive bays at the extreme right, the rest of the window offers nothing but an unimpeded view of all of you hardware.
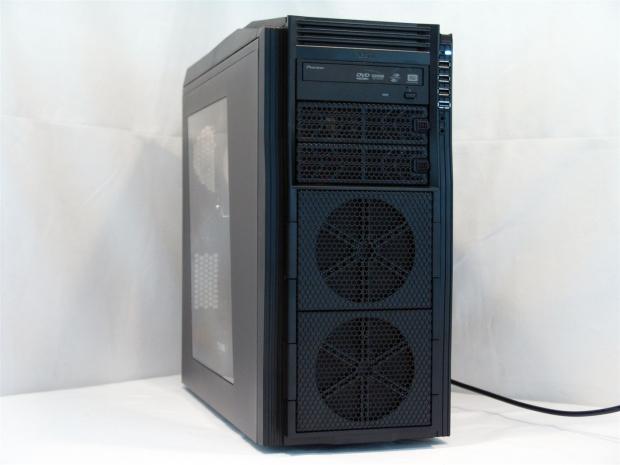
As with all the others we have looked at, once powered up, there is very little light to be seen. There is the Power LED that glows brightly, but is very small at the top right side. The HDD activity light is just as bright, but as we have seen before, my timing really is sub-par for catching the flashes.
Final Thoughts
So, in the most basic sense of things, I am here to tell you why you should opt to pay out up to another $45 for this chassis over the last three we have seen from NZXT. I am a sucker for a window, I like to see my hardware, but that alone won't justify it. I like the choice of interior designs much better with the 410 Elite over the others, so that is worth something. There are the front fans that remove to allow access both to maintain them as well as accessing the hard drives. There is the large storage area at the top that incorporated a wire tender to keep them out of the way of an opening optical drive. Lastly, with the way the top is designed in the Tempest 410 Elite, this chassis is truly water cooling ready. I think that alone covers the increase in cost, even though I would pay $20 more not to have tiny screws in my expansion slots. That's right, one last poke at how much I appreciate the thumbscrews there!
Cooling inside the chassis is plentiful and straight forward. The air comes in the front and is forced out the back; that is what air doesn't convection takes right out of the top. With all the fans being 120mm and all revolving at 120RPM, the noise level is minimal, but you can easily tell when they are running. The fans also have the option of a 3-pin connection versus the Molex, so if you want BIOS or fan controller control over them, it is easy to do as well. I also like that there is finally a dust cover offered in the floor of the chassis to keep my PSU fan clean and free of debris. All in all, I am very pleased with the Tempest 410 Elite and what it offered over the Tempest 410 and the other three cases we have been looking at from NZXT.
In my opinion, now that I have seen the whole ball of way if you will, I feel this is the mid tower to buy. The others are still great offerings for the sub-$60 market, but to demand near $100 you have to step the game up these days to do this well. NZXT offers enough in my mind to warrant the price hike over the others and I think that the $99.99 at Newegg.com is more than fair for what you receive. I know there are only two locations to shop, and it is going to be reflected in the scoring, the other offering at Provantage.com is a bit cheaper and may be worth a little leg work to save another $11 off the initial cost. Either way, for less than $100 NZXT offers a solid contender to deserve you money in mid tower chassis design.


 United
States: Find other tech and computer products like this
over at
  United
Kingdom: Find other tech and computer products like this
over at
  Australia:
Find other tech and computer products like this over at
  Canada:
Find other tech and computer products like this over at
  Deutschland:
Finde andere Technik- und Computerprodukte wie dieses auf