Introduction, Planning and Preparing the Drive
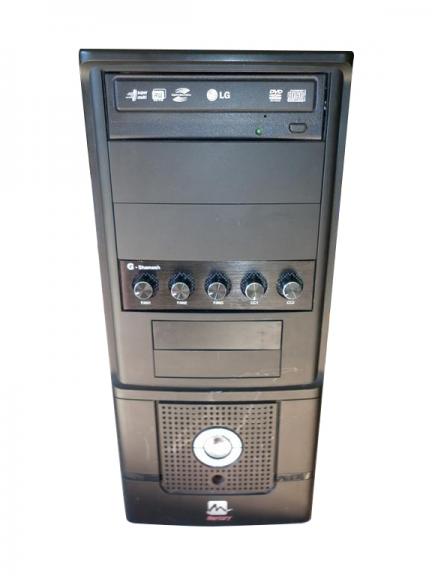
Although not as crucial now days with advances in USB installation, the humble optical drive is still a main stay in many computers. Unfortunately with little to no choice in colours and with other more attractive components like Bay Reservoirs and fan controllers, the simple DVD drive can look a little out of place, maybe even bringing down the overall feel of your rig.
Sure you could go and drop your hard earned cash on a brand new external drive, but what if there was another option? Well, fortunately there is. I present to you the world's easiest mod, "The Drive Stealth".
Basically what we are planning to do is hide the offending optical drive behind one of the cases' 5.25 bay covers whilst still being able to easily access the drive as usual.
So with the stealth of a Ninja assassin, join me as I make an optical drive disappear into the shadows of a case.
Planning
The best thing about this mod is its simplicity. Unlike some projects that take large amounts of time, money and advanced tools, "stealthing" your drive can be achieved in under an hour with a few basic materials. So, what will we need? Well, besides the optical drive itself obviously you will have to dig out one of your unused 5.25 bay case covers from your bits box as well as some double sided tape.
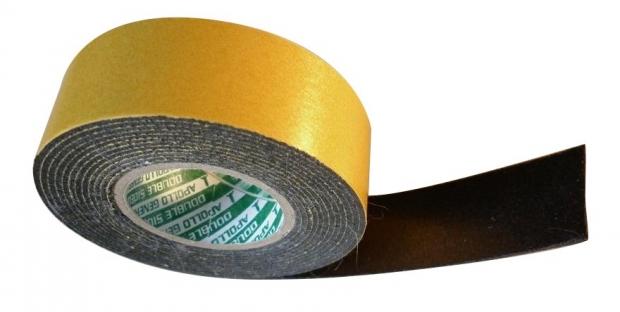
I always try to use scotch or 3M brand tapes, but I could not find any in my mod shed. Luckily I found some other suitable no name tape which seems rather sturdy, and like all good modders, I improvise. The reason I always try to use brand name tape is it has a truly unbelievable adhesive quality, which once set in place is incredibly hard to "reseat".
Preparing the Drive
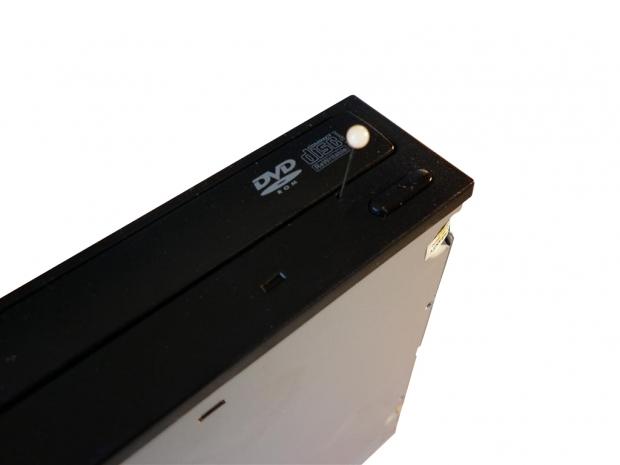
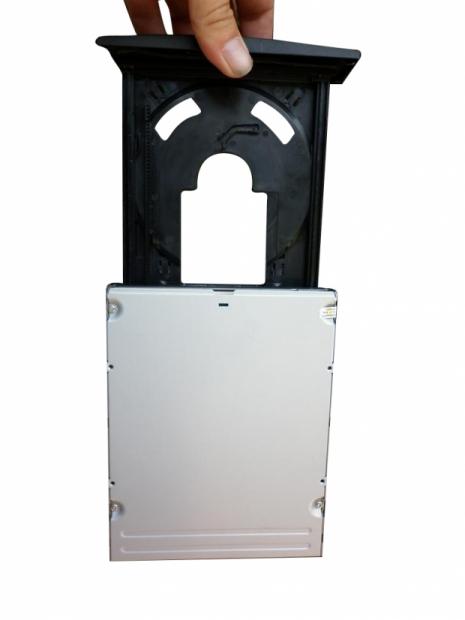
Needless to say the very first thing we need to do is remove the victim drive, and once removed we can continue on to removing the faceplate and tray drawer. Optical drives are fairly universal so removing the front plate should be similar for most makes and models. Firstly you will need to pop the tray open, and this can be done with a pin or sewing needle. Insert the pin into the front release hole which is usually located next to the eject button. Press the pin in till you feel it make contact, this should be the release mechanism so push in a bit further and the tray should pop out.
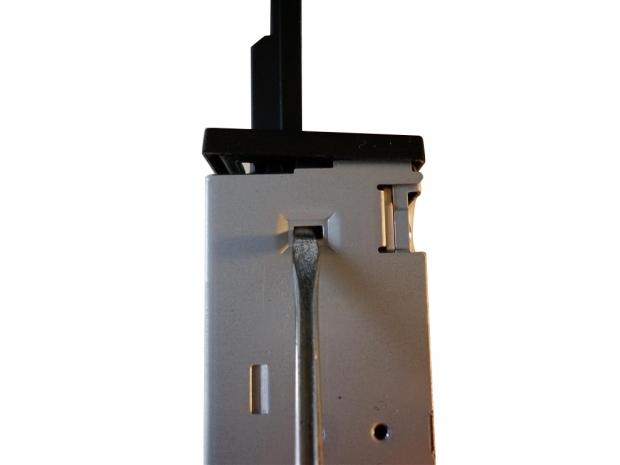
With the tray released we can now concentrate on removing the front faceplate. You may have noticed the clips on the sides of the unit; we need to unclip both of these. The easiest way to remove the clips is by using a small flat head screwdriver. Gently push the clip in and forward, and then repeat on the opposite side and the panel should release and come off.
Installation
Before proceeding any further I would like to point out that any of the following steps involving double sided tape can be replaced with a good quality plastic glue or epoxy. I like to use tape for a few reasons - the first being it is a lot easier to work with than glue, and secondly it makes it possible to reverse the mod allowing for the drive to be used again in another build or PC. I have myself used glue for past stealth mods fearing the adhesive quality of double sided tape. But I can assure you the tape (as long as its high quality) will hold, easily supporting the complete weight of the optical drive.
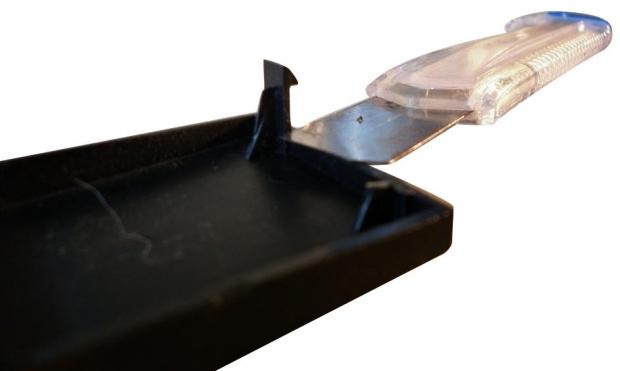
As this mod revolves around moving parts, we need to make sure everything has room to move freely and without any sort of obstructions. This is a relatively simple task starting with the 5.25 bay cover we found earlier. Remove the mounting clips from the rear of the panel, this will allow for the door to move in and out trouble free.
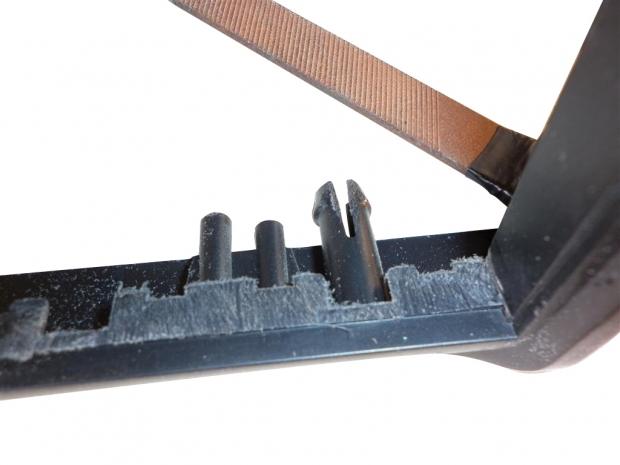
I would also recommend skimming back the inside of the bay just a touch for this I like to use a fine flat file.
With everything "shaved" down it's time to get it all lined up and put together. Cut a five inch strip of mounting tape making sure to only have one side exposed at this point stick the piece to the optical drives drawer.

The next step is the most complicated things are going to get, which is lining up your drawer with your 5.25 cover. I find the easiest way to go about this is by placing the optical drive back into your PC pushing it further to the back of the 5.25 cage than normal. Unpeel the remaining backing from the tape.
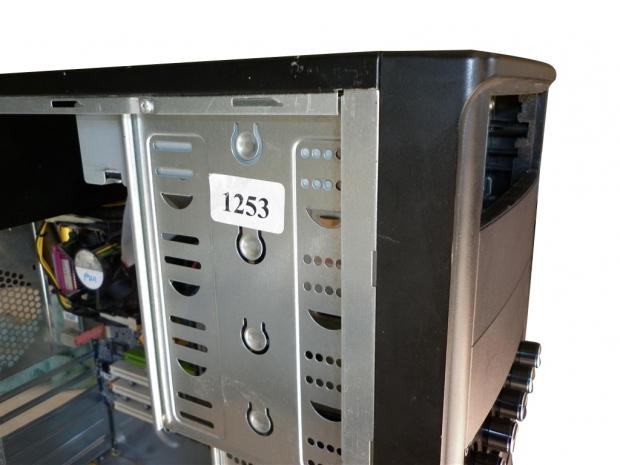
Carefully position the bay cover into its normal location in front of the drive, and whilst holding the cover in place, push the drive towards the front of the case. If done correctly the two components should adhere together without the hassle of pulling out the measuring tape.
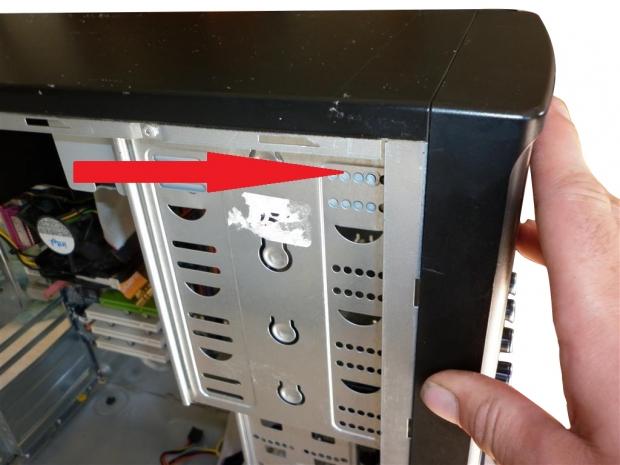
Making it Work and Final Thoughts
Making it Work
So, I know what you're thinking it looks good, but how do I open it? Well there are two schools of thought for this problem. Leave it how it is and eject through your OS desktop or keyboard (if it has an eject key), or we can rig up a "soft touch" button. To make our button, again using dual sided tape, the only other thing we need is a small piece of scrap metal or plastic. In fact, nearly anything can be used for this - I normally just scout around on my shed floor for materials.
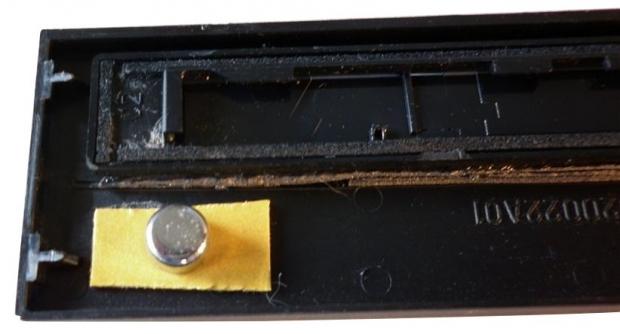
For my button I found some scrap that looks like an old front bezel button, notice that it is very small. The trick here is to find something smaller than you need and let the tape do the real work. Again we will need to remove the door, and we can do this by sliding the new door still attached to the drawer cover up off the tray. While holding the unit, slide the door up one side at a time, and this should release the front panel from the tray.
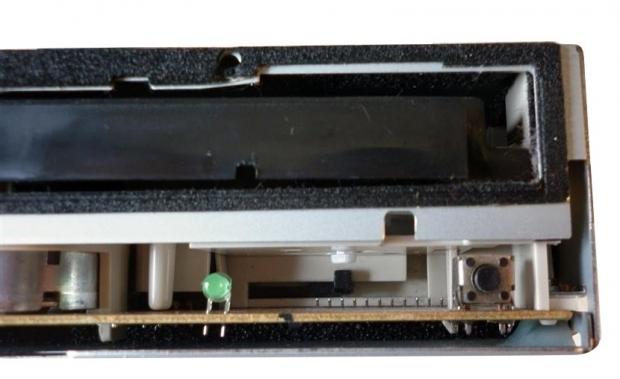
With the door removed cut a small slither of dual sided tape and apply it to the general area the button needs to be in. Now to line up the positioning exactly I place some painters tape on the lower part of the drives new door under where the button needs to reside.
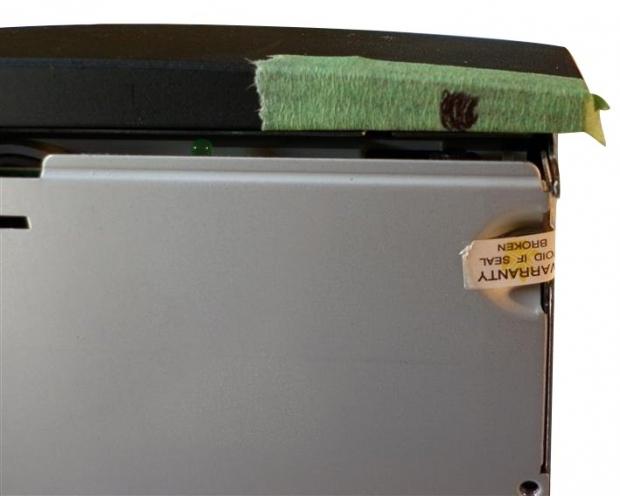
Without attaching the drive line it up over the drive and mark out where the button should sit on the painters tape. We can now proceed to attach our desired button. If the button doesn't reach as far as it needs to apply a second, or perhaps even a third layer of dual sided tape.
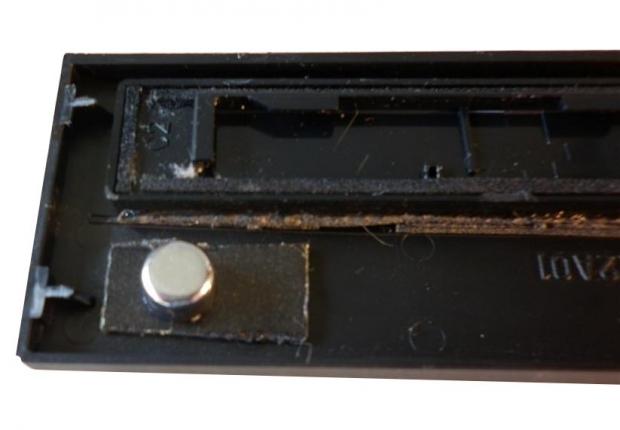
Once the button is mounted at the needed height and location, the front drawer can be reattached by sliding it back on to the drawer's rails. Reinstall your now stealth drive, it is important to fasten it in place, as using your new "Soft Touch" button may lead to pushing the drive back too far into your drive bay.
With everything mounted and reconnected, we can now test out our handy work. If everything has gone to plan a simple touch of the bottom right side of the bay cover should send the tray out of the shadows waiting to be loaded with your optical media.
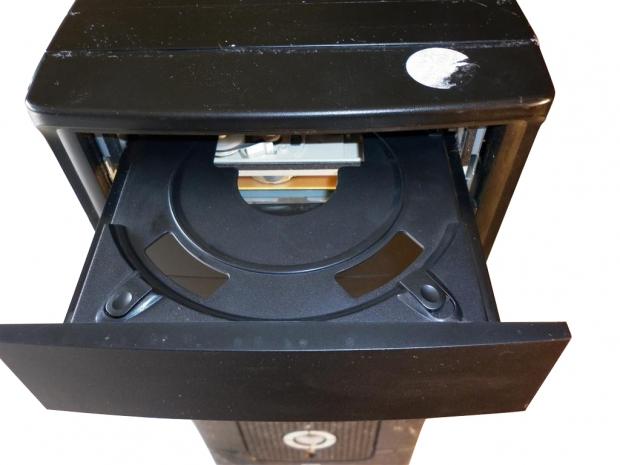
TIP - If you are planning on using a 5.25 cover with mesh I would suggest painting the silver components of the drive as this will help to hide the parts we are trying to conceal. Paint can also be substituted for a thick black marker pen.
Final Thoughts
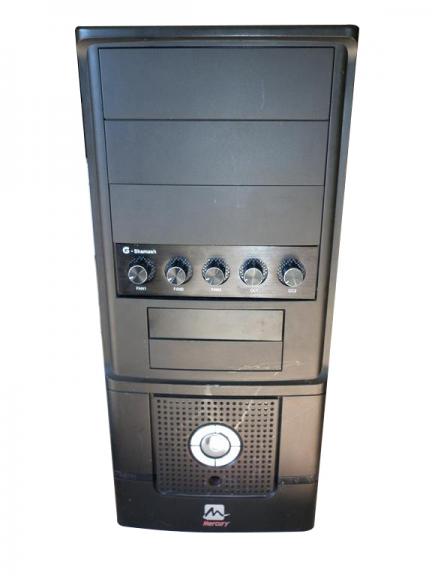
Drive stealthing is a prime example that modding does not have to be expensive or overly complicated to be effective.
Using only a minimal amount of materials and some creativity, nearly anything is possible. Another really cool use for this mod is LAN cases - have you ever had discs stolen from your drive at that premiere gaming event? Well no longer as most people won't even realise that you are still even using an optical drive. Problem solved!
A good quality stealth job will compliment any case from the office work horse to the pride of your PC fleet. Have fun!

 United
States: Find other tech and computer products like this
over at
  United
Kingdom: Find other tech and computer products like this
over at
  Australia:
Find other tech and computer products like this over at
  Canada:
Find other tech and computer products like this over at
  Deutschland:
Finde andere Technik- und Computerprodukte wie dieses auf