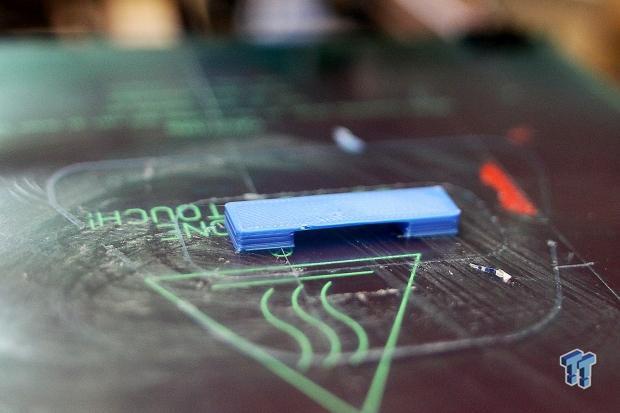
Unless you shell out several thousand for a "prosumer" model desktop 3D printer, you will face limitations with most relatively cheap desktop 3D printers. Some of the biggest challenges are overhangs, bridges, and very small layers that are printed in quick succession. Below, you can see a failed bridging attempt that can be easily corrected by adding a fan.
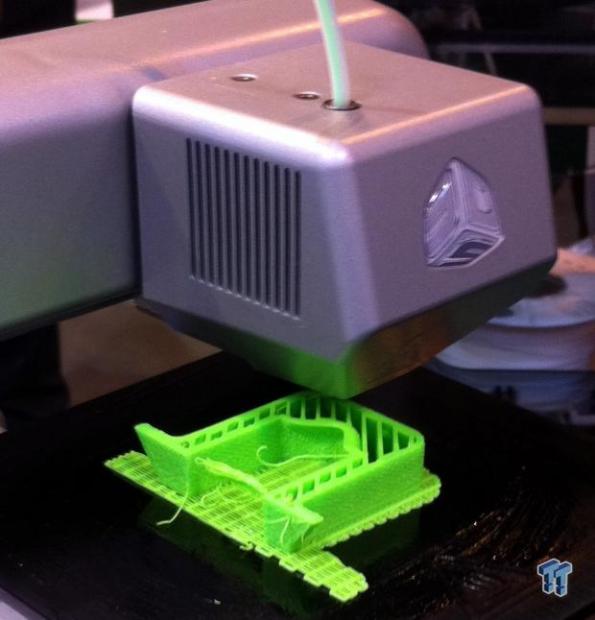
While tackling overhangs is a bit of a tough fix, one of the quickest things that you can do to improve your bridging and small layers is to install a cooling fan that is ducted to direct air to the print nozzle. Since you already own a 3D printer, creating a mount and duct to direct the air is as simple as searching Thingiverse. The only requirement is that your control electronic has an unused fan header that allows automated control of the cooling fan.
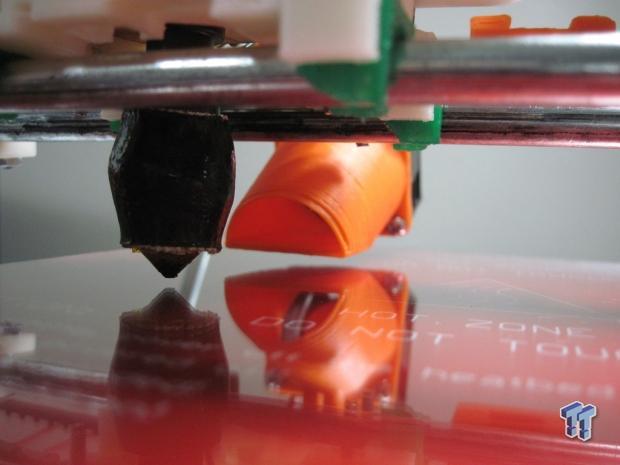
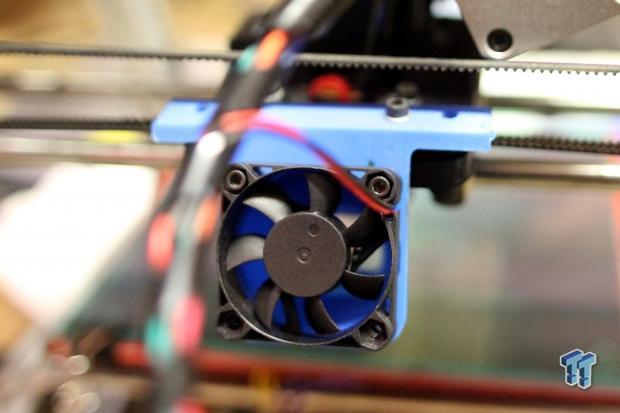
I found this nozzle that mounts a 40mm fan to your extruder, and it is angled in such a way that the air is directly ducted to the tip of the nozzle. This is very important, because you do not want the airflow to cool the printers heating element, which could cause jamming, and stripping of the filament at the drive gear. This particular fan mount is designed to work with the Mendel Max style 3D printers, and the Lulzbot AO-100 and AO-101 specifically. If you own another model, just search for a fan mount with your printer model in the search string, and something should come up.
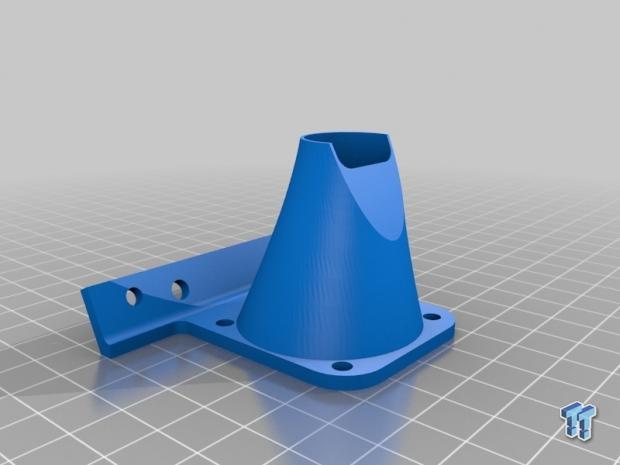
When searching, or if you decide to design one yourself, remember that the bottom of the fan mount cannot hang lower than the tip of the nozzle. If this occurred, the fan mount could crash into the object being printed. Another piece of information to note, is that the fan you select will need to be capable of moderate to high airflow. Small PC style fans have an issue pushing air when coupled to ducted outputs, and you can expect a decent drop in airflow when bolted to the printer.
The mount I selected is capable of fitting a 40mm fan, and unfortunately it appears that particular size is quite hard to come by in my area, but I did manage to find one inside of an old DVD player I had laying around. With my newly found fan in hand, I queued up the mount for printing, and let my Lulzbot begin building its upgrade.
With the print now finished, I decided to bolt up the fan to the extruder, so I could begin extending the wires to the RAMPS 1.4 control board. Connecting a fan to a RAMPS board is quick and easy, as it has a dedicated pin for fan control. Some of the other high-end control boards also feature a dedicated pin for extruder fan output.
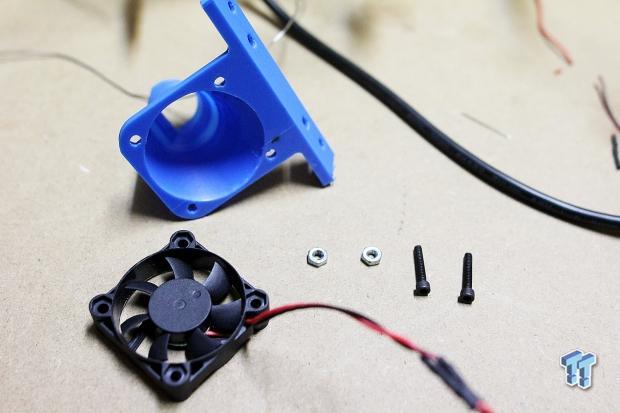
In our case, RAMPS D9 Screw Terminal's are a 12V PWM output that can be controlled from within Repetier Host, and it is supported on Marlin firmware. Slic3r can be set to turn the fan on, or adjust it to a user defined speed if a layer build time is lower than a user specified time. This helps the previous layer cool faster, and ensures a proper bond between layers. Additionally, this helps bridges, as the fan can be cranked to high, and the filament solidifies almost as soon as it exits the nozzle.
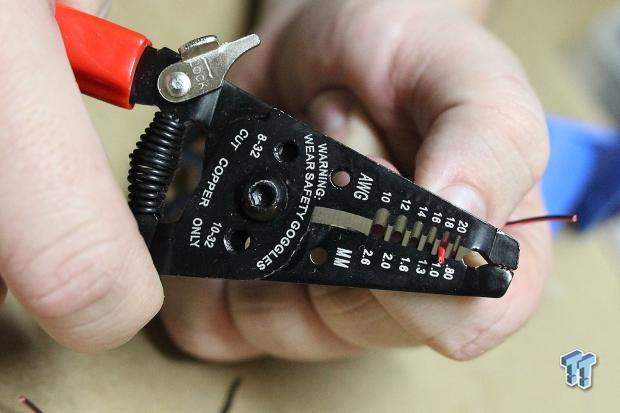
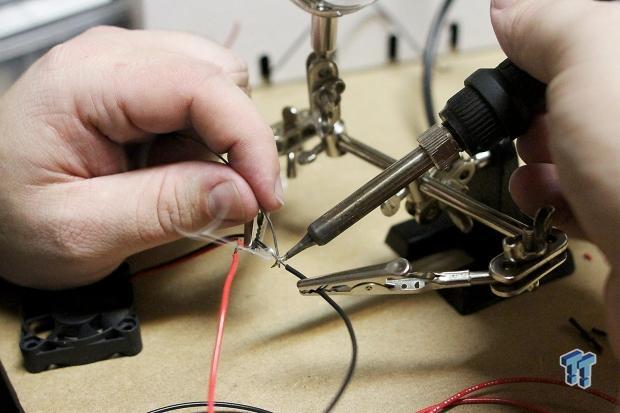
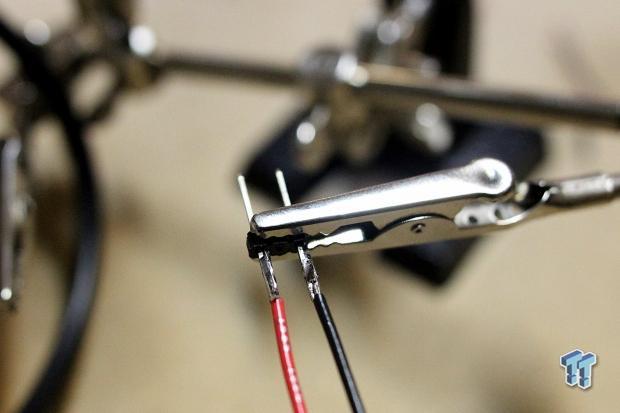
Small PC fans like this usually feature tiny JST connectors that are purposely built to plug into whatever PCB they need to cool. The easiest way to extend these is to just cut it off, and solder on extension wires. Remember to heat shrink the connections after you are finished soldering. Now all we need to do is solder header pins onto the end of the two wires. Note that the heat shrink is slid on over the wire before soldering to the pin.
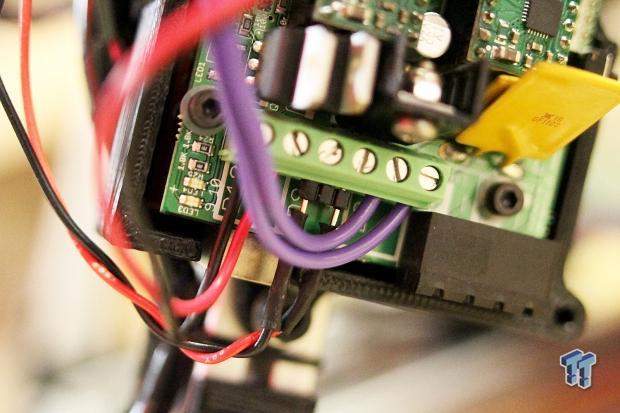
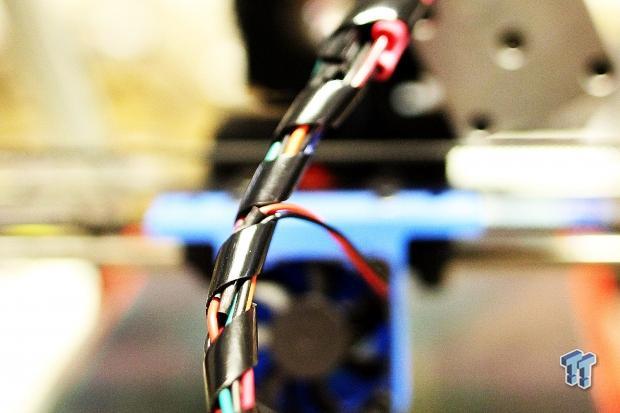
Hooking up the fan is a simple as screwing the two header pins into their respective screw terminal on the RAMPS board. If you do not have header pins to solder on, you can use bare wire, or soldered wire. I like to use header pins, as I feel that they are a more robust connection, and more reliable than just bare wire. The big advantage here is the ability to quickly (and safely) plug in your newly installed fan. Also, make sure to tuck the cables inside of some loom to keep anything from catching, or binding.
With the fan installed, you now need to open up Slic3r, and configure the printer to use the fan. In the image above, you can see the different settings that can be adjusted. I recommend activating the fan at 100% for layers lasting less than 20 seconds, and for all bridges. This is one of the most underutilized features of Slic3r, and it solves so many problems when setup and used correctly.
My settings may be different from what you need though, so take some time to experiment and play around with things until you are comfortable with the results. The video below is slightly blurry, but you can see that after the fan installation, bridging a 20mm gap was easy, and almost perfect on my AO-100. This will work with all 3D Printers that have a fan header on their electronics, and if you are a PLA user, then your prints will improve ten-fold after installing a fan on the hot-end.
You might have noticed that this is titled as "Part 1" of a series called "3D Printing Tips and Tricks," and it is just that. Every month in 2014, I will release another "3D Printing Tips and Tricks" article, in which I show you how to upgrade, improve, and modify your 3D Printer. Next month, we will cover control electronics cooling, and maybe a few ways to light up your print surface for better photographs, and videos. If you have an idea for an installment, or would like a tip or trick to improve or fix an issue you are having, please send an email to charlesgantt at TweakTown dot com.

 United
States: Find other tech and computer products like this
over at
  United
Kingdom: Find other tech and computer products like this
over at
  Australia:
Find other tech and computer products like this over at
  Canada:
Find other tech and computer products like this over at
  Deutschland:
Finde andere Technik- und Computerprodukte wie dieses auf