Introduction
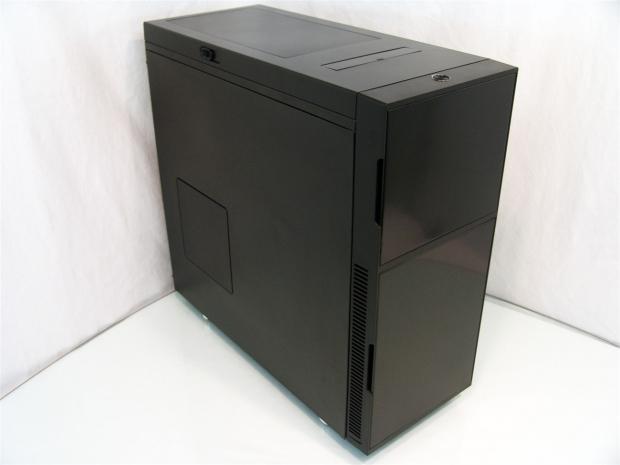
For those of you, who don't have the access to the news blasts, or like I, am deep into what is offered in the realm of cooling products, Nanoxia may not be a company you are too familiar with. I knew off the top of my head that they are a German manufacturing company, and I thought all they did was fans and fan accessories. Going to their website to dig up a bit of history on them, I was right; there were first and foremost a fan manufacturer that started in 2006 with the intent to make fans of the highest standard. Since those days, they still do pretty much the same thing offering PWM fan controllers, FX-Evo and Deep Silence fans, and some rubber fan screws to keep fins from vibrating against any chassis on the market.
It turns out Nanoxia is stepping into new markets and widening what they will soon offer. This is the first, and currently the only chassis that Nanoxia has developed. With a serious attention to details in its cooling solutions, I have high expectations for what they are bringing forth with this first attempt into the enclosure game. In the most general of terms, this new product offers silence, even the Deep Silence chassis series naming implies this. It also offers quite a bit in the feature set, and to me is stunningly simple to look at. Just from the information available on their website, I am impressed with this offering, even before I had the chassis in my hands.
Today we are going to be looking at the Deep Silence Series DS1 mid-tower chassis from Nanoxia. There were a few news blasts about this chassis, but if you blinked, you likely missed it. Now that the NDA is lifted as of today, it is very likely you are going to see this chassis everywhere. I have to say it may very well remind you of a certain chassis from Fractal Design, even so, I do feel Nanoxia is starting off on the right foot here.
Delivering a chassis with silence in mind has been done of course, but not exactly like this. The uniqueness of the design, the feature set, and the customizability is going to leave this chassis at the front of the pack when you need to look for a new mid-tower chassis that will do just about anything you ask of it.
Specifications, Availability and Pricing

First off, the DS1 comes in four flavors. There is the black that I received, and there is "silver" that has silver doors and a black body, Anthracite (coal colored) doors on a black body, or a full on white version. Since we are discussing the outside, and the front doors, there are two of them with a thin black bezel surrounding them. The top door opens to give access to the fan controller and optical bays. The bottom door will give you access to a pair of 120mm fans to clean or replace them. On the top there is a pop-up I/O panel that offers audio, USB 2.0 and USB 3.0 connectivity. Also on top is a piece that will lift straight up by moving a lever to give the Nanoxia Air Chimney a chance to work. The door panels are flat and featureless, except on the left side panel you can add a fan by removing part of the panel. Sleek, square, sexy and silent is the name of the game on the outside.
Inside the DS1 you have three 5.25" bays that have tool-less clips on both sides of the bay for a very secure locked fit of the drives. Moving down the front of the chassis you will run into a total of eight 3.5" bays broken up into three sections. It is modular to allow room for water cooling goodies like a radiator if it is all removed, and also gives the chassis the room to hold 445mm worth of video card. At the top of the chassis you can easily mount a pair of fans with the room left above the motherboard tray that will hold Micro ATX and ATX motherboards.
In the back of the chassis you are given another Silent Series fan, this time a 140mm to exhaust the chassis above the eight expansion slots and the PSU mounting area with a gasket in place. Dust filters are also a big deal these days, and there is a long one in the floor of the chassis, and the pair of 120mm fans in the front comes with them too.
As I write this up, there is no availability of the DS1 chassis from Nanoxia, because the chassis was only released to the public today. What I was able to ascertain is that they do plan to release this chassis over the pond first for the MSRP of 89.99 pounds including VAT. Going with the current exchange rate, if this case is destined to hit the US shores, it will set you back right around $145.
Ever so slightly the Nanoxia Deep Silence Series DS1 gets under the magic number of $150 chassis pricing. So let's get right to what we get so you can decide if Nanoxia has the new case for you.
Packaging
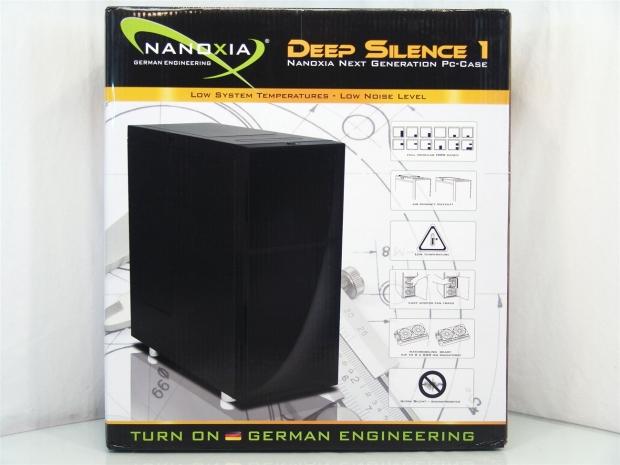
Nanoxia's Deep Silence 1 comes in an eye attracting package. The bands of gold and black over the mechanical drawings gives the DS1 chassis image a great contrast to play against. On the right it shows the 12 possible HDD configurations, the Air Chimney, that you should have low temperatures, the easy to get to front fans, the fact that the DS1 can house a dual 120mm radiator in the front, and that is has been sound proofed.
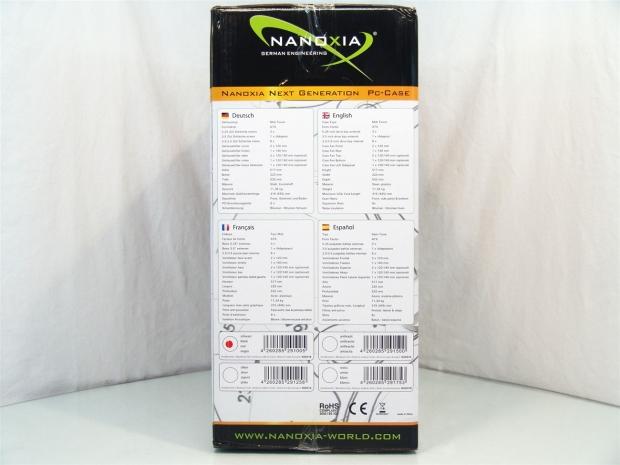
We see the same gold and black top on this side, but this time there are four charts in different languages covering the specifications of the DS1 inside the box. It also denotes the version of the chassis - I have the black version.
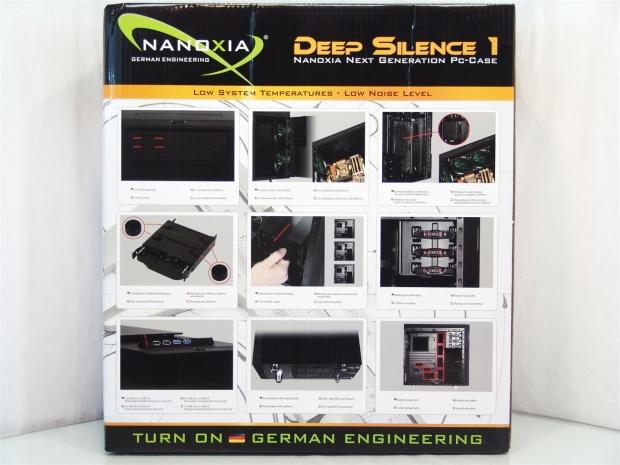
Nine windows on the back cover features found in and around the DS1. They cover the fan controls, the three installed fans, how a radiator will fit, the HDD trays, the modular system of the cages, the tool-less latches on the ODD bays, front I/O, the dust filter on the bottom, and all of the wire management options inside the DS1.
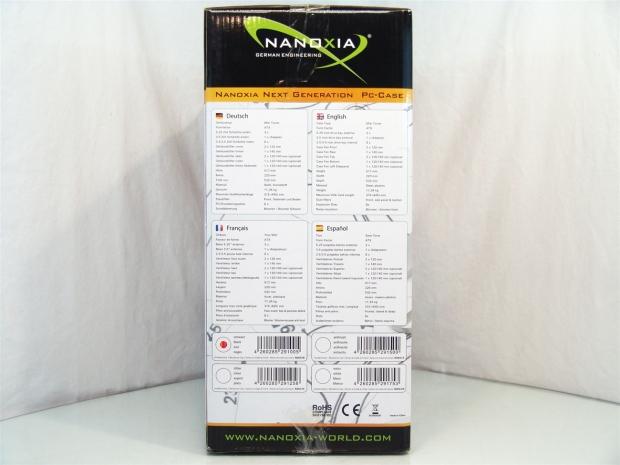
On the last side of the exterior packaging, we see the exact same thing we found on the panel opposite this. Just the specs lists and the version of the chassis are found here.
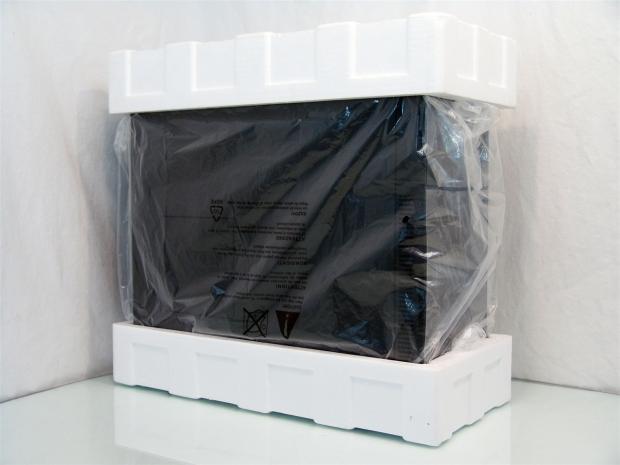
The box was in really good shape so as expected the DS1 itself too arrived in good shape. As for what protects it on the inside, you are given Styrofoam end caps at the top and bottom, a plastic liner to keep scratches at bay, as well as some plastic stuck to the front of the case to protect the brushed finish.
Nanoxia Deep Silence DS1 Mid-Tower Chassis
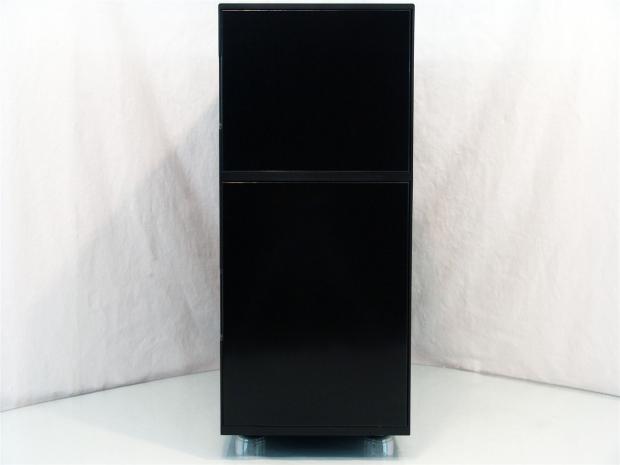
The front of the DS1 is very flat and uses a thin plastic bezel to attach the two doors to. From this angle it is tough to see it, but both doors are metal and have a brushed finish to them. The doors swing to the right and open the right way for the way the case is designed.
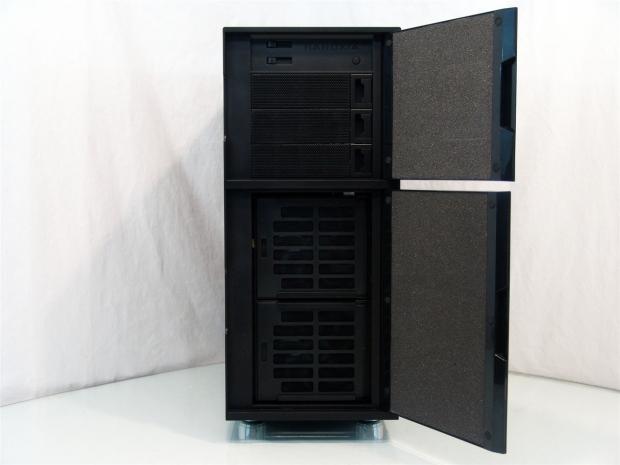
You can see that both doors are foam backed for sound deadening. Opening them exposes the three removable bay covers, while the lower door exposes a pair of fan filters that are also doors that swing open to allow access to the 120mm fans behind them.
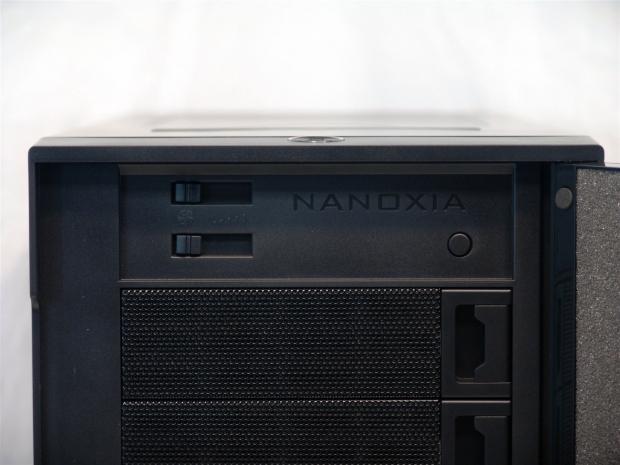
Moving in much closer to the top of the chassis you can now easily see the pair of fan controls along with the reset button under the Nanoxia name.
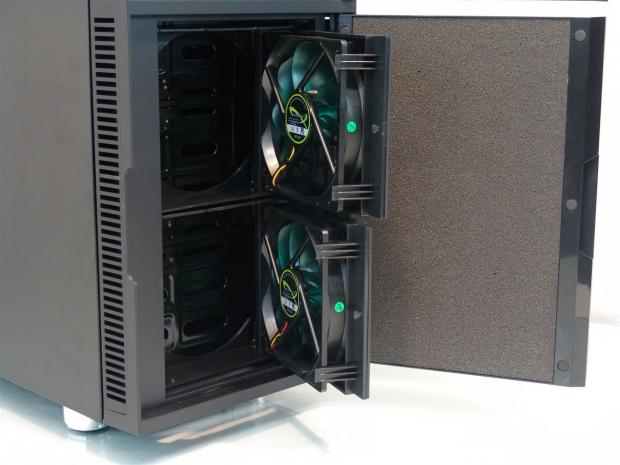
You have to push on the marked spot on the front of the cover to allow the latch to release the door. You can see now that there is a pair of 120mm Deep Silence fans with green blades. They just clip in, and could be replaced easily if you wanted to change them out.
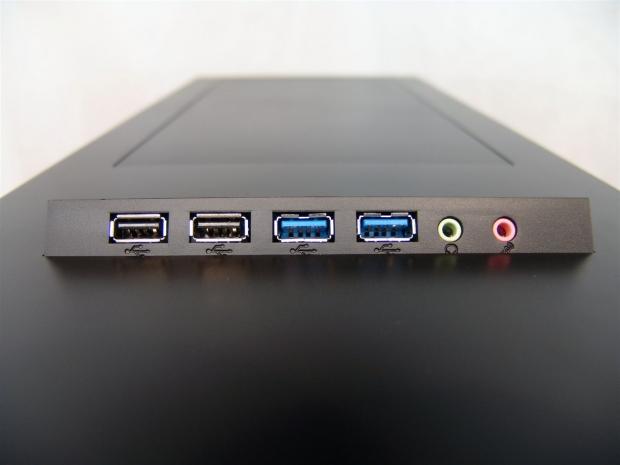
On the top just behind the LED ringed power button is the pop-up front I/O panel. Not only does this give you connectivity for a microphone, headphones, USB 3.0 and USB 2.0, the whole panel will go back in and lie flat with the top of the chassis when not in use.
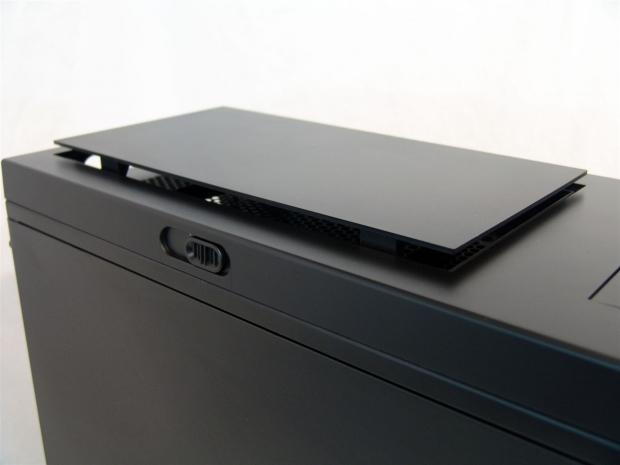
Here I opened up the Nanoxia Air Chimney by sliding the lever on the side of the chassis forward. If you don't want the top to have fans and you like silence, leave the slider to the back of the chassis and this panel will lie flat on top of the chassis as well.
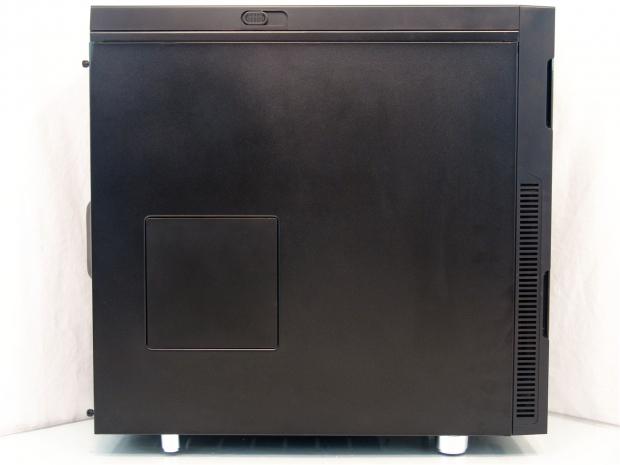
On the left side of the chassis we find a removable panel to add an optional fan to the door. You can also see on the side of the front bezel that the fans don't breathe through the front, but rather through the slots on the side here.
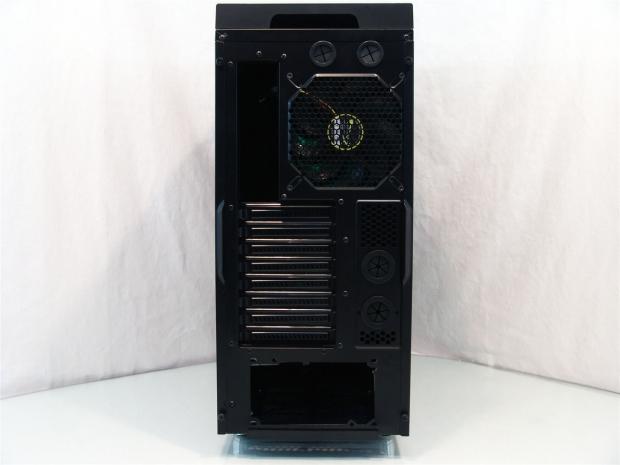
Around back you have four holes for water cooling available above and below the rear I/O and exhaust fan. There are also eight expansion slots with replaceable slotted covers, leaving the PSU to go into the bottom.
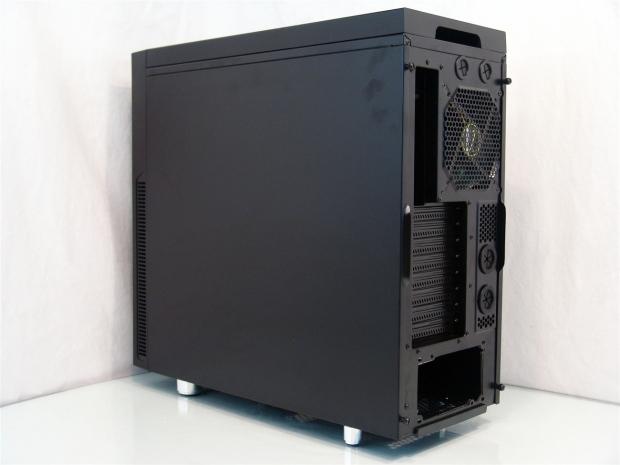
The right side of the DS1 offers a solid and flat panel to cover the wiring you will hide behind there later. To allow for the best air flow into the DS1 you can see this side of the bezel is vented as well.
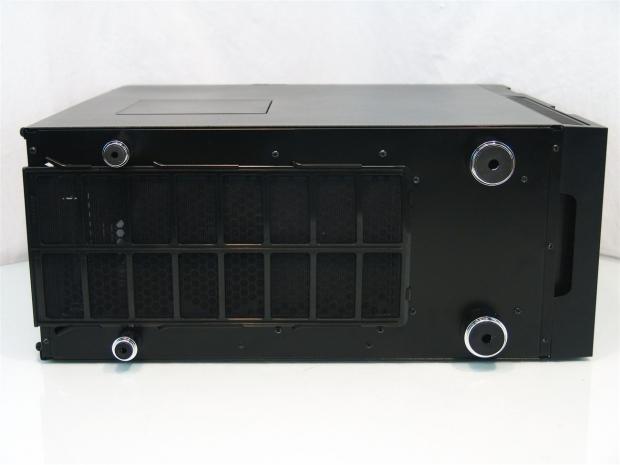
The chassis is supported with chromed plastic feet. There are larger ones in the front and smaller ones in the back to allow for the long dust filter to be able to slide in between the smaller ones. The feet are also padded with rubber to keep the chassis from sliding or marring any surface it sits on.
Inside the Nanoxia DS1
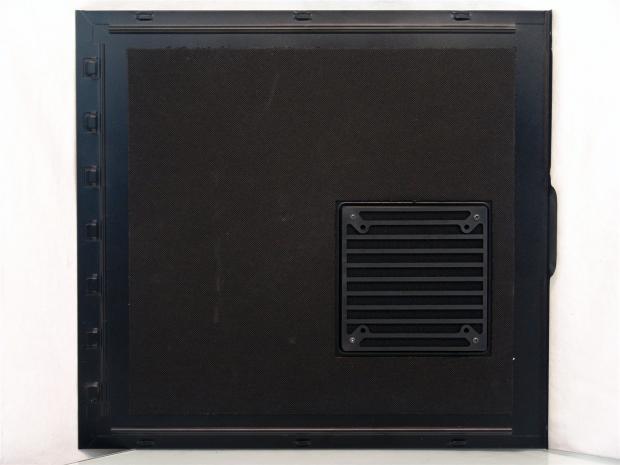
Both of the side panels offer this large pad of sound absorbing material applied to the inside. The left side panel is a bit different though as it offers the removable panel to allow users to mount a 120mm fan to the door to cool video cards more directly.
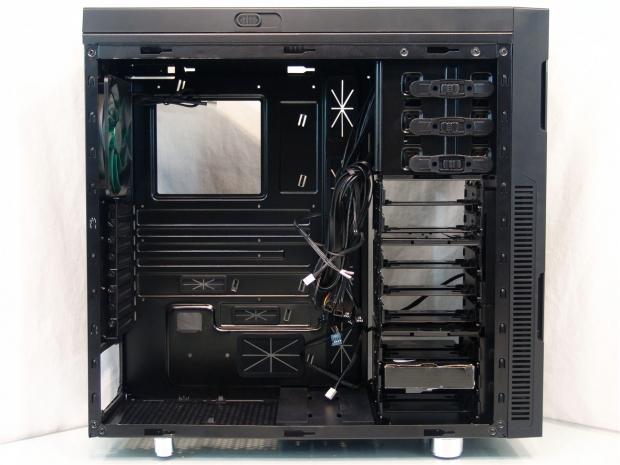
Inside of the DS1 you can see the paint is semi-gloss and it reflects a fair bit of light inside for an all black chassis. You can also see the wiring it tied up for transit, and the hardware box can be located in the hard drive bays at the bottom.
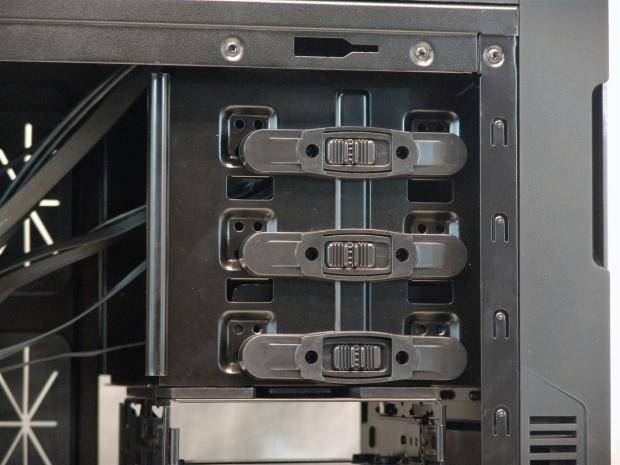
On both sides of the three optical bays you are given these tool-free latches to secure your devices, and they can be backed up with screws. There is also a floppy drive/ card reader adapter tray in the lowest bay, but I will show you that on the accessories page.
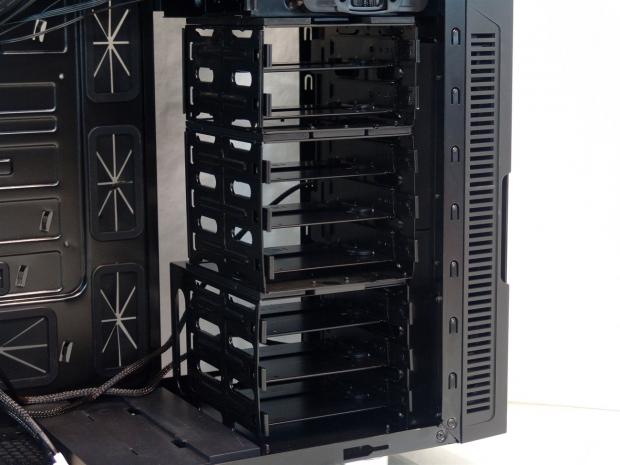
You also have room for up to eight 3.5" drives in the DS1. The reason that the rack is broken up into three components is to allow you modularity to use what you need and get rid of the rest if you don't need it in there.
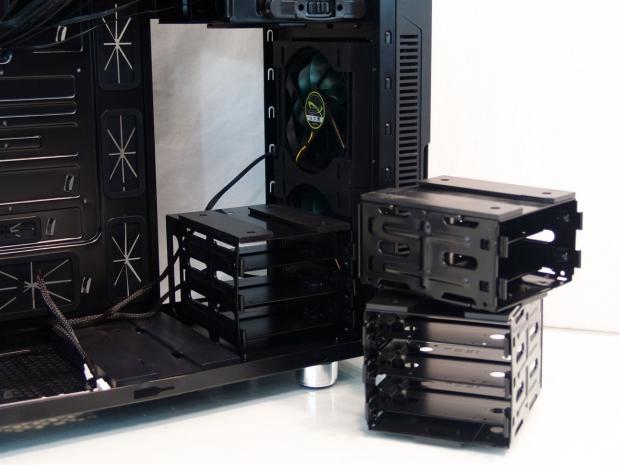
The top two cages slide out by releasing a latch. If you want to remove the bottom three bays, you need to slide back the dust filter and remove some screws for it to be able to go free.
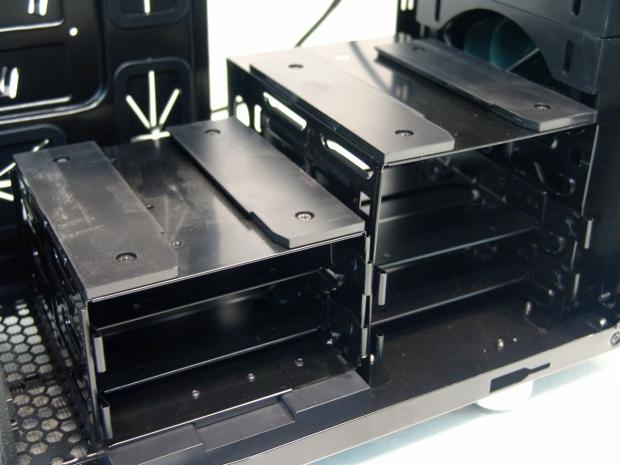
There is a plastic tray installed in the floor of the DS1 that allows you to also add the removable sections to the side to still allow for more than two or three drives, but still affording room for a long video card. You can also remove the plate to expose a 120mm fan mounting position under it.
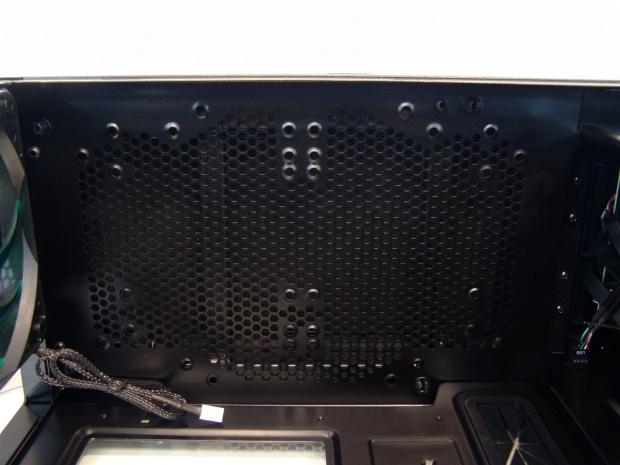
In the roof of the chassis you are given a few options. You can install 120mm fans, 140mm fans and even a 200mm fan in the roof. There is a fair bit of room for fans, but not enough for both a radiator and the fans to cool it.
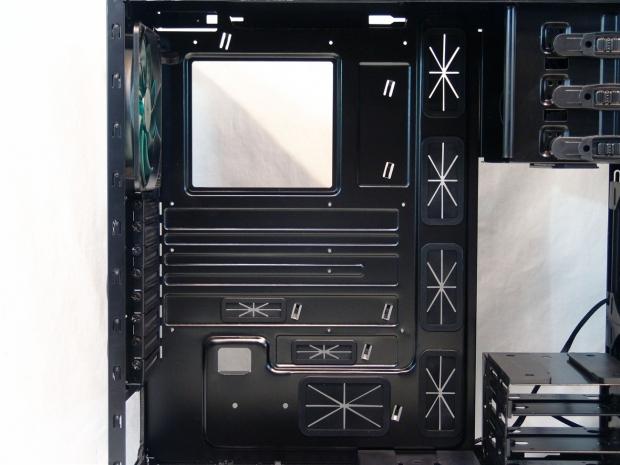
The motherboard tray will house an ATX or a Micro ATX motherboard. There are nine wire management holes including the two slots at the top, and it offers seven tie points around the board. You also receive grommets in most of the management holes to allow for a much cleaner finished product.
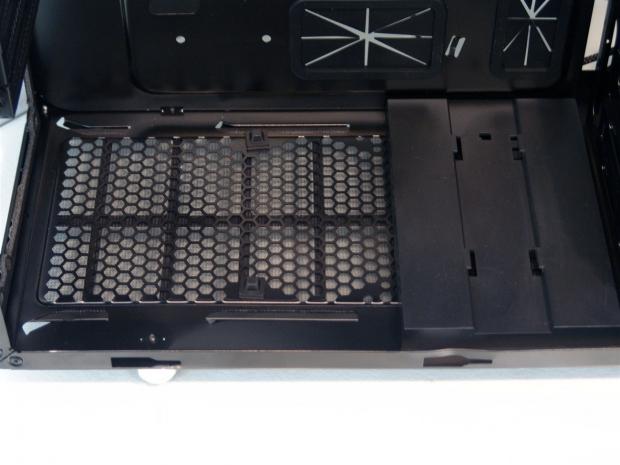
The floor of the chassis is fully ventilated with a honeycomb mesh that extends under the plastic HDD rack plate on the right. In the middle there is a pair of rubber pads to help support the weight of the PSU that goes in there.
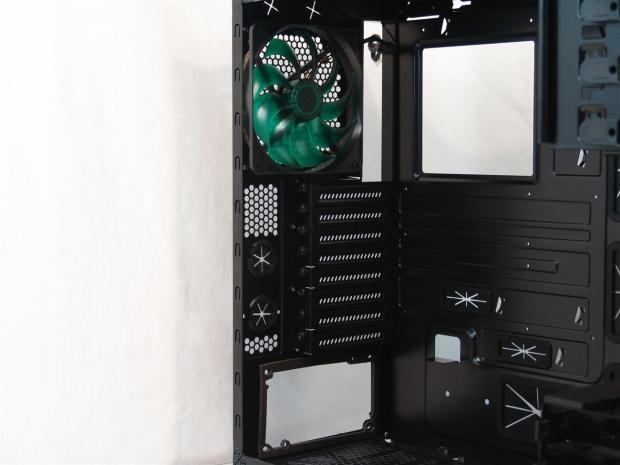
Inside the rear of the chassis you will see the green blades of the 140mm fan strapped in there. You can also see that there are thumbscrews used to lock in the expansion cards and the vented covers. The last thing to cover is the gasket that Nanoxia applies to the PSU mounting area to isolate any vibrations.
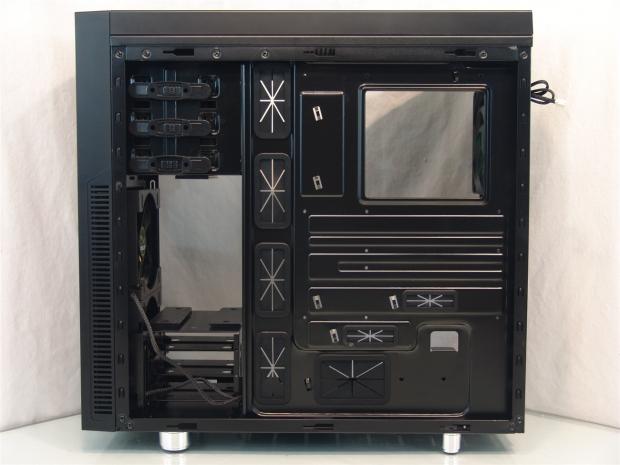
Behind the motherboard tray there is plenty of room for routing any and all of the wiring. In some spots there is a bit less, but on average you have three quarters of an inch to work with here.
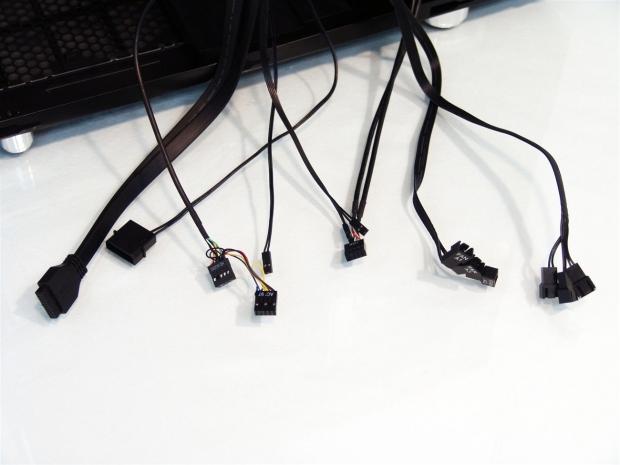
I like that all of the wiring is black, and I really like the flat cables used on the native USB 3.0. You also get a Molex connection to power the six fan leads to the right. You also get the audio, USB 2.0 and the F_Panel wires to complete the kit.
Accessories and Documentation
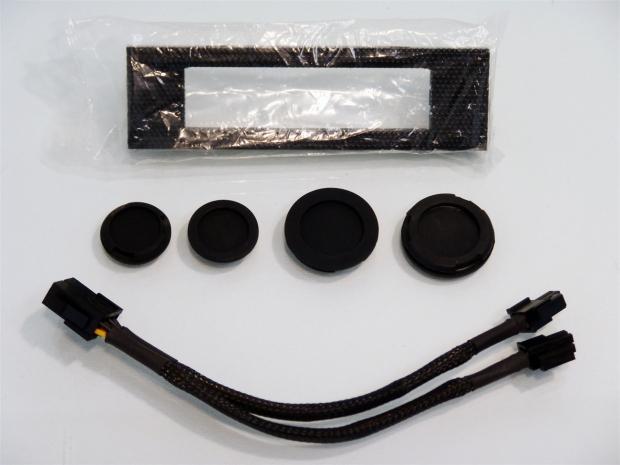
In that black box of hardware found in the HDD bays you get this as part of what is included. You are given an adapter for the 5.25" drives for a card reader, solid plugs to replace the water cooling grommets and an 8-pin EPS extension cable.
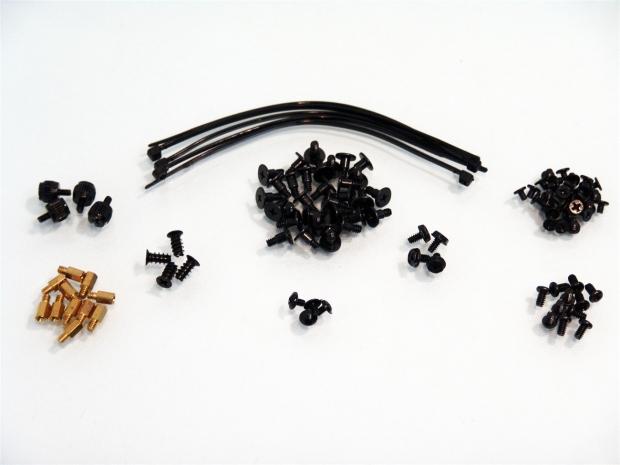
You are also given five tie straps, four thumbscrews and a set of standoffs on the left. In the middle are four fan screws, bay adapter screws, PSU screws and HDD screws. On the right you are given screws for mounting SSDs in the HDD trays and the motherboard screws.
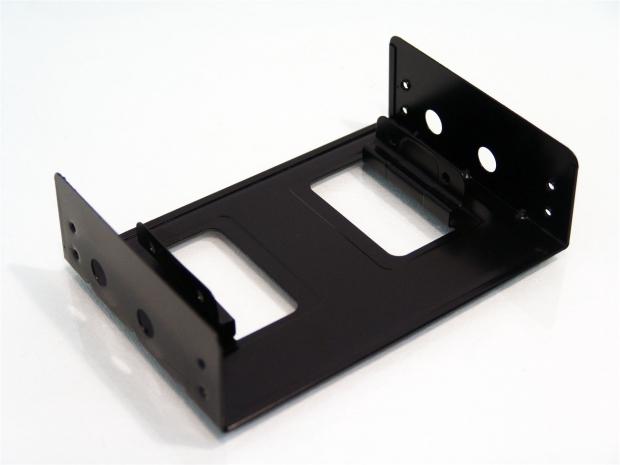
This is the 5.25" to 3.5" adapter that Nanoxia sends in the lowest of the ODD bays. The large holes on the outside allow you to pass the screwdriver through to mount the device, then with either the tool-free clips or screws to secure the adapter into the bays.
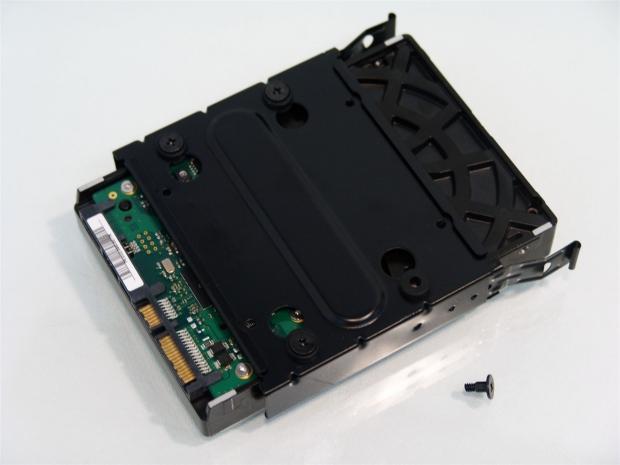
To mount the 3.5" drives you need the screws with the threads cut at the end of a blank stud. This will allow the blank part to ride in the rubber grommets and also make sure you don't over tighten them. The four small holes drilled into the steel are what you would use for 2.5" drive mounting.
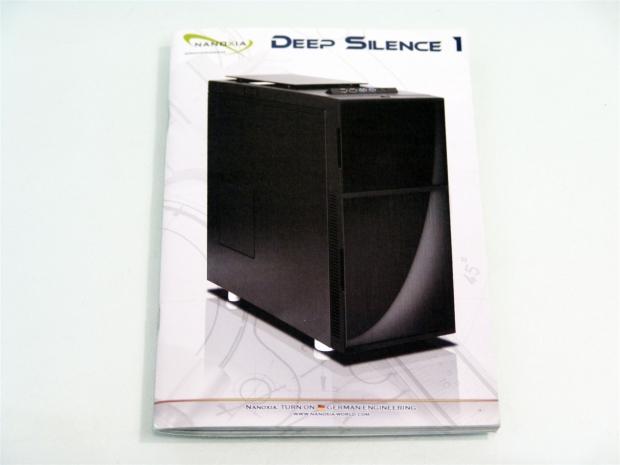
This full set of instructions with color photography to help you along has got to be the most detailed set of instructions to come with any case that I can recall.
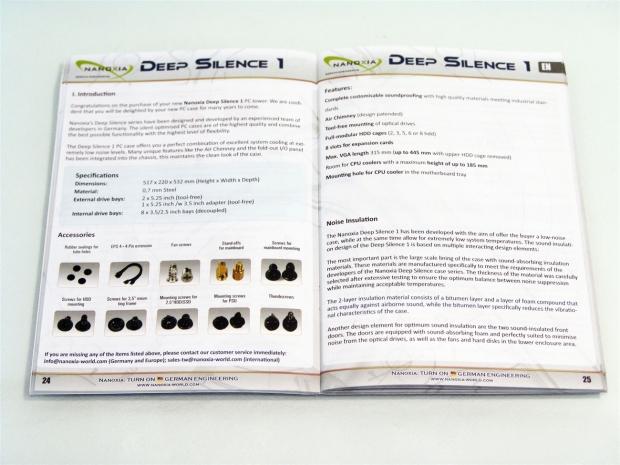
The manual starts with an introduction, gives the specifications, offers an easy to follow accessories guide, goes into the features, and even explains about the noise absorbing measures taken in the DS1.
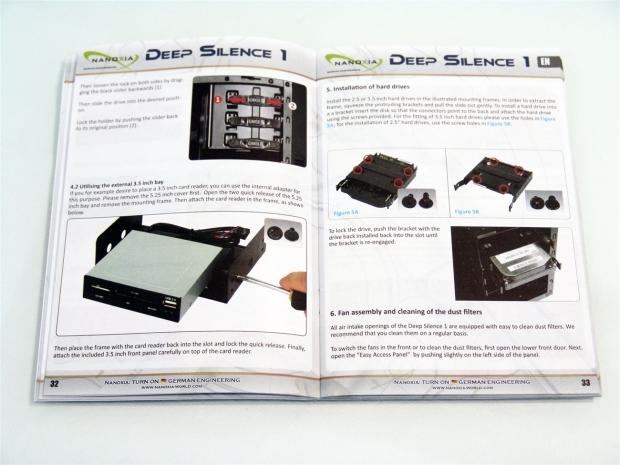
Now the first half of the thick manual is in German, but in the English section you can see that they cover every little detail about how the DS1 works. Great images always help, but the long detailed text will answer any questions that the images may bring.
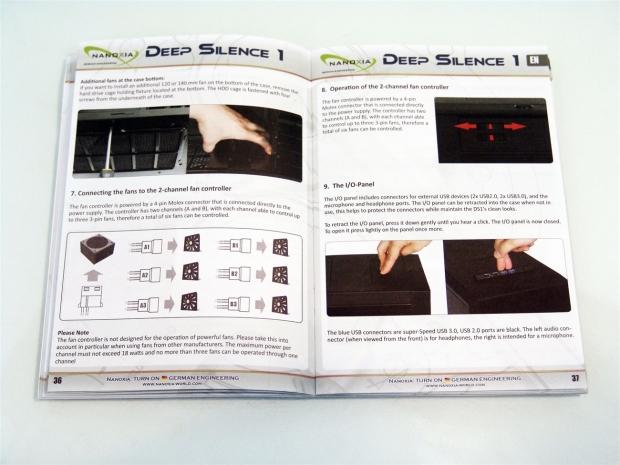
They even go as far as to show how all of the options work, even explaining a bit about the fan control wiring, optional fan placement, and even how to work the I/O panel if pressing on the raised marker on the top of it doesn't come to you.
The Build and Finished Product
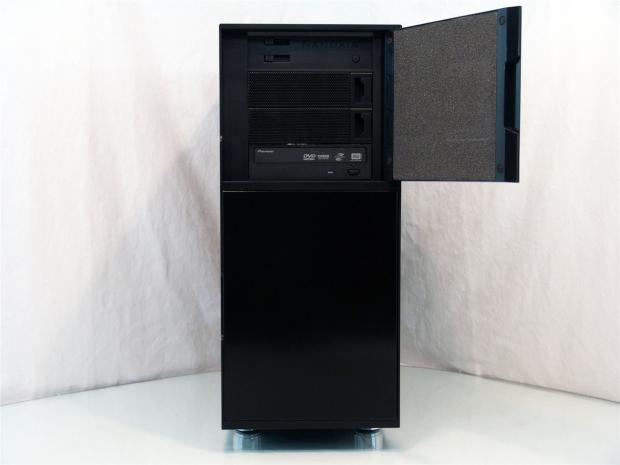
Since I had the locks unlocked on the bottom bay already, I just removed the lowest bay cover and slid in the drive, all without having the remove the front bezel.
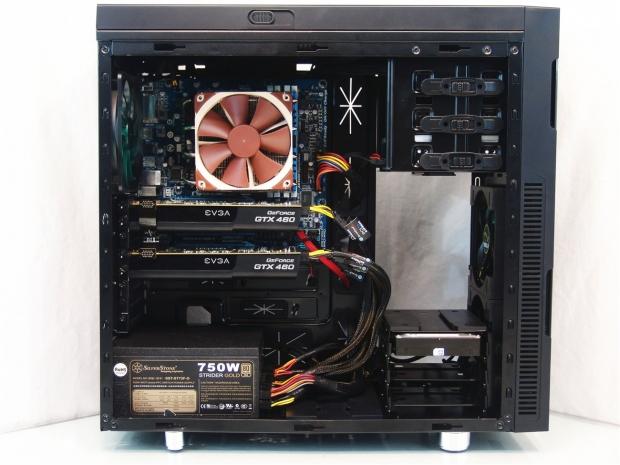
With a Micro ATX system like I installed there is a ton of extra room even with the dual card configuration. Using an ATX board will offer enough room to get in and out of the DS1, but it depends on what sort of hard drive configuration you want to run as to if you can mount a radiator in the front of this case.
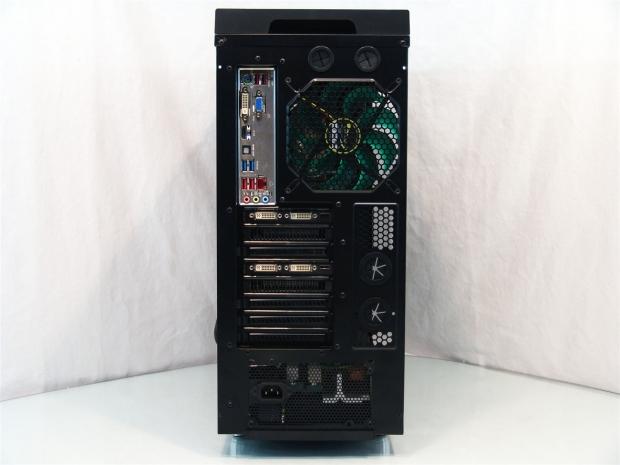
Out back there were no issues at all. The dust shield pops right in and there was no issues installing the cards, but you may have to flex the chassis into alignment to get the cards in correctly. The PSU is very snug against the foam gasket, and don't forget, if you like, you can swap out these grommets for the ones seen on the accessories page.
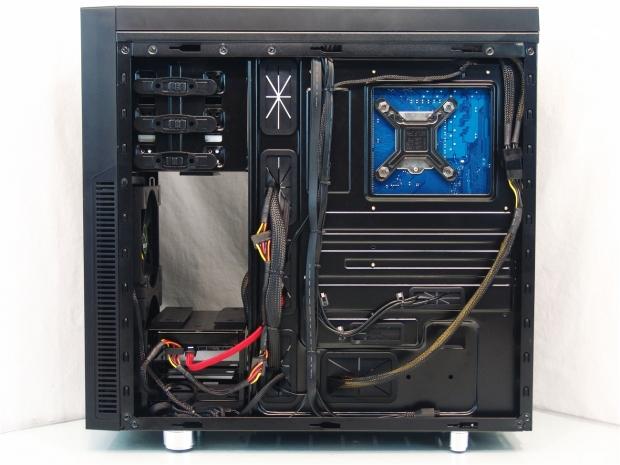
I always try to test the limits of the wire management, and I have to say the DS1 passes with flying colors. I was able to get everything I needed in here, and with the three quarters of an inch of clearance, the door panel slid right back in place.
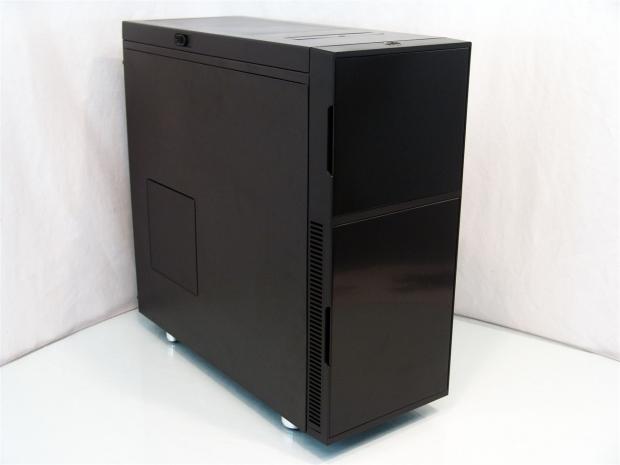
With both panels back on and awaiting connection to start the testing of the DS1, you can see you are left with the same exact look of the chassis you got out of the box. Very few fully loaded cases will offer this look.
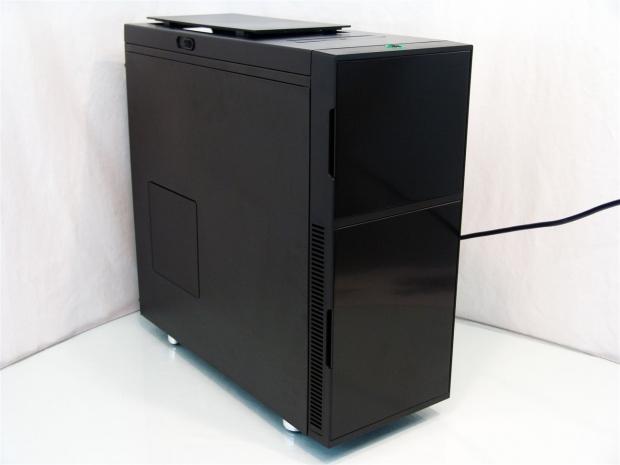
When the DS1 from Nanoxia gets power up and everything is running, the only things to change now is that we get the green glow of LED from around the power button, and of course I raised the top panel or the Nanoxia Air Chimney to see how it affects cooling.
Final Thoughts
First impressions of the DS1 out of the box are that the chassis feels very solid, and it is heavy for its size. As you get the chassis out of the box you are then greeted with a sleek sexiness that only a few cases can pull off with a minimalistic and less aggressive design. Once it is setting on the table you realize how well this will fit into a professional or office environment, as well as offering its users the silence that the DS1 has to offer. The way that this case and others diffuse and absorb sounds is a tried and true method of silencing today's cases, and Nanoxia took full advantage of this design with the DS1.
The feature set is very good just on the basic levels. I mean you have room for everything you could want in the PC, native USB 3.0, fan filters, sound absorbing materials. It is even water cooling ready and offers fan controls. That leaves users wanting very little. But to continue on, they supply three fans capable of around 50 CFM with slightly better than average static pressure. This allows you to have good thermal results even as the chassis is shipped. Considering I could also add four optional fans to the chassis, there is still plenty of cooling potential to be gained improving on what is already a case with sufficient airflow. You have the option to break the silence and open the side to put in a fan to cool the video cards and even open the Nanoxia Air Chimney at the top, but depending on the coolers involved or what added fans you put in, raising the top seemed to add the most noise with or without fans in that area.
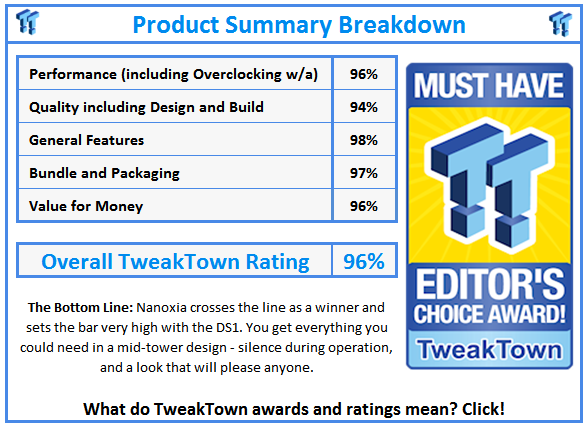
I can only think of two other companies that were able to pull off the concept of minimalistic design styling, with almost complete silence built right onto the chassis. Today I have to add a third company to that list as it is obvious that Nanoxia can not only deliver a silent running chassis, but they also made a case that you can't go wrong with. The DS1 is one of those designs that could be next to you at work, in your gaming room, home office, or even on the floor next to your home theater - it just fits in that well.
I really do hope that the Nanoxia DS1 makes it to US shores, as they will have no issues moving these off the shelves, especially at the rough price of $145. For you lucky readers on the other side of the pond, keep an eye out at your local shops and have 89.99 pounds ready to obtain one of your own. For a first step into a market as flooded with choices as enclosures are, Nanoxia comes out guns blazing and makes you just want to say, "shut up and take my money".


 United
States: Find other tech and computer products like this
over at
  United
Kingdom: Find other tech and computer products like this
over at
  Australia:
Find other tech and computer products like this over at
  Canada:
Find other tech and computer products like this over at
  Deutschland:
Finde andere Technik- und Computerprodukte wie dieses auf