Introduction
There is more to 3D printing than just owning a 3D printer. Several tools are needed to help in creating and finishing printed objects, as well as to aid in maintenance and repair. For anyone who has built their own 3D printer from scratch, they most likely already possess many of the tools I am going to talk about in this article. For those who have bought a pre-built printer, their printer most likely did not come with any of the tools needed other than a screwdriver or an Allen wrench, but even those are scarce in pre-built printers.
Not everyone is into creating their own objects to print in a precise manner, but if you own a 3D printer, there will come a time when the printer will need to be serviced, and without the proper tools this becomes a very difficult, if not impossible job.
On the other side of the equation, an entirely different set of tools are needed to finish 3D printed objects if precision and accuracy are needed, or simply for better aesthetic results. Many of these tools are also staples in every Maker's took arsenal, so if you are reading this, chances are you already have everything you need.
I am going to break this article down into three categories: General Use, Maintenance, and Part Creation / Finishing. General use tools will be what I consider to be staples that should remain within arm's reach of the printer at all times, as they are frequently used during the printer prep, and print removal process.
Maintenance tools consist of those tools that might be needed to disassemble the extruder, or other parts of the printer in the event of a jam, or failure of the axis drive system such as a broken belt, or failed stepper gear. Part Creation / Finishing tools will cover what I like to use to finish out my 3D Prints for fit, as well as finish.
General Tools
There are several tools that I consider must-haves when it comes to 3D printing. These consist of my most used tools, and are mostly made up of items that I use either directly before or after the printing process. Many of you will already have these tools on your workbench, or in a drawer somewhere in your house, and if not, they can be obtained for next to nothing at hardware stores. Personally, I like buying the majority of my non heavy-duty tools from Harbor Freight or Amazon.
Needle Nose Pliers
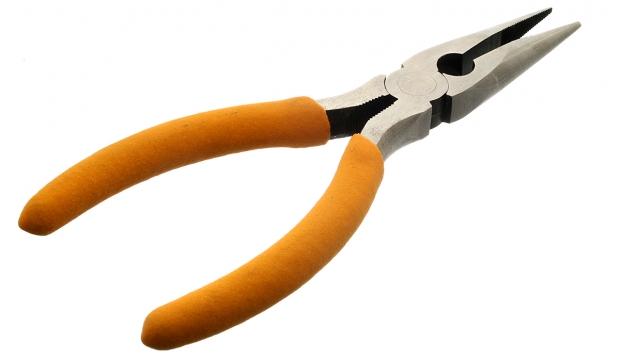
Needle Nose Pliers are an absolute must-have when it comes to 3D printing, as they serve several useful purposes, one being the cutting of the filament when changing colors, clearing jams, or installing new filament. Needle nose pliers are also great for pulling jammed filament out of the heat barrel of the extruder when things are too hot for human hands to touch, but the one use I find the most convenient is to help release stuck ABS prints from the print surface.
When the print bed and the print are cooled to room temperature, a light but forceful tap from the needle plier's handle will shock the object enough to break the bond between the first layer and the print surface. Since the pliers feature padded handles, no damage is done to the print, and the risk of breaking the print bed glass is greatly reduced.
Single Edged Razor Blades
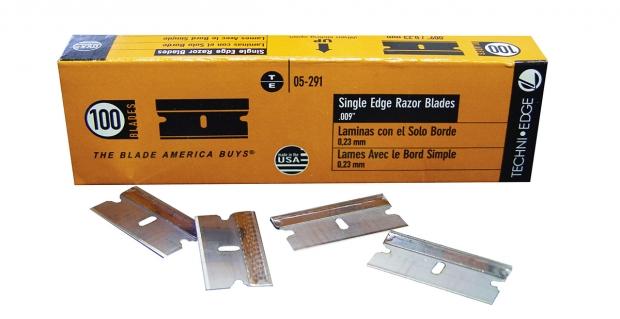
By far, the most used tool in my entire workshop is the single edge razor blade. I buy these in bulk packs of 500, and will burn through 30-50 per month. I always keep several fresh razor blades at my printing station because they make removing printed parts from the printing surface quite easy.
They especially come in handy when it comes to thin prints that might bend or break if you pry too hard with a fingernail. These are also very useful in removing single layer skirts from the printing surface that tend to stick quite well if a good ABS juice solution has been applied prior to printing.
Green Scotch Brite Sponge
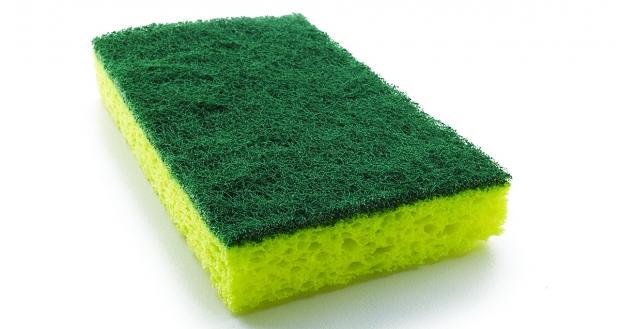
Often during printing and testing, extrusions not made with the printer over an object will curl and wrap back onto the nozzle, and even back onto the heating block. If left to accumulate, this plastic will burn to the nozzle, and could even catch fire. I like to keep a Scotch Brite pad on hand to "scrub" this wayward plastic off of the nozzle when it's at temperature, using the green side of the sponge. The pad gently removes the excess plastic, and makes the nozzle shiny again.
The Scotch Brite melts at a much higher temperature than what ABS prints at, so a single pad will last for quite a long time. Additionally, the pad makes a very good nozzle wipe when priming the nozzle before a print. I have been using the same pad for well over a year now, and I suspect that it will last deep into 2015.
Angled Tweezers
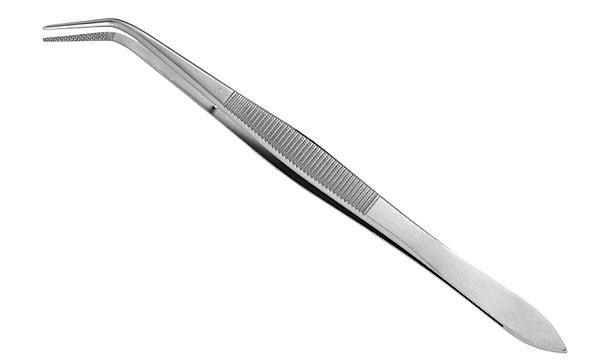
While I don't use them on every print, I do like to keep a pair of angled tweezers on hand in the event I need to reach into the print area during a print to pull out a stray strand of extruded filament, or a blob that occurred on the skirt or first layer that is dragging along with the nozzle.
The tweezers can also be used to clear extruded plastic that hangs from the nozzle during priming, after adding new filament, or when testing and tweaking retraction settings. When selecting a pair, make sure they are at least 6-inches long, with longer options being optimal if available.
ABS Juice
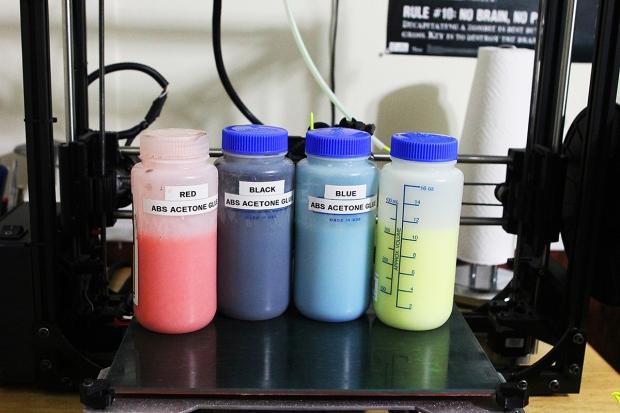
While not technically a tool, I feel that ABS Juice is an absolute necessity for anyone who prints ABS often. Not only does it aid in adhesion to the print surface, but it helps prevent corner warping at a much higher degree than hairspray ever could.
Along with the ABS juice, a roll of high-quality paper-towels such as the Viva brand will aid in the cleaning of the printing surface, as well as in applying the ABS Juice before a print.
Maintenance Tools
While most of the 3D printers on today's market are almost maintenance free, there will come a time when you will need to tighten a belt, change out a broken / worn out belt, or even perform surgery on the extrusion head if a heater goes out or a catastrophic filament jam occurs.
In the 75-pounds of plastic I have printed in the last two years, I have only had to work on my printer a total three times, one of which involved disassembly of the extruder to clear a bad filament jam. So, while rare, things do happen that require some tools that you may not have just laying around.
Allen Wrenches
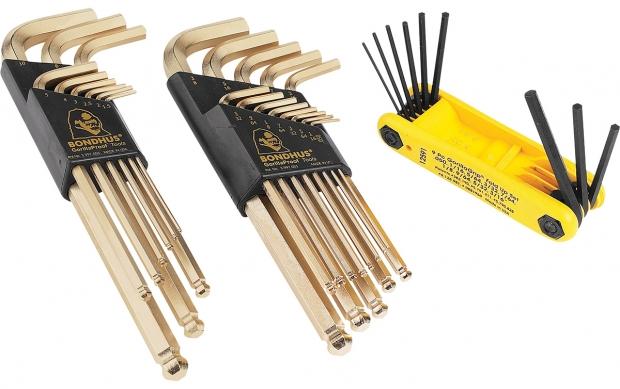
Most 3D printers use some form of cap screw to hold things together, and often times, those cap screws utilize Allen heads, also known as Hex screws. The Allen head screw is a very good choice, as it allows great torque to be applied from the wrench, with little risk of stripping or slipping, and is one of the main reasons builders chose them. A very good set can be picked up from a hardware store or harbor freight for under ten bucks, though I recommend getting a set that utilizes the ball-head design for added flexibility.
Micro-Screwdrivers
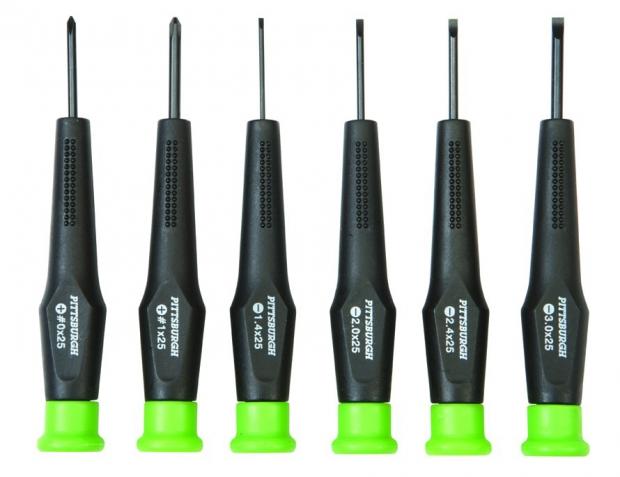
I think everyone knows what a screwdriver is, and more than likely has a few lying around their home, but not everyone has a decent micro-screwdriver set lying around. In the world of 3D printing, the fasteners can come in sizes ranging from large to very small, and a good set of micro-screwdrivers is an excellent thing to have.
One specific place these will come in handy is if you ever need to adjust the small trim pots on the controller board that control the stepper motor current, which often require a very small flat head screw driver. A very nice set of these usually runs a few bucks, and will last a life time if properly cared for.
Small Wire Bristle Acid Brush
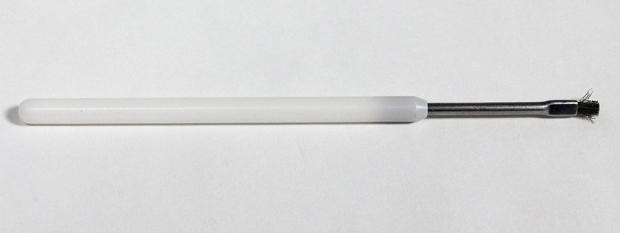
This is one of those tools you would never know that you needed until you needed it. Sometimes filament gets tangled on the spool, or something will happen that causes the feed gear or hobbed bolt to chew into the filament, which will clogs the teeth.
Without one of these simple brushes, cleaning the teeth is an aggravating, and tedious task. With the brush, the chore becomes as simple as activating the extruder motor, and using the brush to wipe away the filament chunks.
Nozzle Cleaning Needle

While not a necessity, a needle the same size as your nozzle's diameter will come in very handy in the event of a jam that involves charred plastic, or something foreign making its way into the heat chamber and burning. These can be picked up from places like Amazon, McMaster Carr, or any other source that sells industrial testing equipment. Personally, I have never had to use the one I own, but I feel better knowing that I have it on hand in the event that I might need it.
Wrenches
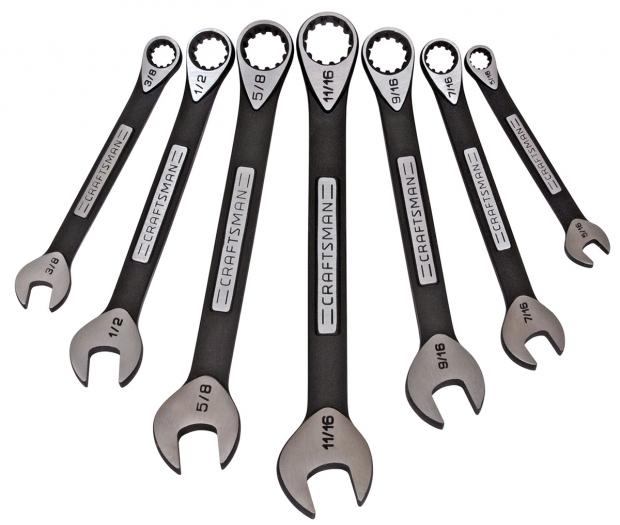
If you built your on 3D printer using threaded rod, or your extruder features a removable nozzle, a wrench set makes life very easy. If you plan on using a wrench to change nozzles, another wrench sized to fit the heater block will make changing nozzles easy. While you could take the easy road and purchase two crescent wrenches, I highly recommend buying standard box end wrenches of the proper sizes, as this ensures the best grip possible on the parts.
IR, Laser or Thermocouple-based Thermometer
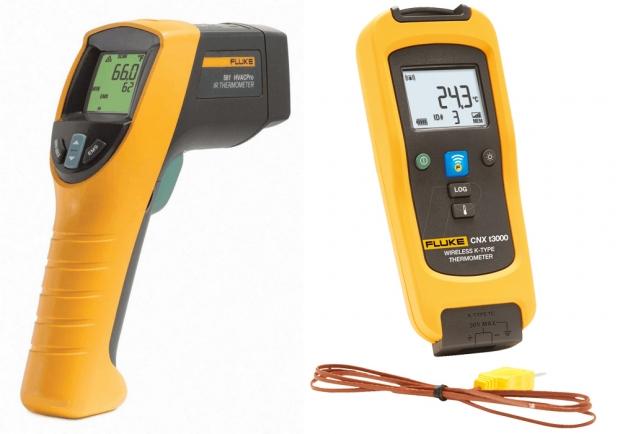
When trouble shooting issues with your printer it is always best to know if your nozzle and heated bed are making it up to the desired temperatures, and this is where a thermometer comes in handy. Personally, I prefer a Type-K Thermocouple connected to a multimeter, but a non-contact IR or Laser-based thermometer will suffice.
One important thing to remember is that IR and Laser units are not 100-percent accurate when it comes to shiny reflective metal surfaces, so keep that in mind. A Type K thermocouple can be gently taped to the nozzle or heated bed using Kapton tape, for a very accurate temperature measurement.
Multimeter
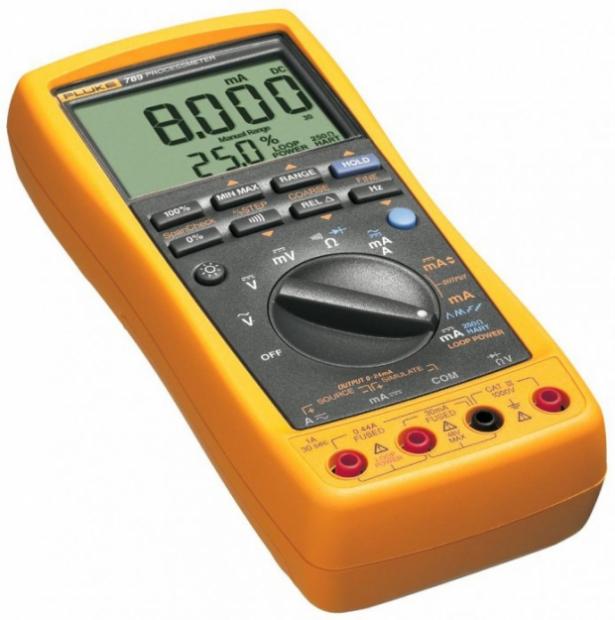
When troubleshooting electrical issues on your 3D printer, your best friend will quickly become a good multimeter. You can use it to test everything from continuity between connectors, heater resistor issues, thermisitor accuracy, and even to see if you have a bad stepper motor or driver.
A decent multimeter can be had for about $30 at Harbor Freight, or from a hardware store for about $50. To get a top quality meter, expect to pay between $200 and $2,000 depending on the features and quality you would like to have.
Part Creation / Finishing Tools
3D printers quickly become boring if the only things you print are models downloaded from the internet, so at some point you will find yourself wanting or needing to create a part from scratch. I won't go into the 3D modeling aspects of this, as it is an entire article within itself, but I will list out a few tools that will help with creating accurate and precise parts you can print.
Additionally, there will be times when you may need to finish your prints to make holes rounder, remove plastic bobs, or even glue things together.
Digital Calipers
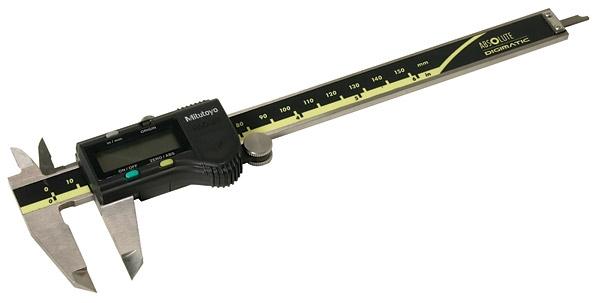
The ability to measure objects precisely is of paramount importance when it comes to modeling parts in 3D, and this is where a good pair of digital calipers comes into play. For about $20, you can have a very nice set of 8-inch calipers from Harbor Freight, or even cheaper for a 6-inch pair from Amazon.
I have owned $300 calipers as well as $12 calipers, and for the hobbyist, a $12-$20 pair will be more than accurate enough for the resolution that most desktop 3D printers can print at. These also come in handy for measuring exact filament diameter when setting up Slic3r, or when tweaking your printer for dimensional accuracy.
Machinist Scale
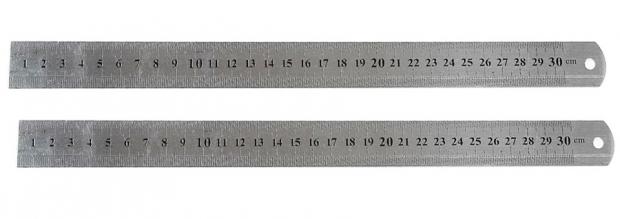
The Machinist Scale is something I feel that every maker needs to keep on himself at all times. Personally, I have about 15 or so in both metric and SAE formats. Since I design and print based on the metric system, I keep a metric machinist scale at my printer at all times. The reason I chose a machinist scale over a standard ruler is that they are many times more accurate than your typical school style ruler. They can be picked up for a few bucks, and if taken care of, they will last a life time.
Drill Bit Set
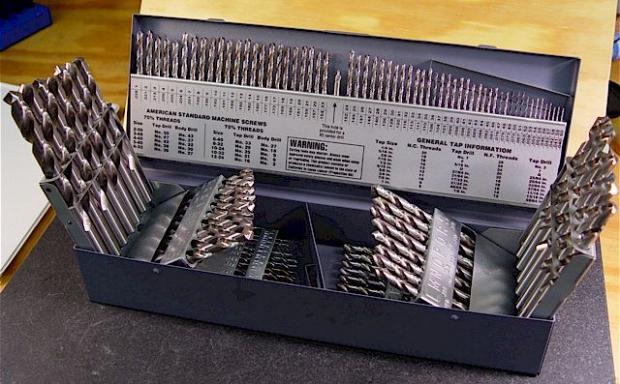
When printing a part that has holes for bolts, rods, or something to pass through, there will be blobs, or shifted layers of plastic that will cause that hole to be inaccurate in size. A good set of drill bits comes in handy here, and will aid in cleaning out these holes.
I do not advocate drilling new holes into printed plastic though, unless the infill is 100-percent, as this can cause layer splitting. If you need a hole somewhere, design it into the part before printing.
X-acto Knife

The Xacto Knife is another tool that every maker should have in their tool box, as well as in their shirt pocket. The simple hobby knife is one of the most useful tools that one can ever possess, and can be used to clean up stray plastic blobs, or first layer edges that are usually larger than the rest of the external perimeter of the print.
While these can be had for about a buck, I suggest getting a high-quality Xacto brand hobby knife, and a few good packs of high-quality blades. A very complete and high-quality set can be had for as little as $10-$15 total.
Dremel Tool
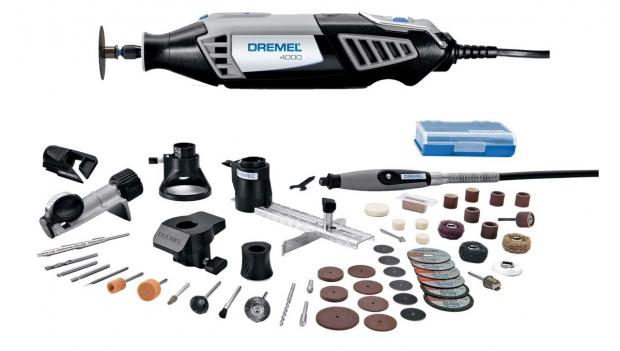
When the time comes that you need to remove printing ridges from your model, or need to carve out elements of the model, a Dremel tool makes life suck much less. These are also handy in cleaning up blobs or corners where stray filament may have been dragged out of the model. Dremel tools also make removing support material quick and easy. Just like the Xacto knife, stick with the Dremel brand here, as it will save you both time and money in the long run.
Sandpaper
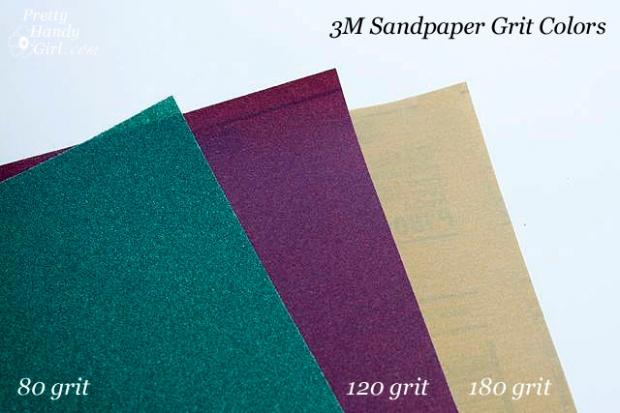
Having a good complement of sandpaper in various grits on hand is always a good idea for anyone, but for the 3D printer, it makes smoothing out the printed model quick and easy. I tend to only purchase 3M brand sandpaper, as I find that it holds its cutting edge better, and lasts longer in general. I like to keep 120-grit up to 800-grit on hand to smooth prints before using a paint brush to make things glossy with acetone.
Glue
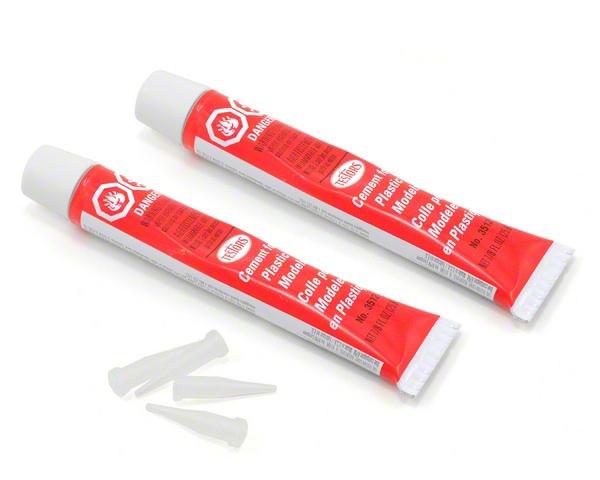
When trying to join two printed parts together, or when repairing prints that broke or had layers separate, glue is the easiest way to bond parts back together. For ABS, only Acetone is needed to solvent weld the parts together, but PLA is trickier.
For PLA I use to different types of glue depending on what I need done. For breaks and structural bonds, I like to use high-quality CA glue in gel form. For other non critical bonding, I like to use Testors Model Glue in the red tube. Both take a few minutes to cure, but provide a solid, strong bond with PLA.
Closing Thoughts
That wraps up this installment of 3D Printing Tips and Tricks. I hope this guide has helped some of you get an idea of what may and may not be needed to keep your 3D printer up and running. While I did not cover every tool that I might have on hand, I feel that this list is enough to keep anyone's printer running like a champ.
If you feel I left off something important, please feel free to let me know in the comments. In my next installment, we are going to cover the importance of fine tuning the retraction settings in Slic3r, so stay tuned to TweakTown.com for that. Thanks for reading, and I will see you all in the next installment.

 United
States: Find other tech and computer products like this
over at
  United
Kingdom: Find other tech and computer products like this
over at
  Australia:
Find other tech and computer products like this over at
  Canada:
Find other tech and computer products like this over at
  Deutschland:
Finde andere Technik- und Computerprodukte wie dieses auf